Chocolate-Peanut Butter Birthday Cake
When my children come home for a visit, it’s my chance to be mom again. My way of showing love is (obviously) through food. As soon as I find out a visit is in order, I start planning menus. So, when my daughter said she and her boyfriend would be coming to the beach the weekend before her birthday and that “maybe we could celebrate my birthday early,” I jumped into planning mode. In my mind, her comment translated to “can you bake a cake?”
In trying to decide what kind of cake to make, I ended up offering up a few flavor suggestions and when my daughter reacted to “chocolate and peanut butter,” I knew it was time to make the Zoë Francois chocolate-peanut butter cake that has been on my to-bake list for some time. This cake is pictured in all its glory on page 166 and again sliced on page 170 in Zoë Bakes Cakes. It’s a rich (but easy to make) devil’s food cake baked in a Pullman loaf pan. Not planned, but I made the same recipe last month in cake layer form with seven-minute icing. The drama of this version is the straight-edges you get from the Pullman pan and what’s on top of the cake – a thick layer of peanut-butter whipped cream, dark chocolate ganache and salty peanuts.

There she is. It was somewhat hard to get the whipped cream and ganache on quickly, but I ended up liking the random peanut-butter whip swirled with the shiny ganache.
Chocolate-Peanut Butter Cake
The cake itself mixes up quickly in two bowls, no stand mixer necessary. It’s also a cake where I almost always have all the ingredients on hand. Except for the rum, which I opted not to use and just replaced with 2 more tablespoons of coffee.
I made the cake the day before, wrapped it up tightly in plastic wrap and let it sit on the counter until ready to assemble.
Devil’s food cake Ingredients
2 1/3 cups all-purpose flour
2 cups granulated sugar
2/3 cup Dutch processed cocoa powder
1 tsp baking soda
1 tsp kosher salt
1 1/4 cups hot strong coffee
2 tbsp rum or brandy (optional)
2 eggs
1 cup buttermilk
1/2 cup vegetable oil
1 tsp vanilla extract
Peanut-butter whipped cream
A couple hours before you’re ready to assemble the cake, make the peanut-butter whipped cream.
Directions:
Melt 1/3 cup peanut butter (I used Adam’s no-stir creamy) with ½ cup heavy whip in small saucepan. Pour into a bowl, mix with 1 ½ cups whipping cream and refrigerate for 1 hour or more. You could even do this overnight. Scoop mixture in stand mixer. She suggests to start on medium until just thick and then use whisk attachment and whisk by hand. I’m not sure how one gets the cream thick enough to stand on top of the cake with this method. I kept whipping, but not wanting to over whip it, only until I had medium peaks.
Dark Chocolate Ganache
Have the ganache ready before you put the whipped cream mixture on the cake. I halved the Zoë Bakes recipe and still had a little left over.
1 cup heavy whipping cream
8 oz bittersweet (I used 70% Theo chocolate) - finely chopped
Warm the cream on stovetop over low heat until you see it start to simmer (small bubbles around edge of pan). Turn off the heat and add the chopped chocolate. Make sure the chocolate is covered with the cream. Let mixture sit 3 minutes and then stir until it’s smooth and shiny.
Note: the ganache will stay fine on your counter overnight or in the fridge for several days. If you opt to make ahead, then just gently warm it up on the stove before using on the cake.
Salty Peanuts
I used cocktail peanuts in the blue can, not dry roasted, but I made sure to not get any of the skins. I almost could have had the end result a little saltier. So a few flakes of sea salt couldn’t have hurt.

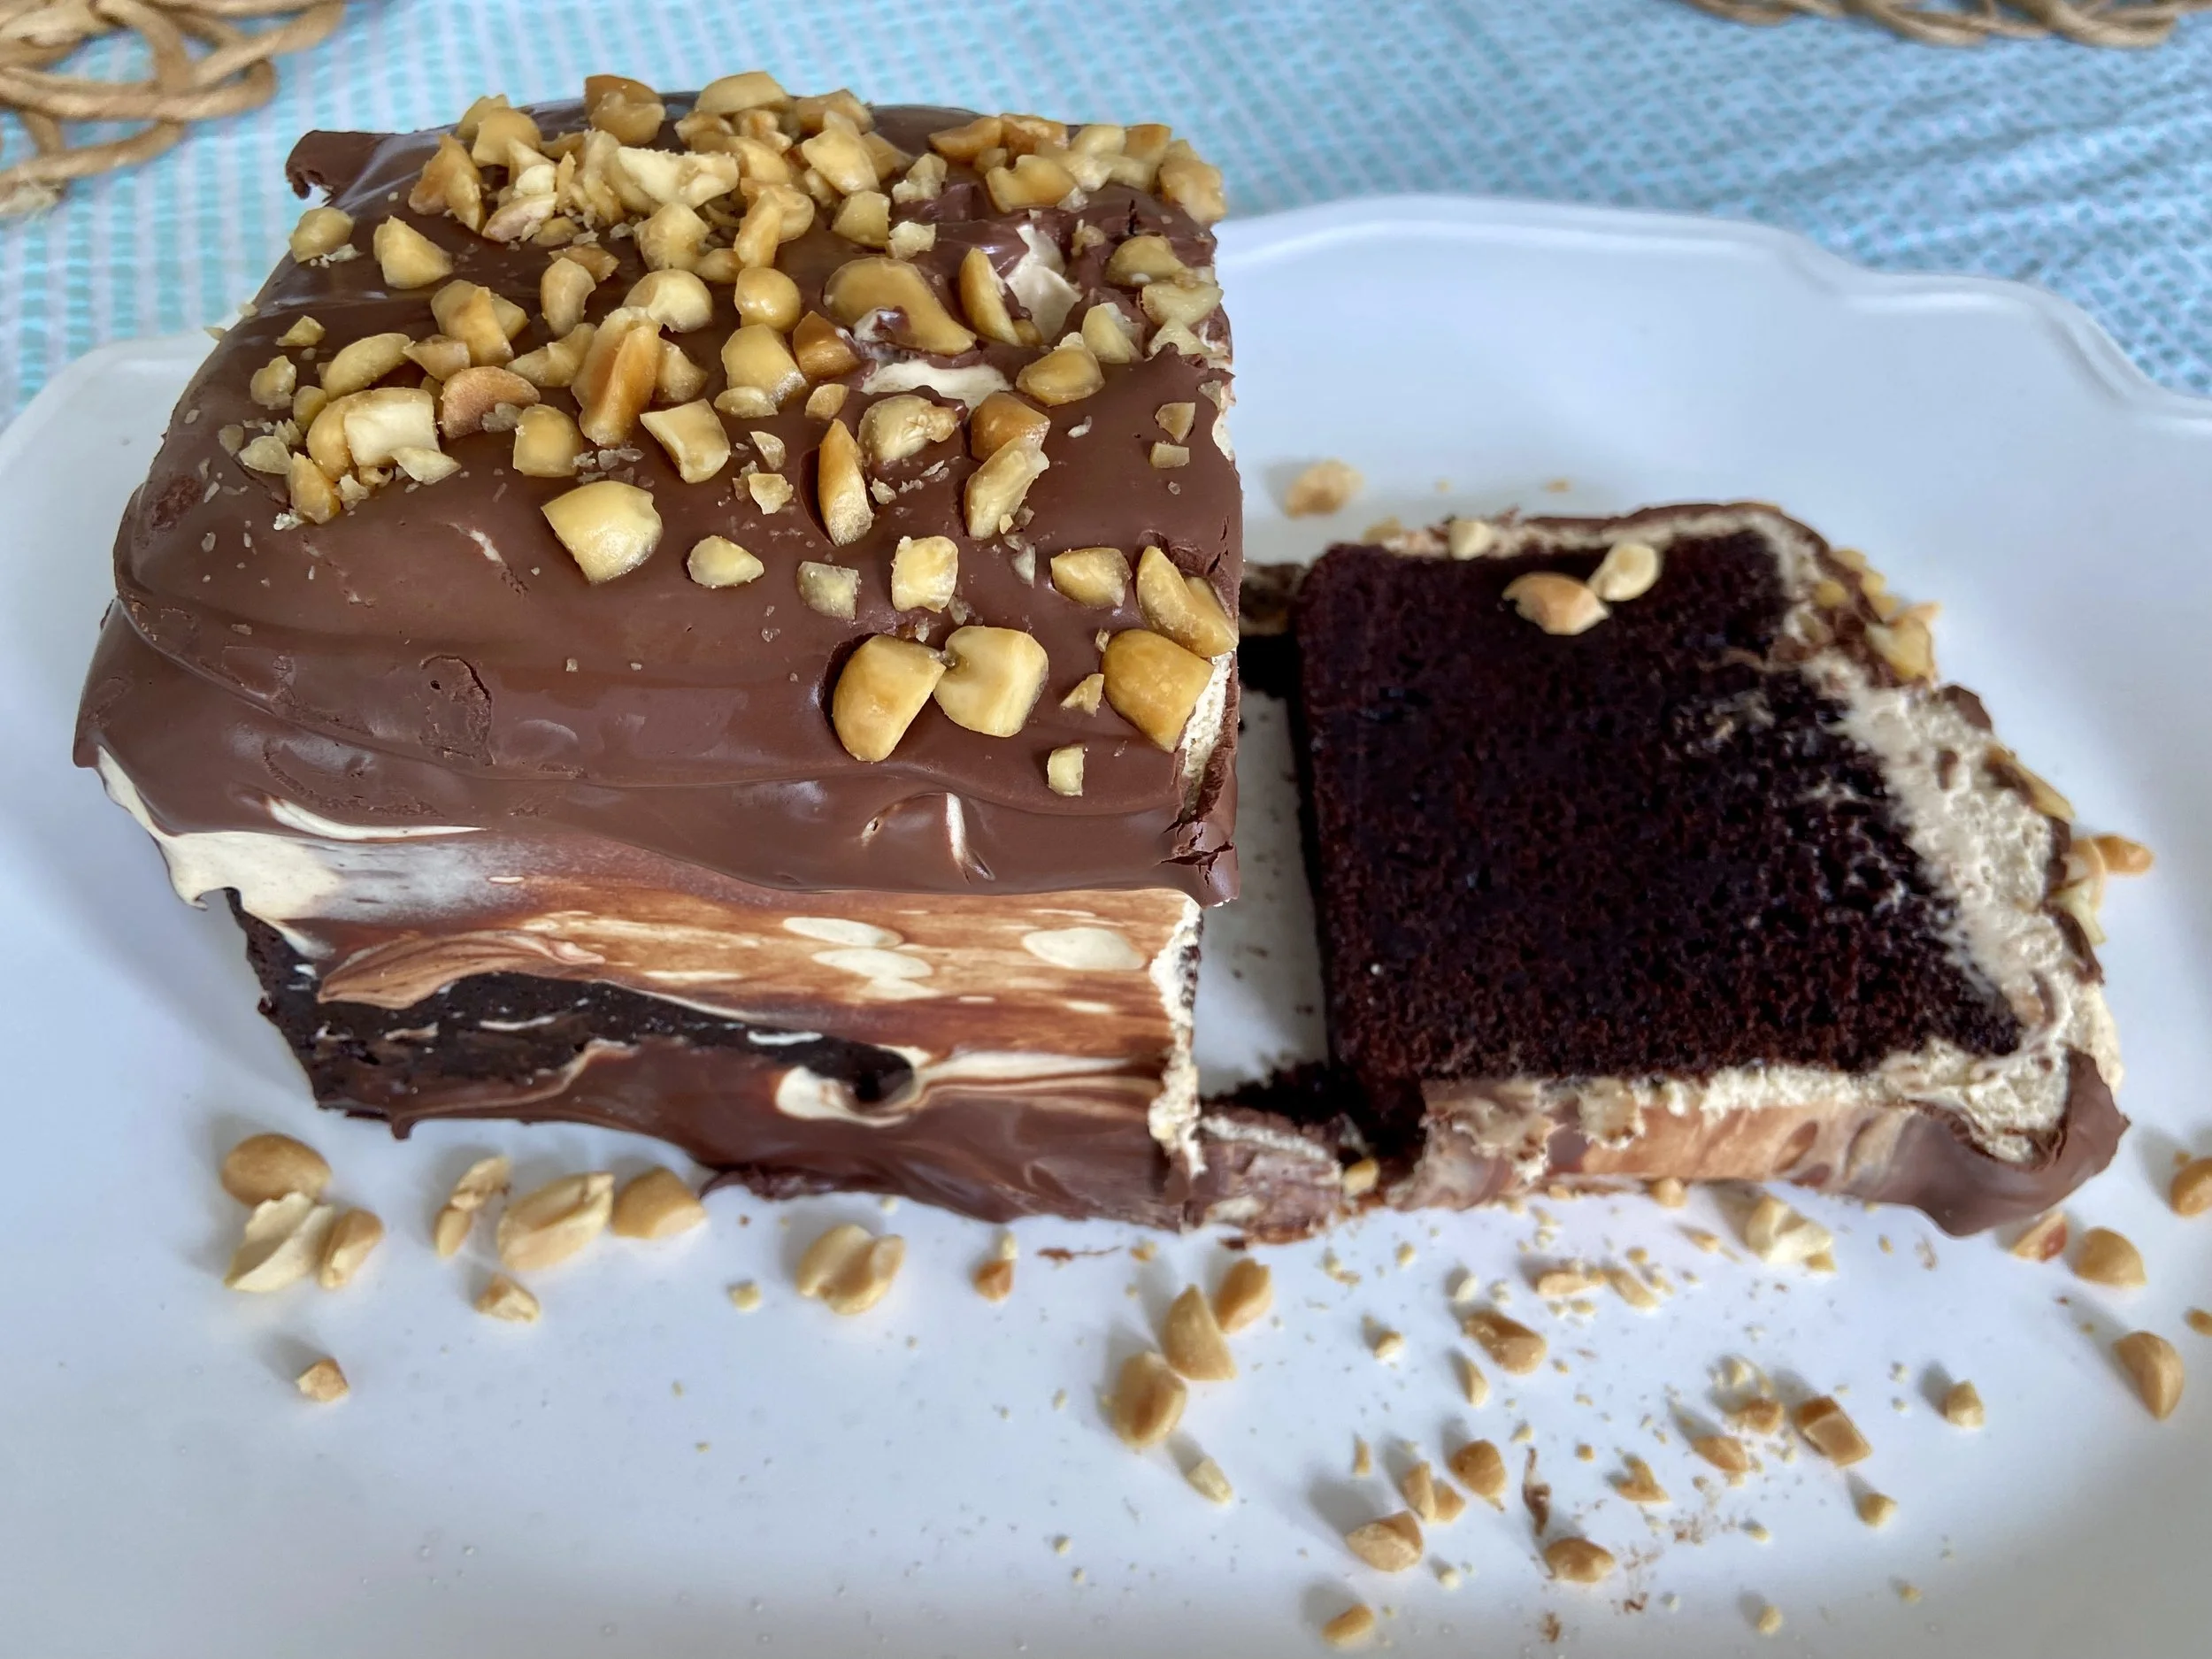
A slice of chocolate-peanut butter cake.
Time to assemble the cake
You want to have the peanut-butter whipped cream, ganache and chopped peanuts all ready before topping the cake.
Steps:
Unwrap the cake and place on a serving platter or cutting board. I leveled the top of my cake so it was super straight. And proceeded to immediately eat that top slice of cake.
Pile the whipped cream on top of the cake. Using an offset spatula form straight edges and level the top. This was easier said than done for me. Several four-letter words may have escaped. My whipped cream wasn’t thick enough to sit high on the cake without falling down the sides. Because of this, I ended up not using all of the whip cream and therefore not achieving as thick a layer as in the book. (Maybe I should have followed my instinct and whipped longer.) I would have taken photos but was elbow deep in whip cream.
Immediately pour the ganache over the peanut butter stacked cake. Using your offset spatula, help it down the sides and smooth it out. It was difficult to not get the peanut butter mixture into the chocolate, hence one side of my cake was swirled. Don’t fret it too much!
Sprinkle those salty chopped peanuts on top of the cake while the ganache is wet and place in fridge for 30 minutes before eating.
Add candles, light and sing!
I found the cake to be just as good the next morning, so you could make this several hours ahead of time to avoid any last minute four-letter words. And yes, I taste test all my baked goods the next morning.
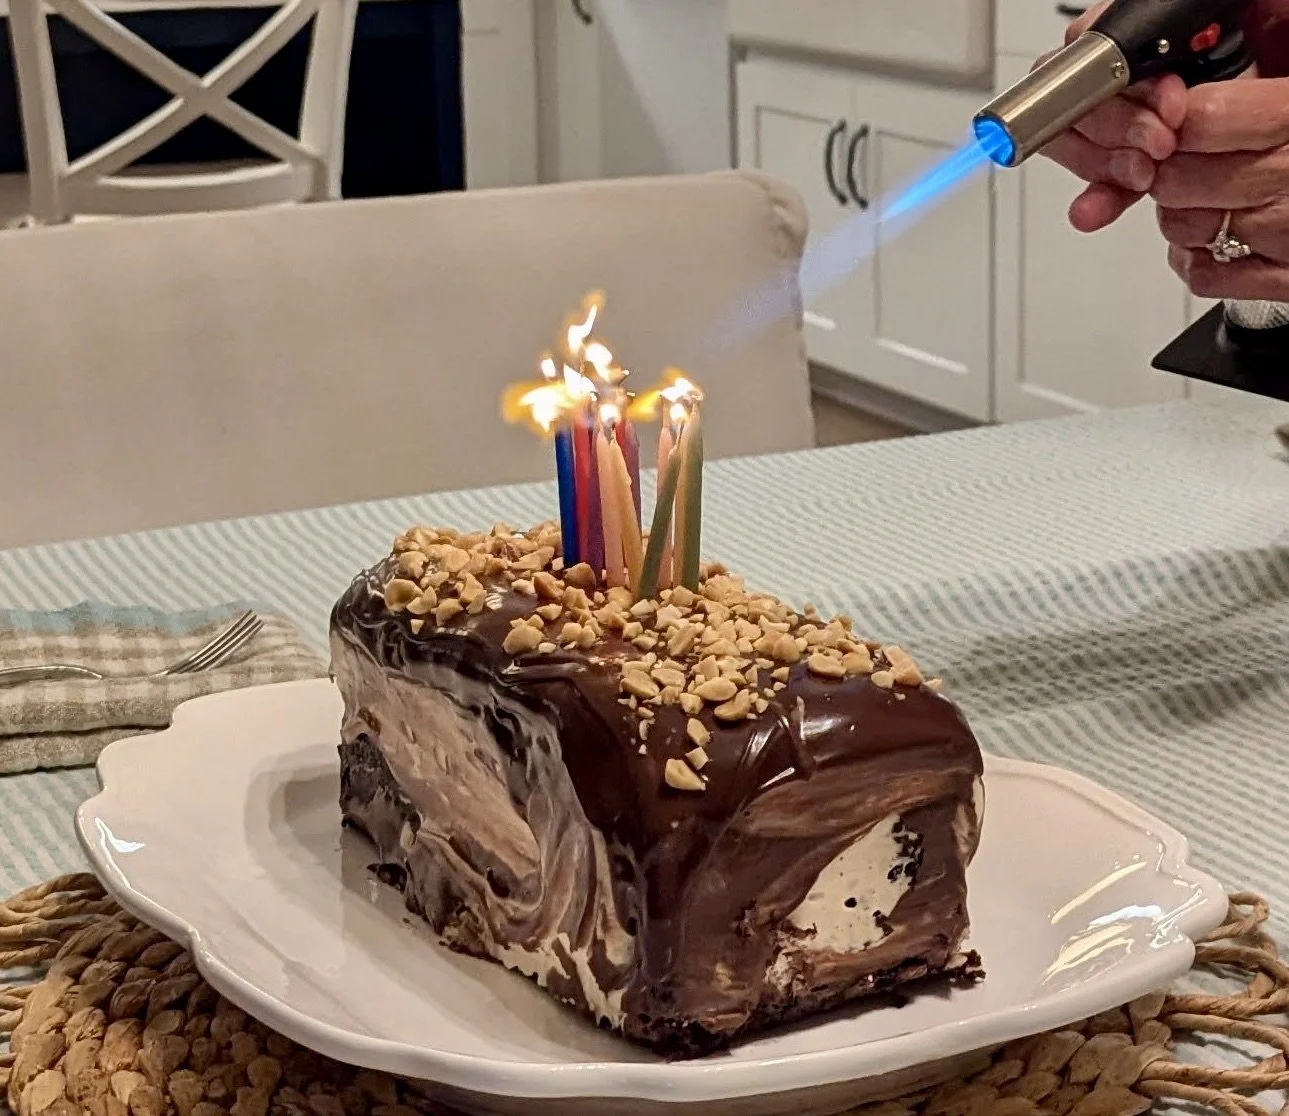
This Girl is on Fire
The somewhat disastrous stacking of peanut-butter whipped cream proved totally worth it when I channeled my inner Zoe Francois and lit the candles with a blow torch. All birthday cakes should be lit this way! No fiddling with candles going out and trying to relight. And singing Alicia Keys Girl on Fire could be more fun than the traditional happy birthday tune.
Lots of laughs and fun memories. Happy birthday to my first born.


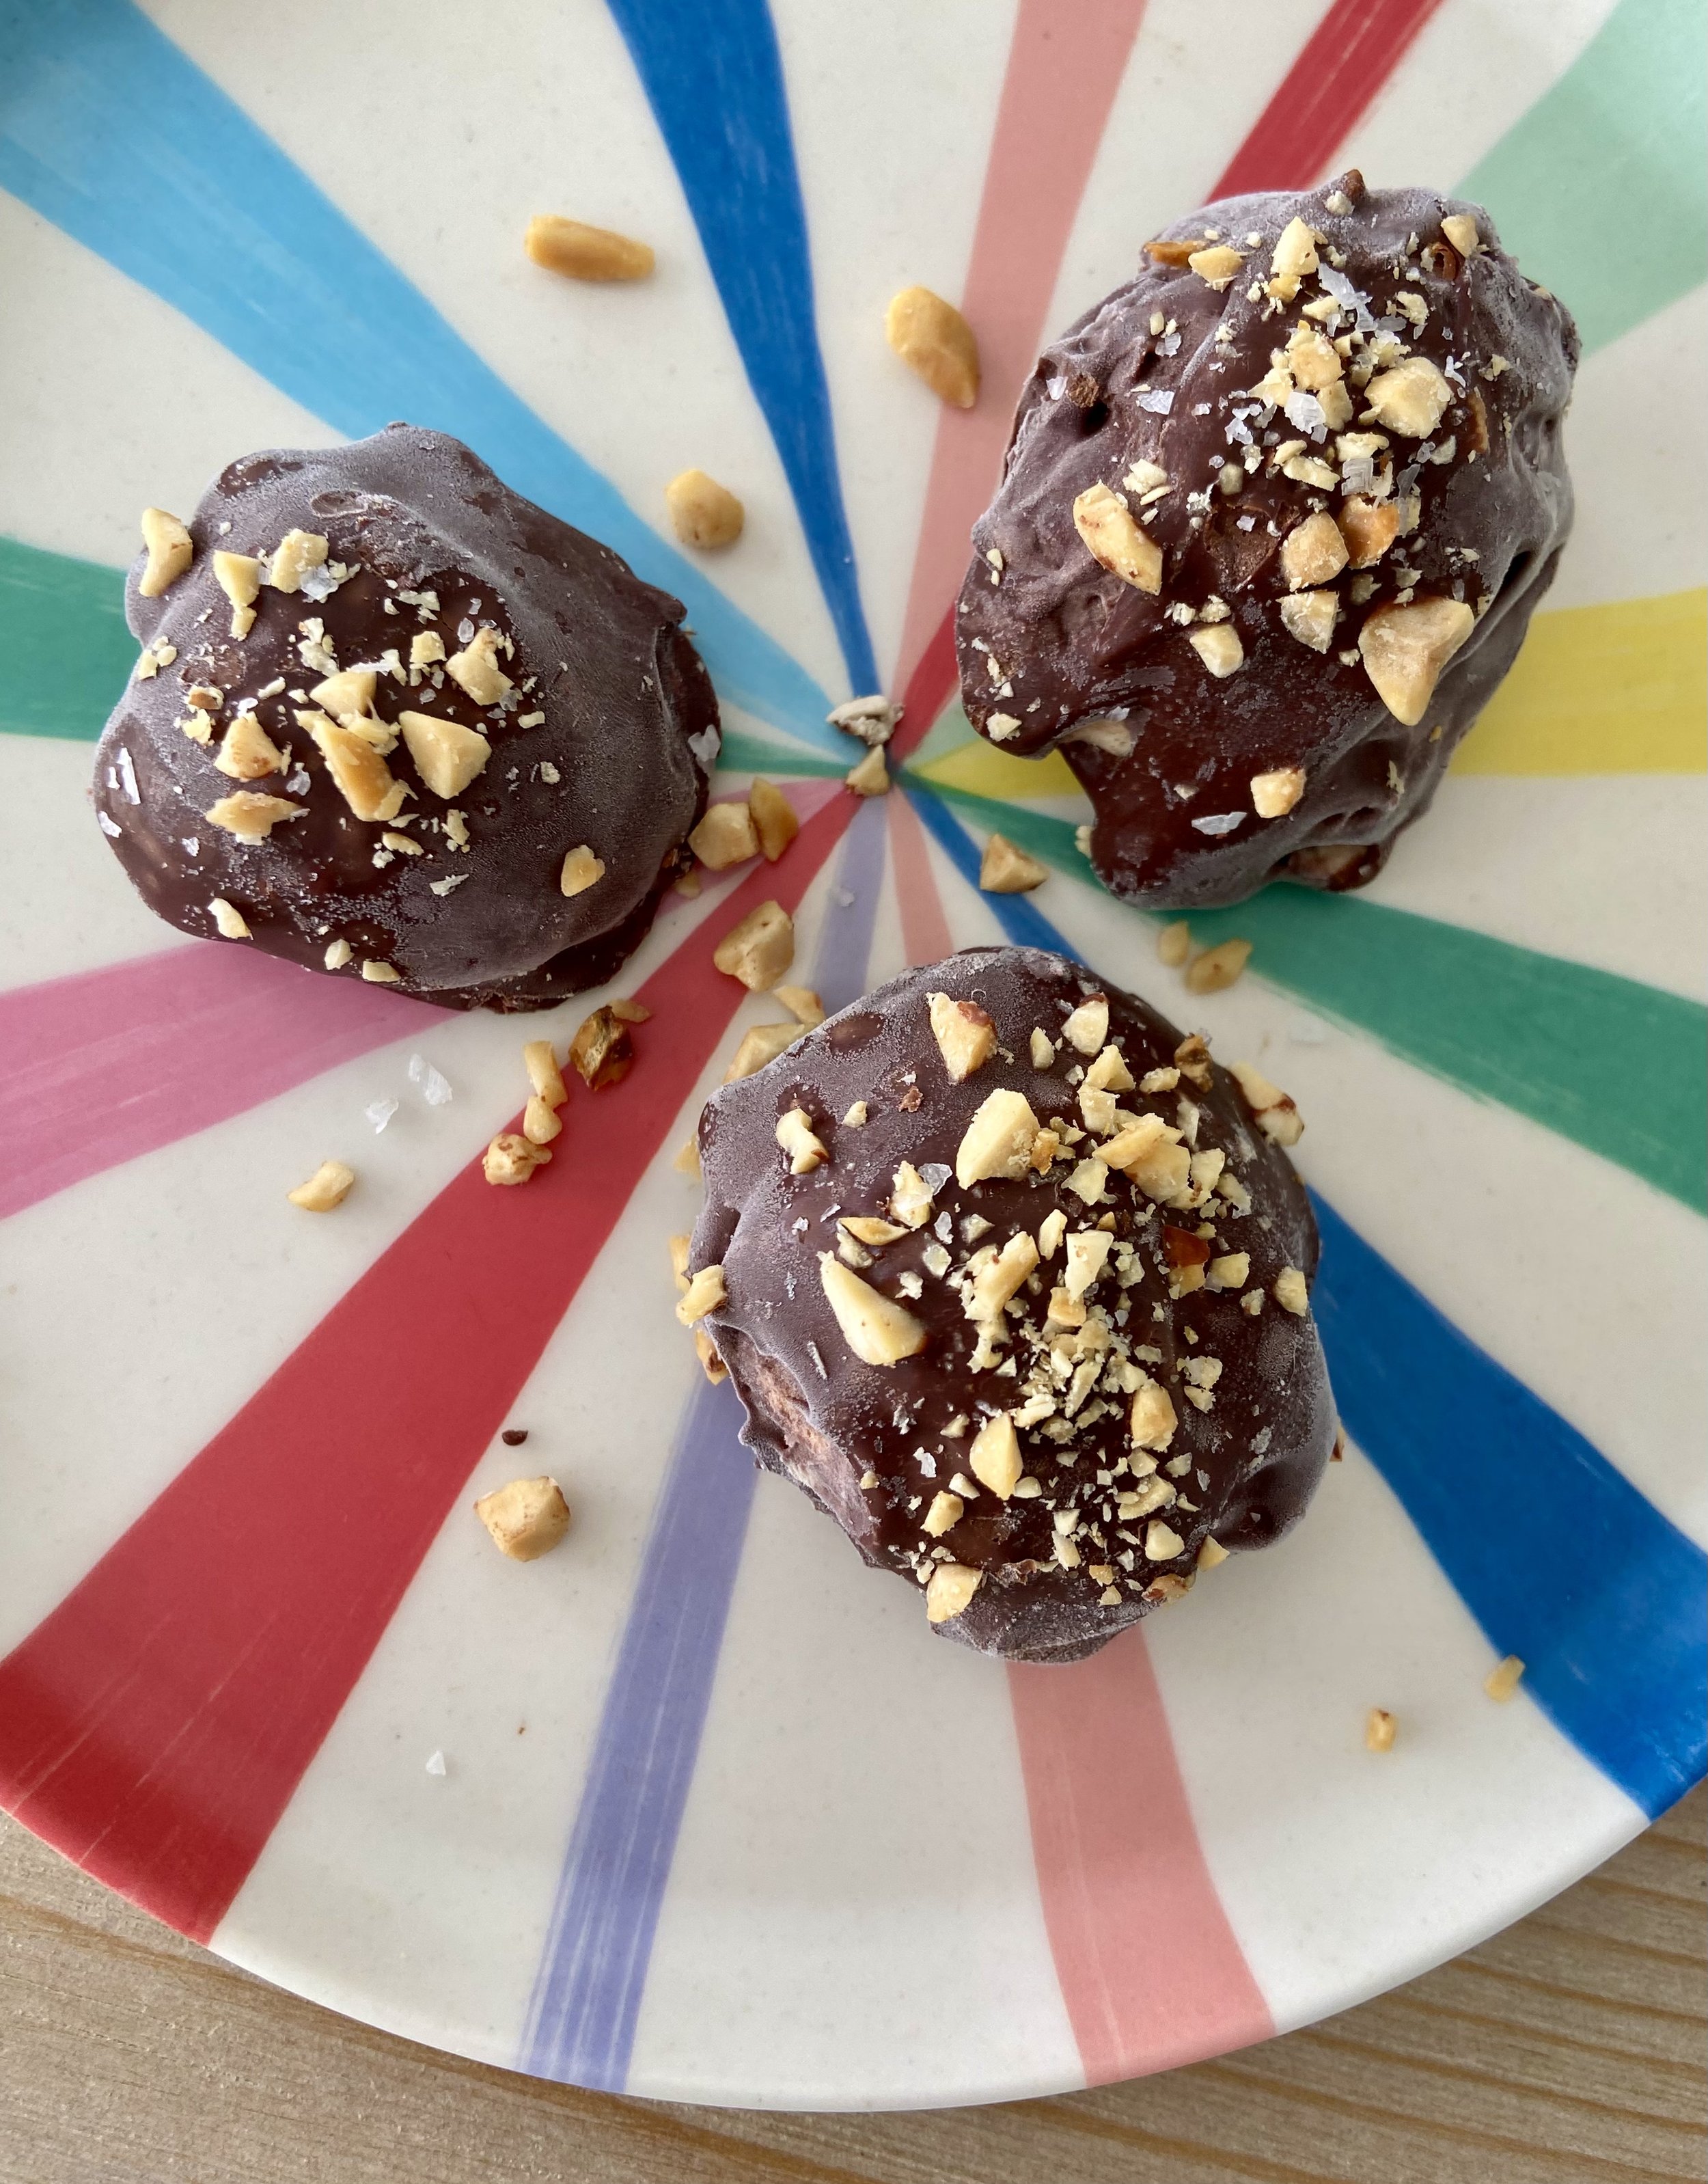
A side note on leftovers
What to do with the leftover peanut butter whipped cream and ganache?
A couple days later, I scooped the peanut-butter whipped cream mixture into balls on a parchment-lined cookie sheet and placed in the freezer. Once they were hard, I warmed up the ganache over low heat on the stove top. I dipped each ball into the chocolate, lifted out with a fork and placed back onto the cookie sheet. Sprinkle with nuts and flaky sea salt and place back in the freezer. Once they are set hard, you can store in a ziploc bag in freezer.
Ta da. Yummy little ice cream bombs on demand.