Homemade Marshmallows in Salted Toasted Rocky Road Ice Cream
My journey to rocky road ice cream began on a (yes another) rainy and dreary spring weekend when I was trying to come up with a new cookie to send to my marshmallow-loving sister for her birthday. I’d recently fell in love with making meringue (and wielding my kitchen torch), plus s’mores cookies seem to be having a moment. In the past I’ve made a copycat version of a local bakery’s s’mores cookie that has a whole graham cracker baked along the bottom of a chocolate chip cookie and topped with a marshmallow, but I wanted something different. I turned to my copy of 100 Cookies (#90 to be exact), to see what Sarah Kieffer would do. Turns out that she rolls balls of chocolate chip cookie dough in crushed graham crackers mixed with sugar and melted butter. Then she suggests turning to page 284 and making homemade marshmallows for the tops – and toasting them. Decision made. I was making these cookies. And left with too many marshmallows, I naturally had to make rocky road ice cream. It’s a bit of a “when you give a mouse a cookie” conundrum. Anyhow, all good paths lead to ice cream. While the jury may be out on the s’mores cookies, the marshmallows were definitely superior to mass-manufactured, and the case is closed when it comes to Salted Toasted Rocky Road Ice Cream.
The marshmallows.
I read somewhere that if you make marshmallows, people will think you are magical. I’m here to tell you it’s true. People of all ages are intrigued. I got comments like, “I didn’t know you could make marshmallows,” and “What’s in marshmallows?” The answers are “yes you can”, and “basically sugar, but to be more precise: confectioner’s sugar, granulated sugar, egg whites, cream of tartar, gelatin, water, corn syrup, salt and vanilla.” Confession: this was the first time in my life I’ve purchased gelatin. But it won’t be the last. I am definitely putting marshmallows (including peppermint or other flavored marshmallows) on rotation in my kitchen. My dear neighbor, aka “the Judge”, declared that even though he didn’t really like marshmallows, this was the “best marshmallow” he’d had in his life.” Case closed.
I had great luck with Sarah Kieffer’s recipe. You’ll need a stand mixer, a candy thermometer and a 9x13 baking pan. I used my USA pan with the really straight edges and corners. To give you an idea of what you’re getting into, you whip the egg whites with cream of tartar in your mixer for three minutes; dissolve the gelatin in a bowl with half cup of water; and cook the other ingredients in a saucepan with a candy thermometer (the hardest part). Then combine following the recipe, whip in your mixer again, sift powdered sugar and cornstarch mixture on top – this makes it not sticky, dump into the pan and let set overnight.
One big marshmallow.
All evening my husband was tempted to poke his finger into the marshmallows. Guilty as charged. He also kept asking me how I was going to get them out of the pan. After sitting at room temperature overnight, I dusted a large wood cutting board with powdered sugar, loosened the marshmallow around the edges and dumped it out. That easy. Then with a sharp knife and a ruler, I cut it into evenly sized (about 2”) squares, but you can cut however you’d like. Toss each marshmallow in the powdered sugar mixture, then place in a mesh colander to shake off excess. Store in an airtight container.
I also packaged up some nifty-gifty marshmallow pairs to give away and send to my sister.
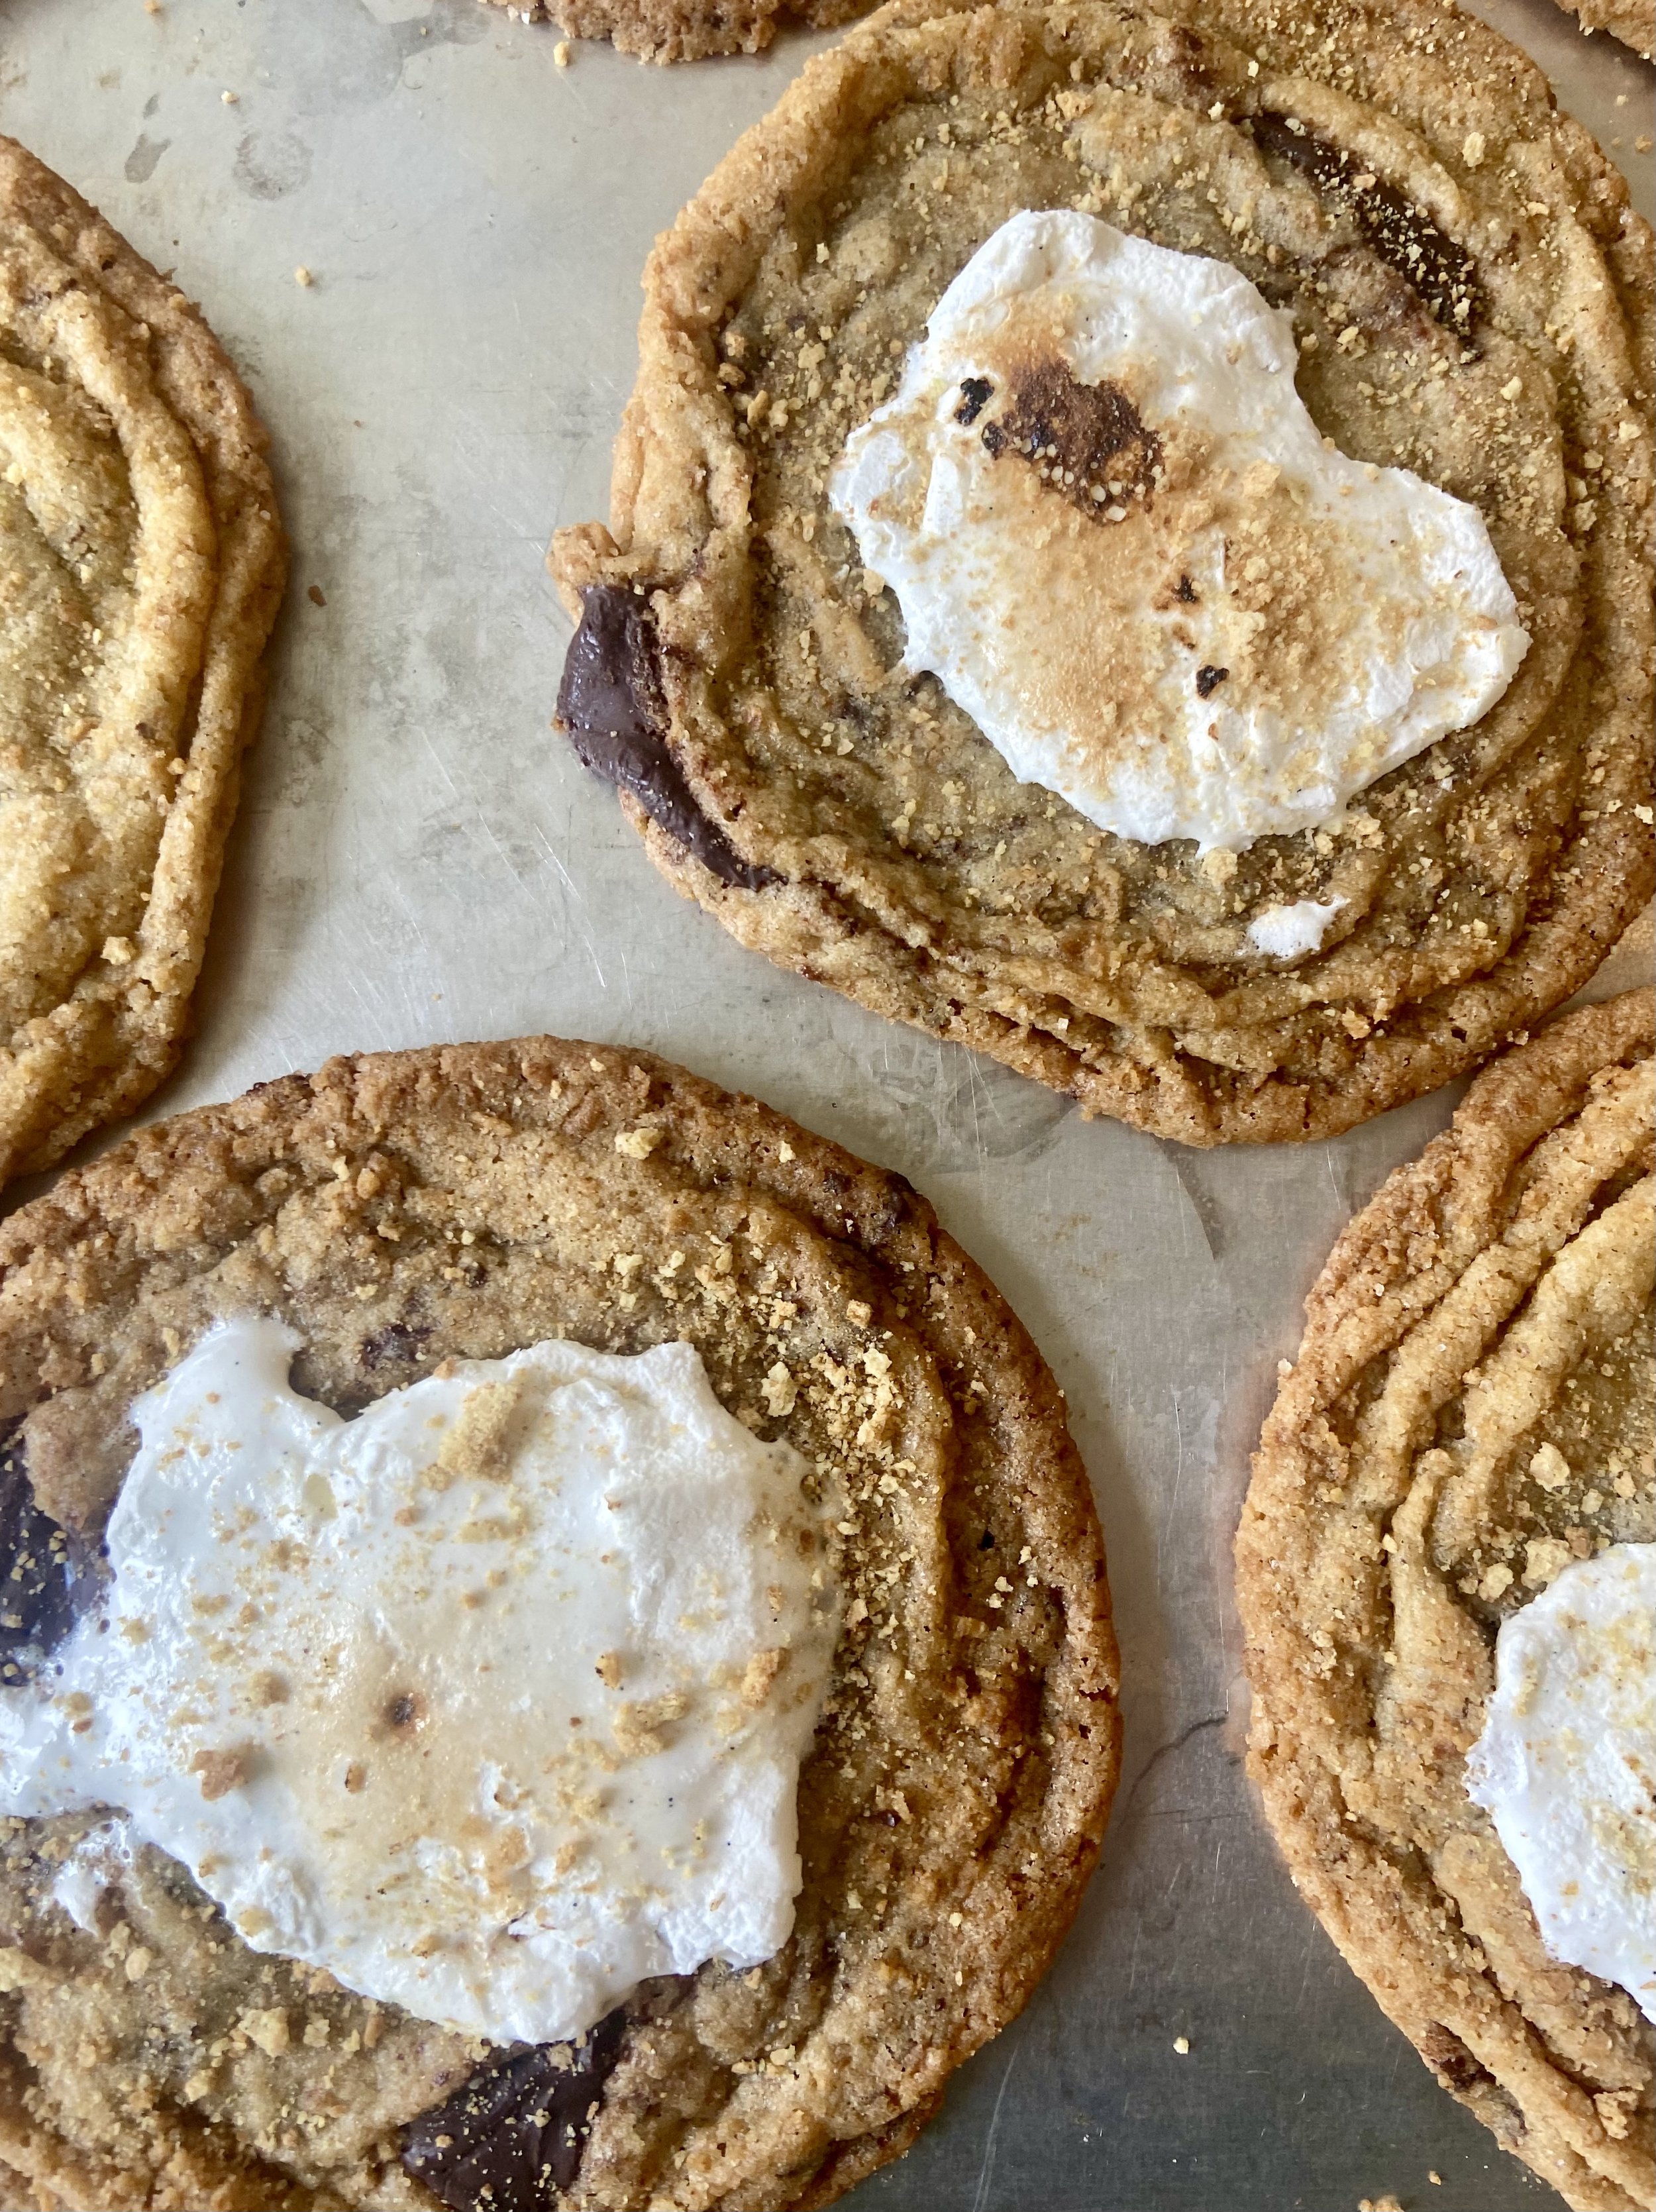
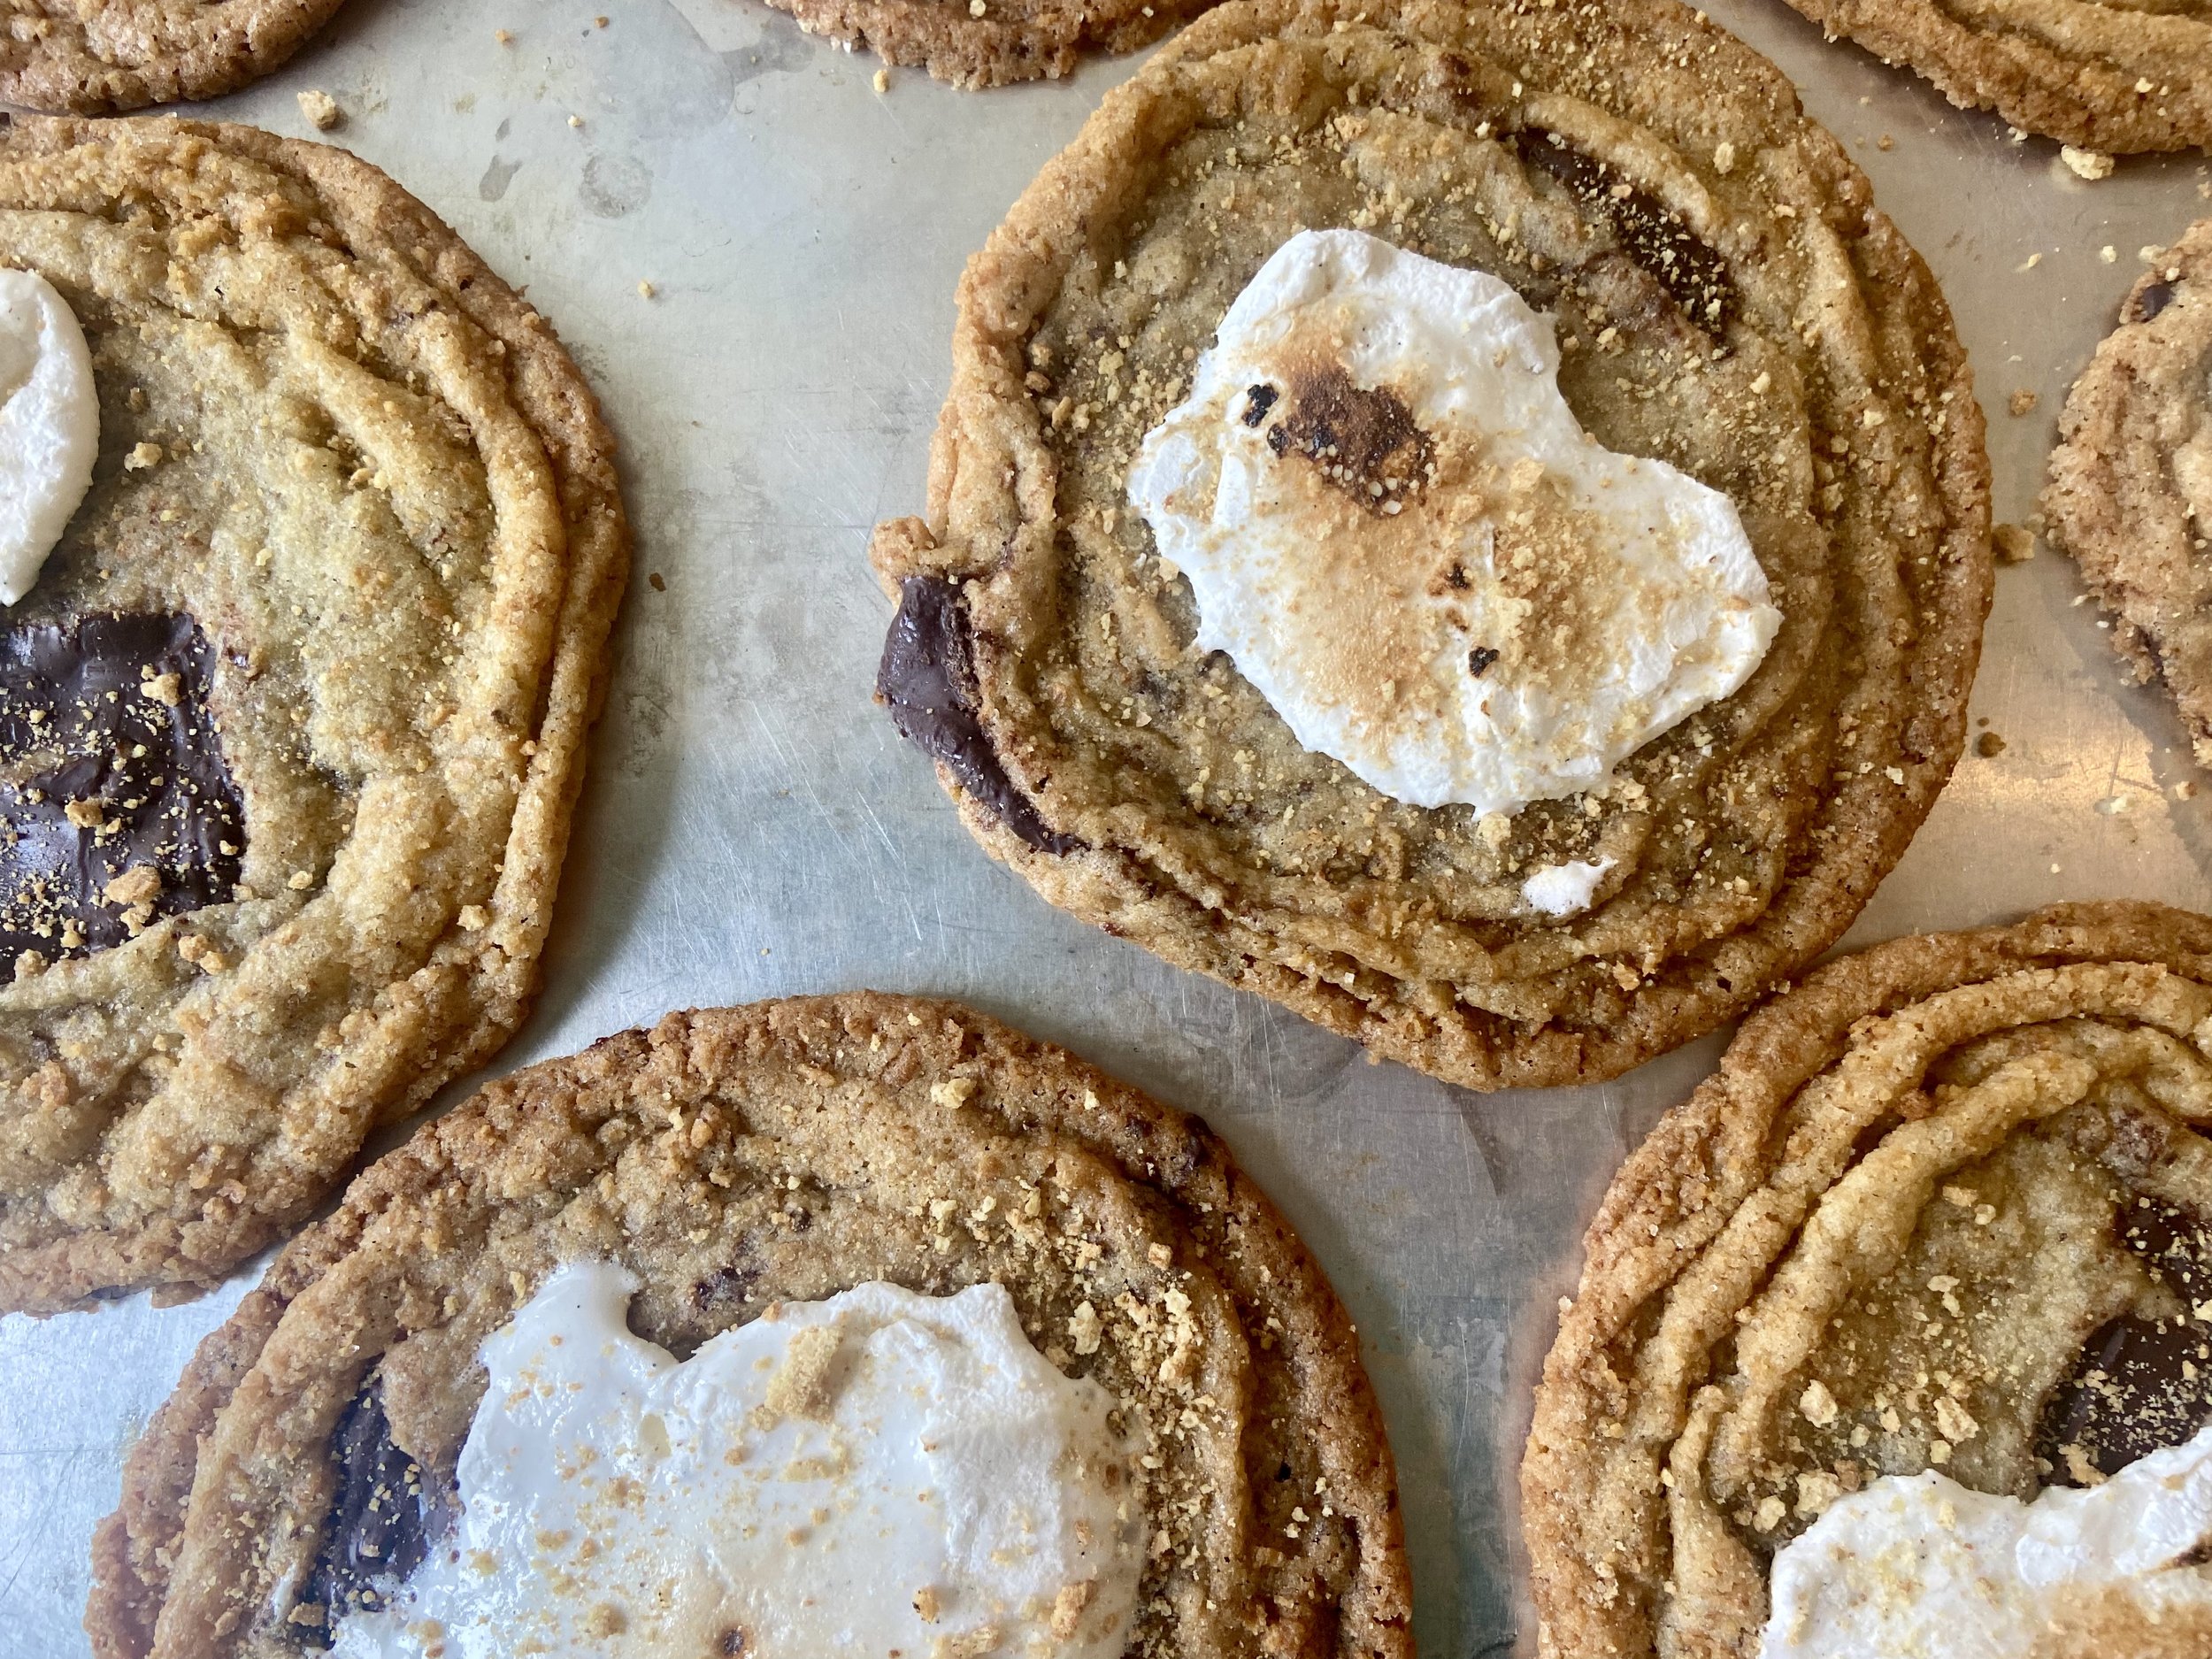
The S’mores Cookies.
S’mores Cookies rolled in graham cracker crumbs, sugar and melted butter.
If you’re a pan-banging fan then these cookies are for you. But I have decided that I don’t especially like how thin and crispy the cookies turn out with all that banging. Or maybe I’m not a good pan-banger? After the first pan spread way too much for my liking, I put the next two pans in the freezer for 10 minutes before baking and had better results. Also, make sure when you chop your chocolate to keep some big pieces. I didn’t do this, so at the end, I added more chocolate on top. Don’t use chocolate chips. After they’ve baked, add three slices of marshmallow on top and place back in oven for about 45 seconds to melt. I spread the marshmallow with a knife before toasting, but they’d look cuter perhaps with the marshmallow a bit more intact. If you’re going to eat these cookies right away, it works. But I don’t feel like they keep well and didn't think they’d travel well through the USPS. So, jury’s still out. I think next time I would use a different chocolate chip cookie recipe – but for sure still roll the dough in the graham cracker mixture and toast the mallows.
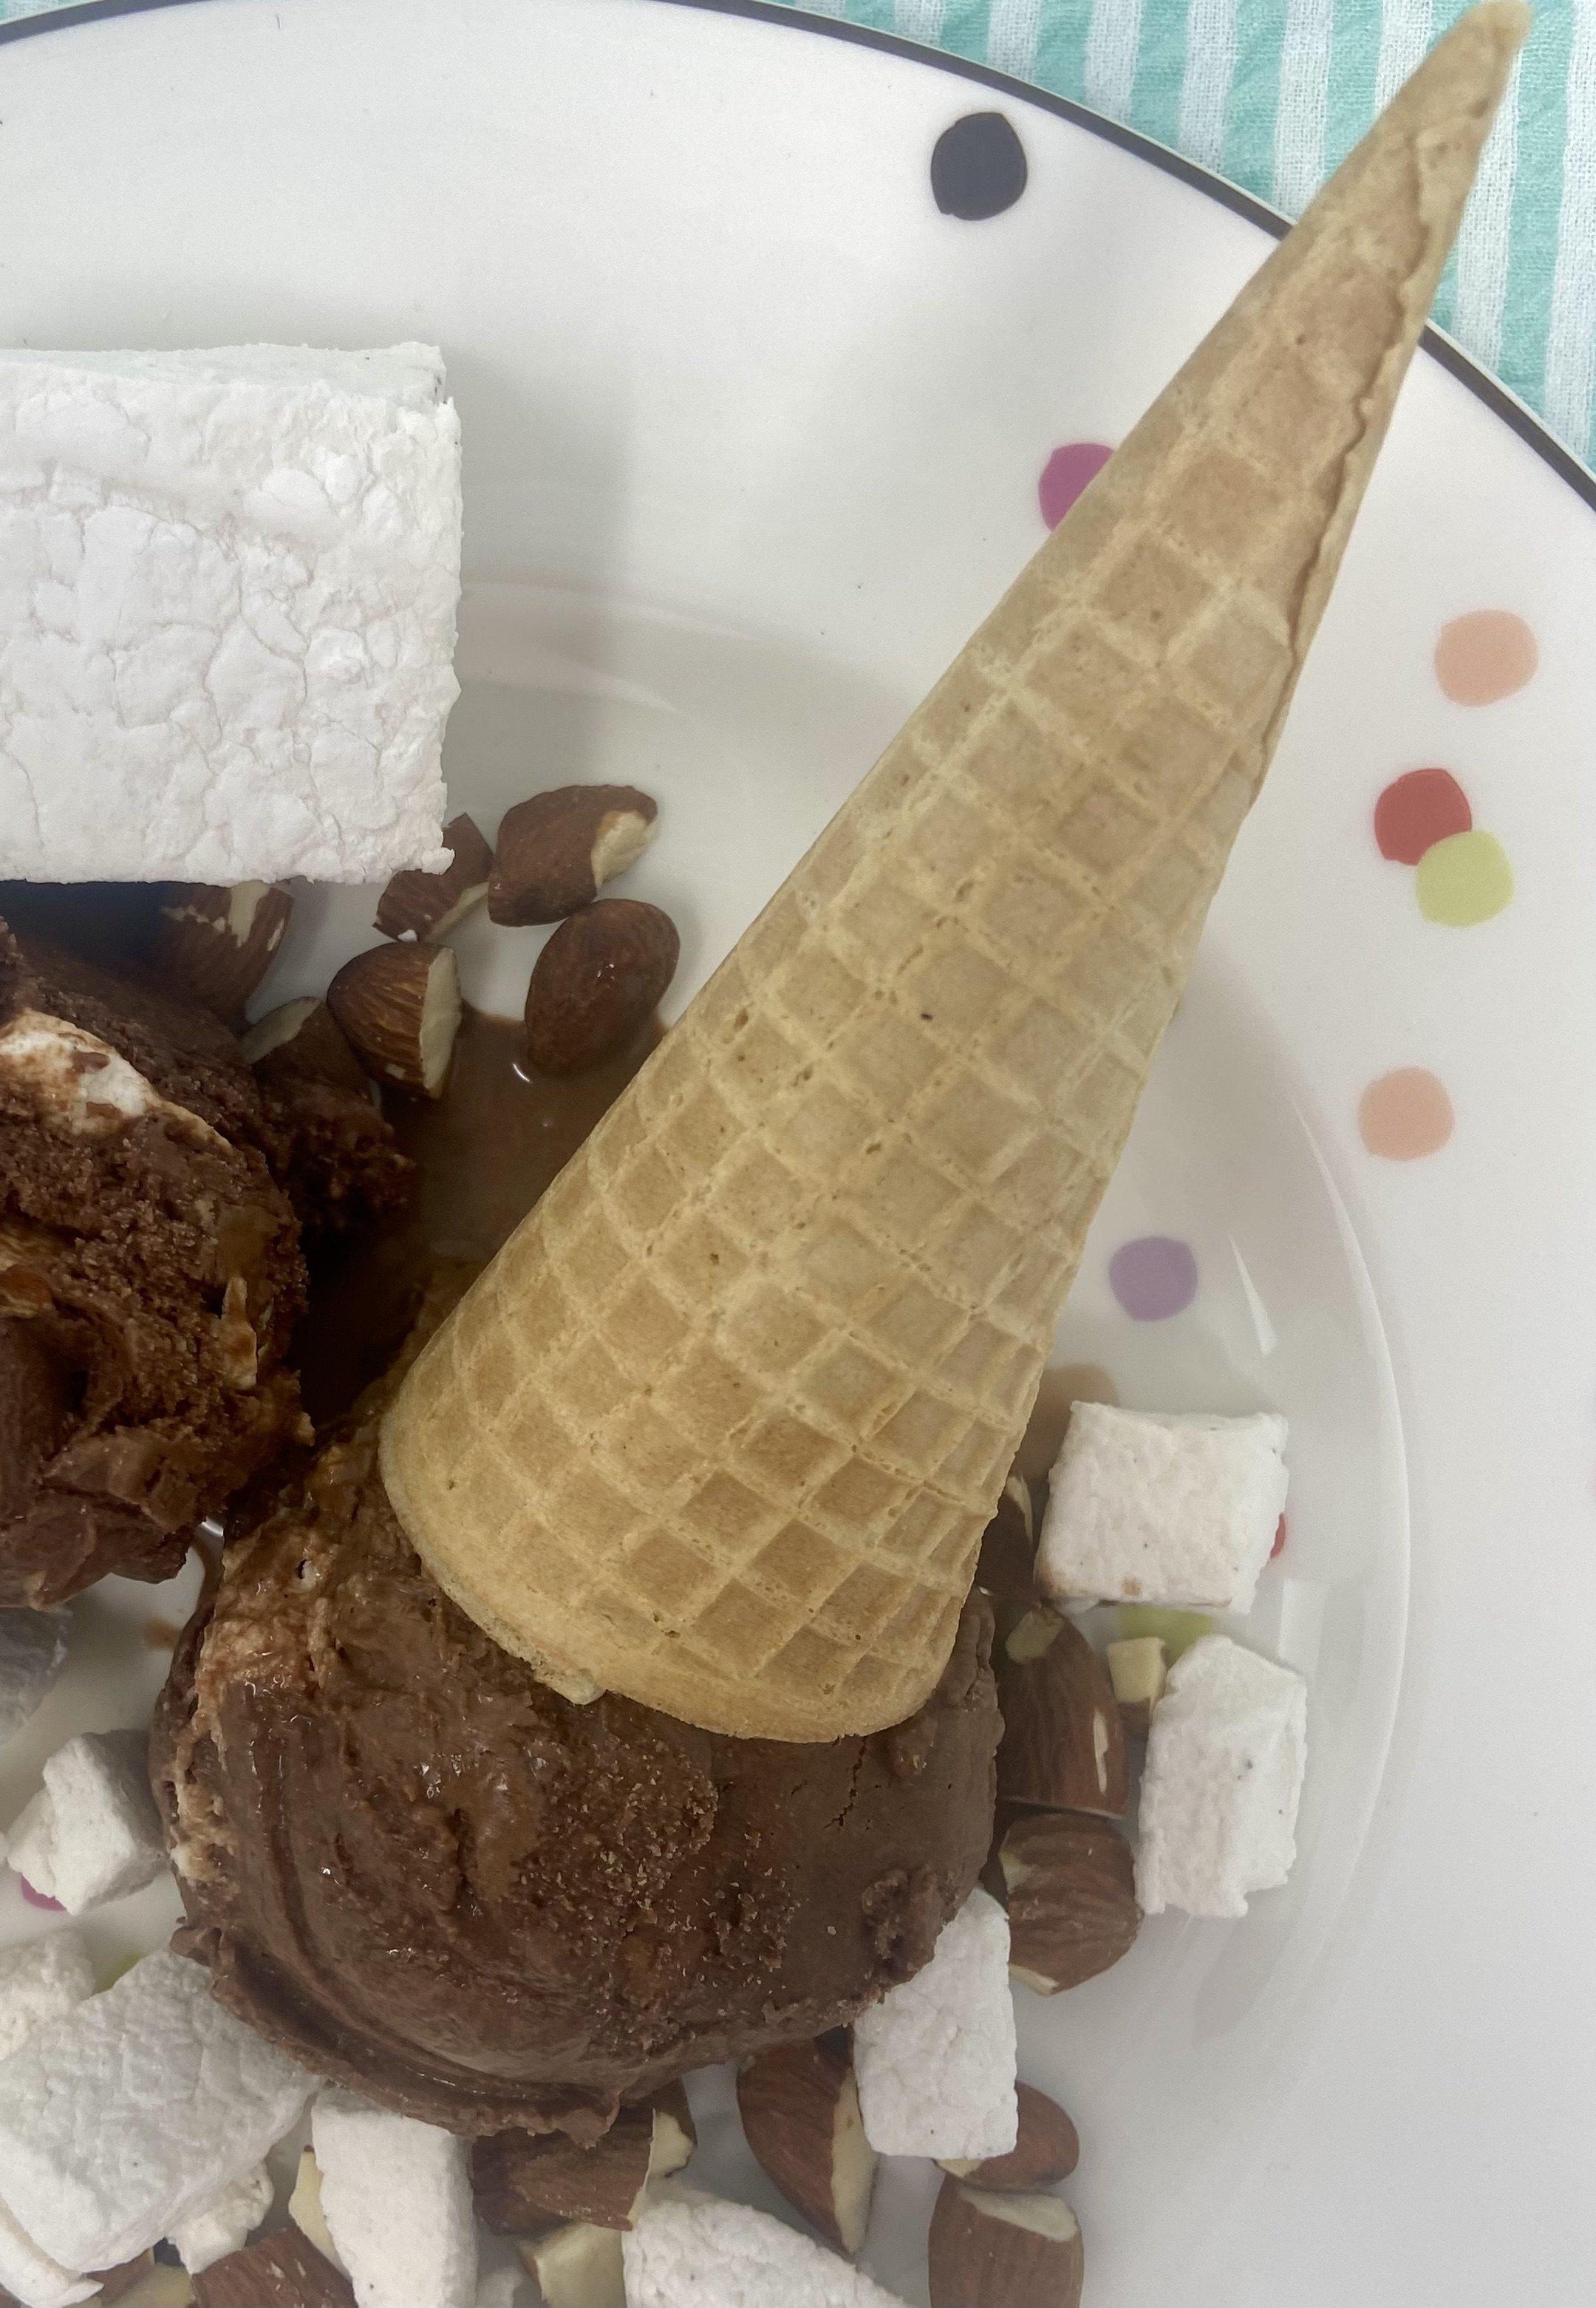
Salted and Toasted Rocky Road Ice Cream. With homemade marshmallows.
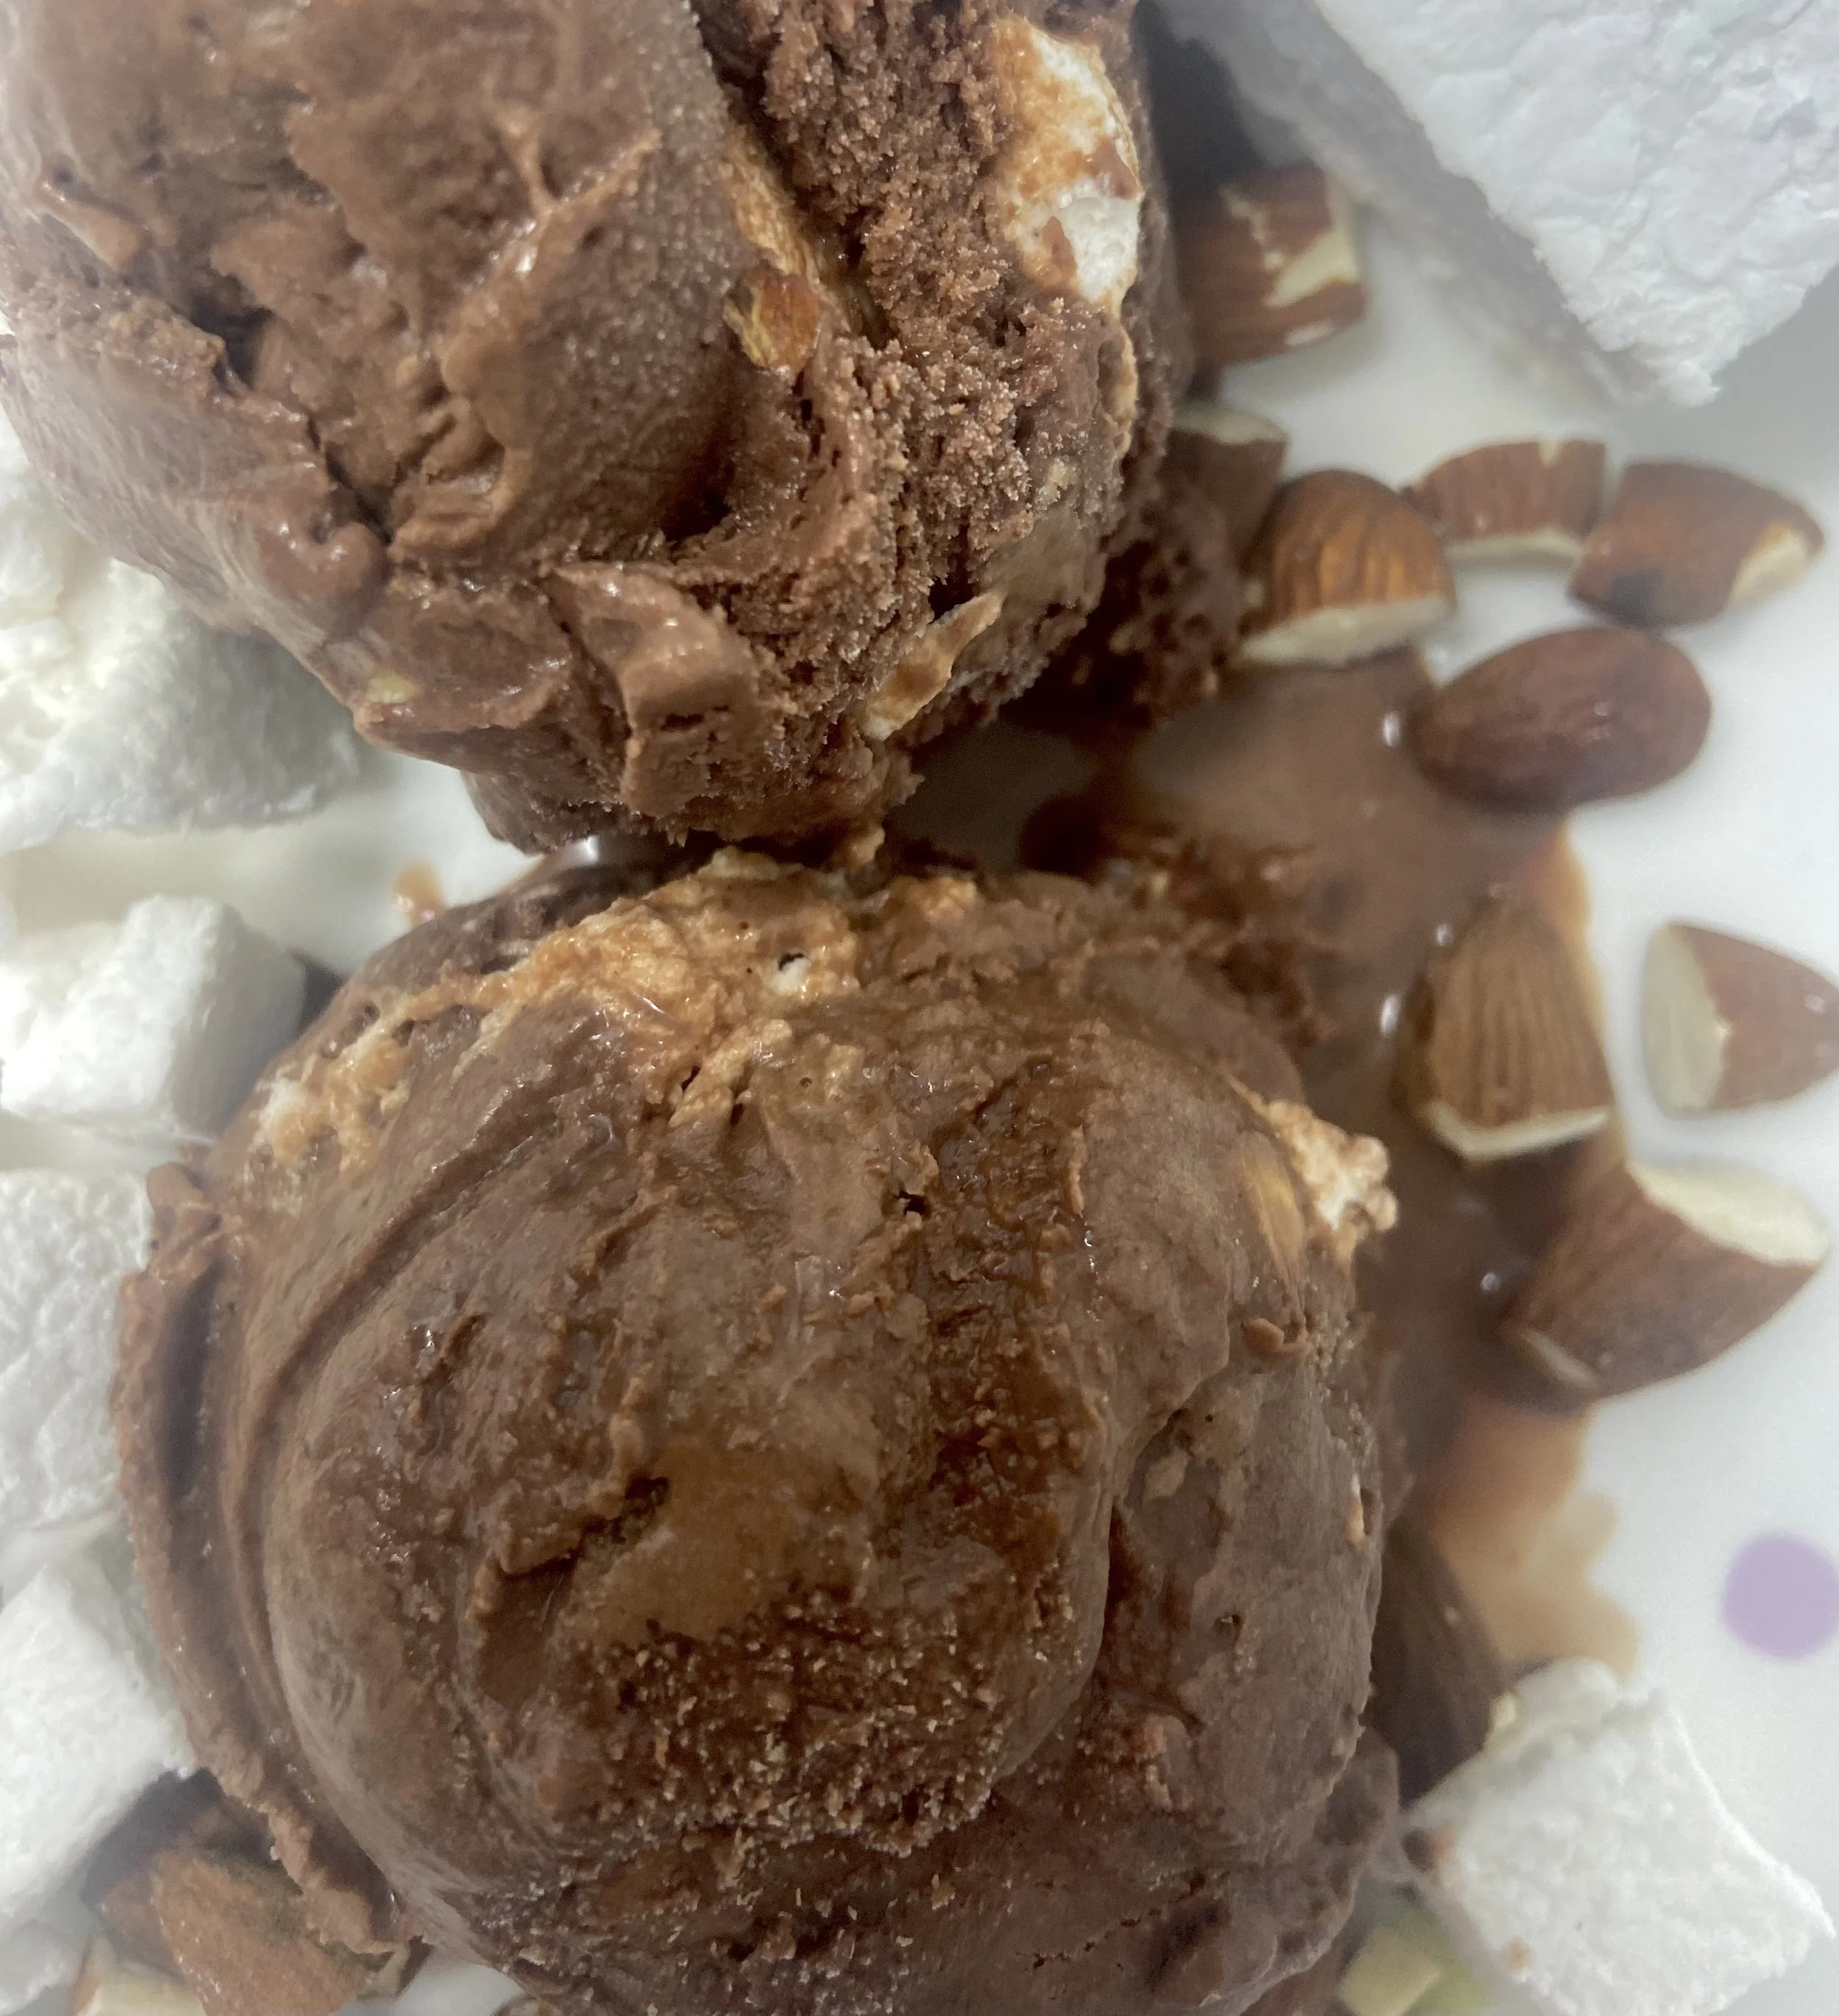
This ice cream was divine. Dense and divine. Rich and thick and chocolatey.. Divine decadence. Did I mention divine? With lots of crunch and soft melt-in-your-mouth marshmallows.
Philly-style ice cream has no eggs and it doesn’t freeze super hard, which makes it super scoopable but uncooperative when posing for photos!
I followed the “How to make chocolate ice cream” blog from Kitchn.com, using my KitchenAid ice cream attachment. Homemade ice cream calls for a number of steps. And your kitchen will be a mess of pots and bowls and spatulas and whisks and quite likely you’ll find splattered, dried chocolate camouflaged on your granite counter the next day. But it’s oh so worth it.
Help. I’m melting!
The Facts
Quality ingredients result in the best product. That’s the whole truth and nothing but the truth.
My recommendations:
Theo chocolate. This is made in the Fremont neighborhood of Seattle and it’s also the chocolate that Molly Moon’s uses. The recipe calls for 4 oz dark (70% organic, fair trade) and 2 oz milk (45% organic, fair trade), but when the Theo chocolate bars come in 3 oz sizes, you use one bar of each.
Homemade marshmallows. This is where we started, remember? Made by yours truly in North Bend, Washington. Proven to be superior. I sliced my 2” square marshmallows into minis and tossed them in powdered sugar again so they wouldn’t clump together. I added about a cup. The Judge’s wife noted that the marshmallows in store-bought rocky road ice cream are often chewy, whereas mine were nice and soft little pillows.
Just one more look.
Toasted almonds. Get raw almonds from the bulk section of your local grocer and take time to toast them to perfection. Place in a shallow pan over medium heat on the stovetop. This should take about 8 minutes but watch carefully and smell for doneness. Cool and roughly chop. Use your judgment on how many nuts to add. I added a cup, which turned out to be a lot of (maybe too much) crunch.
Rich dairy. Don’t chintz. Use whole milk and heavy cream (look for 38% fat).
Dutch-process cocoa powder. Ghiradelli, Guittard and Droste are all premium brands. Dutch process means the cocoa powder is alkalized or soaked in an alkali solution that neutralizes the acidity providing a smooth, rich, more intensely chocolatey flavor.
Salt. Repeat after me. “All salts are not created equal.” For the ice cream where you want to savor the saltiness, use a finishing sea salt or fleur de sel. I love both Jacobsen Pure Flake Sea Salt and Maldon sea salt. Maldon sources its flakes from the waters off Essex, England. Jacobsen harvests its salt from Netarts Bay on the Oregon Coast. The best thing is to taste the ice cream and add more salt if desired. I used a scant tablespoon of the Jacobsen salt. So glad I did.
What’s better than rocky road ice cream? Salted and toasted rocky road ice cream. With homemade marshmallows.
I rest my case.


