
Summer Sandcastle Cake
Summer officially kicks off for me with the Fourth of July and then I invariably try to cram in a summer’s worth of fun in one month. Almost every year over the past 15 years we have been lucky enough to celebrate the holiday with our long-time family friends who have a house on the Oregon Coast. It’s one of my favorite traditions. Gathering at the same time each year to check in on each other’s lives has created a special bond between our families. All the laughs, inside jokes and priceless memories and traditions will hopefully extend for generations to come. Naturally part of our tradition is the food! Seaside means corn dogs courtesy of our friends’ neighbor, caramel corn from Philips Candies, spinning the wheel at the Seaside Candyman, chowder at Norma’s, clam digging for part of the crew, and good ole American burgers and watermelon year after year. Recently, crème brulee French toast with berries has been a hit. But dessert has been the tradition that has stood the test of time. I like to joke that my entry fee for being invited each year is making “the pie” (but I’m not really joking). In addition to the requested chocolate candy bar pie, this year I decided to re-introduce the Sandcastle Cake.

One of our July 4th traditions: Sandcastle Cake, pictured here on the Seaside Prom.
I’ve baked a cake in the Nordic Ware Sandcastle Bundt Pan a number of times in summers past, including for the July 4th holiday, family beach trips and summer birthdays. I’ve traditionally used the recipe that came with the pan that I purchased from Williams Sonoma. However, this year I had been looking forward to trying Zoë François’ Vanilla-Bean Pound Cake from her Zoë Bakes Cakes cookbook (page 63-64). Zoë follows the traditional method of using one pound each of flour, sugar, butter and eggs. (Yes, my cake weighed 4+ lbs.) While the “pound cake” name has stuck, very few modern recipes actually follow these exact proportions. Today it’s common to use smaller quantities of each ingredient but to maintain the 1:1:1:1 ratio. Interestingly, the original pound cake (and Zoë’s) used no chemical leaveners and relied only on the air whipped into the butter to create the rise in the oven. Modern recipes that add baking soda or baking powder reduce the density of the cake. True to tradition, the version I made provided a buttery, dense cake that works well for eating by the hand-held slice while walking down the Seaside Prom.

The Vanilla Sandcastle Cake recipe that came with the pan when I purchased it from Williams Sonoma is a more delicate cake. It uses cake flour, milk and baking powder, contributing to a tender crumb and fluffier texture. The milk contributes moisture and tenderness as well.
Making the cake:
Bring your eggs and butter to room temperature.
Stick to the 1:1:1:1 ratio. Like I mentioned, you’ll need one pound each of flour, powdered sugar, butter and eggs. A pound of eggs is 9 large eggs. No need to weigh the eggs.
Don’t skimp on the vanilla: The recipe calls for 2 Tbs. vanilla extract and the scrapings of one vanilla bean. I couldn’t bring myself to pay $14 for a vanilla bean. Instead, I used Nielsen Massey Vanilla Bean Paste, which is a one-for-one substitution. I still got a rich vanilla result.
A teaspoon of kosher salt is the only other ingredient.
Optional flavors: You could add citrus zest, or perhaps almond flavoring. But I chose to let the vanilla sing.
Beat it. Just Beat it: Beat the butter as directed. One minute by itself and another 5 minutes with the sugar. Also beat thoroughly between the addition of every couple eggs. This is where a stand mixer helps immensely.
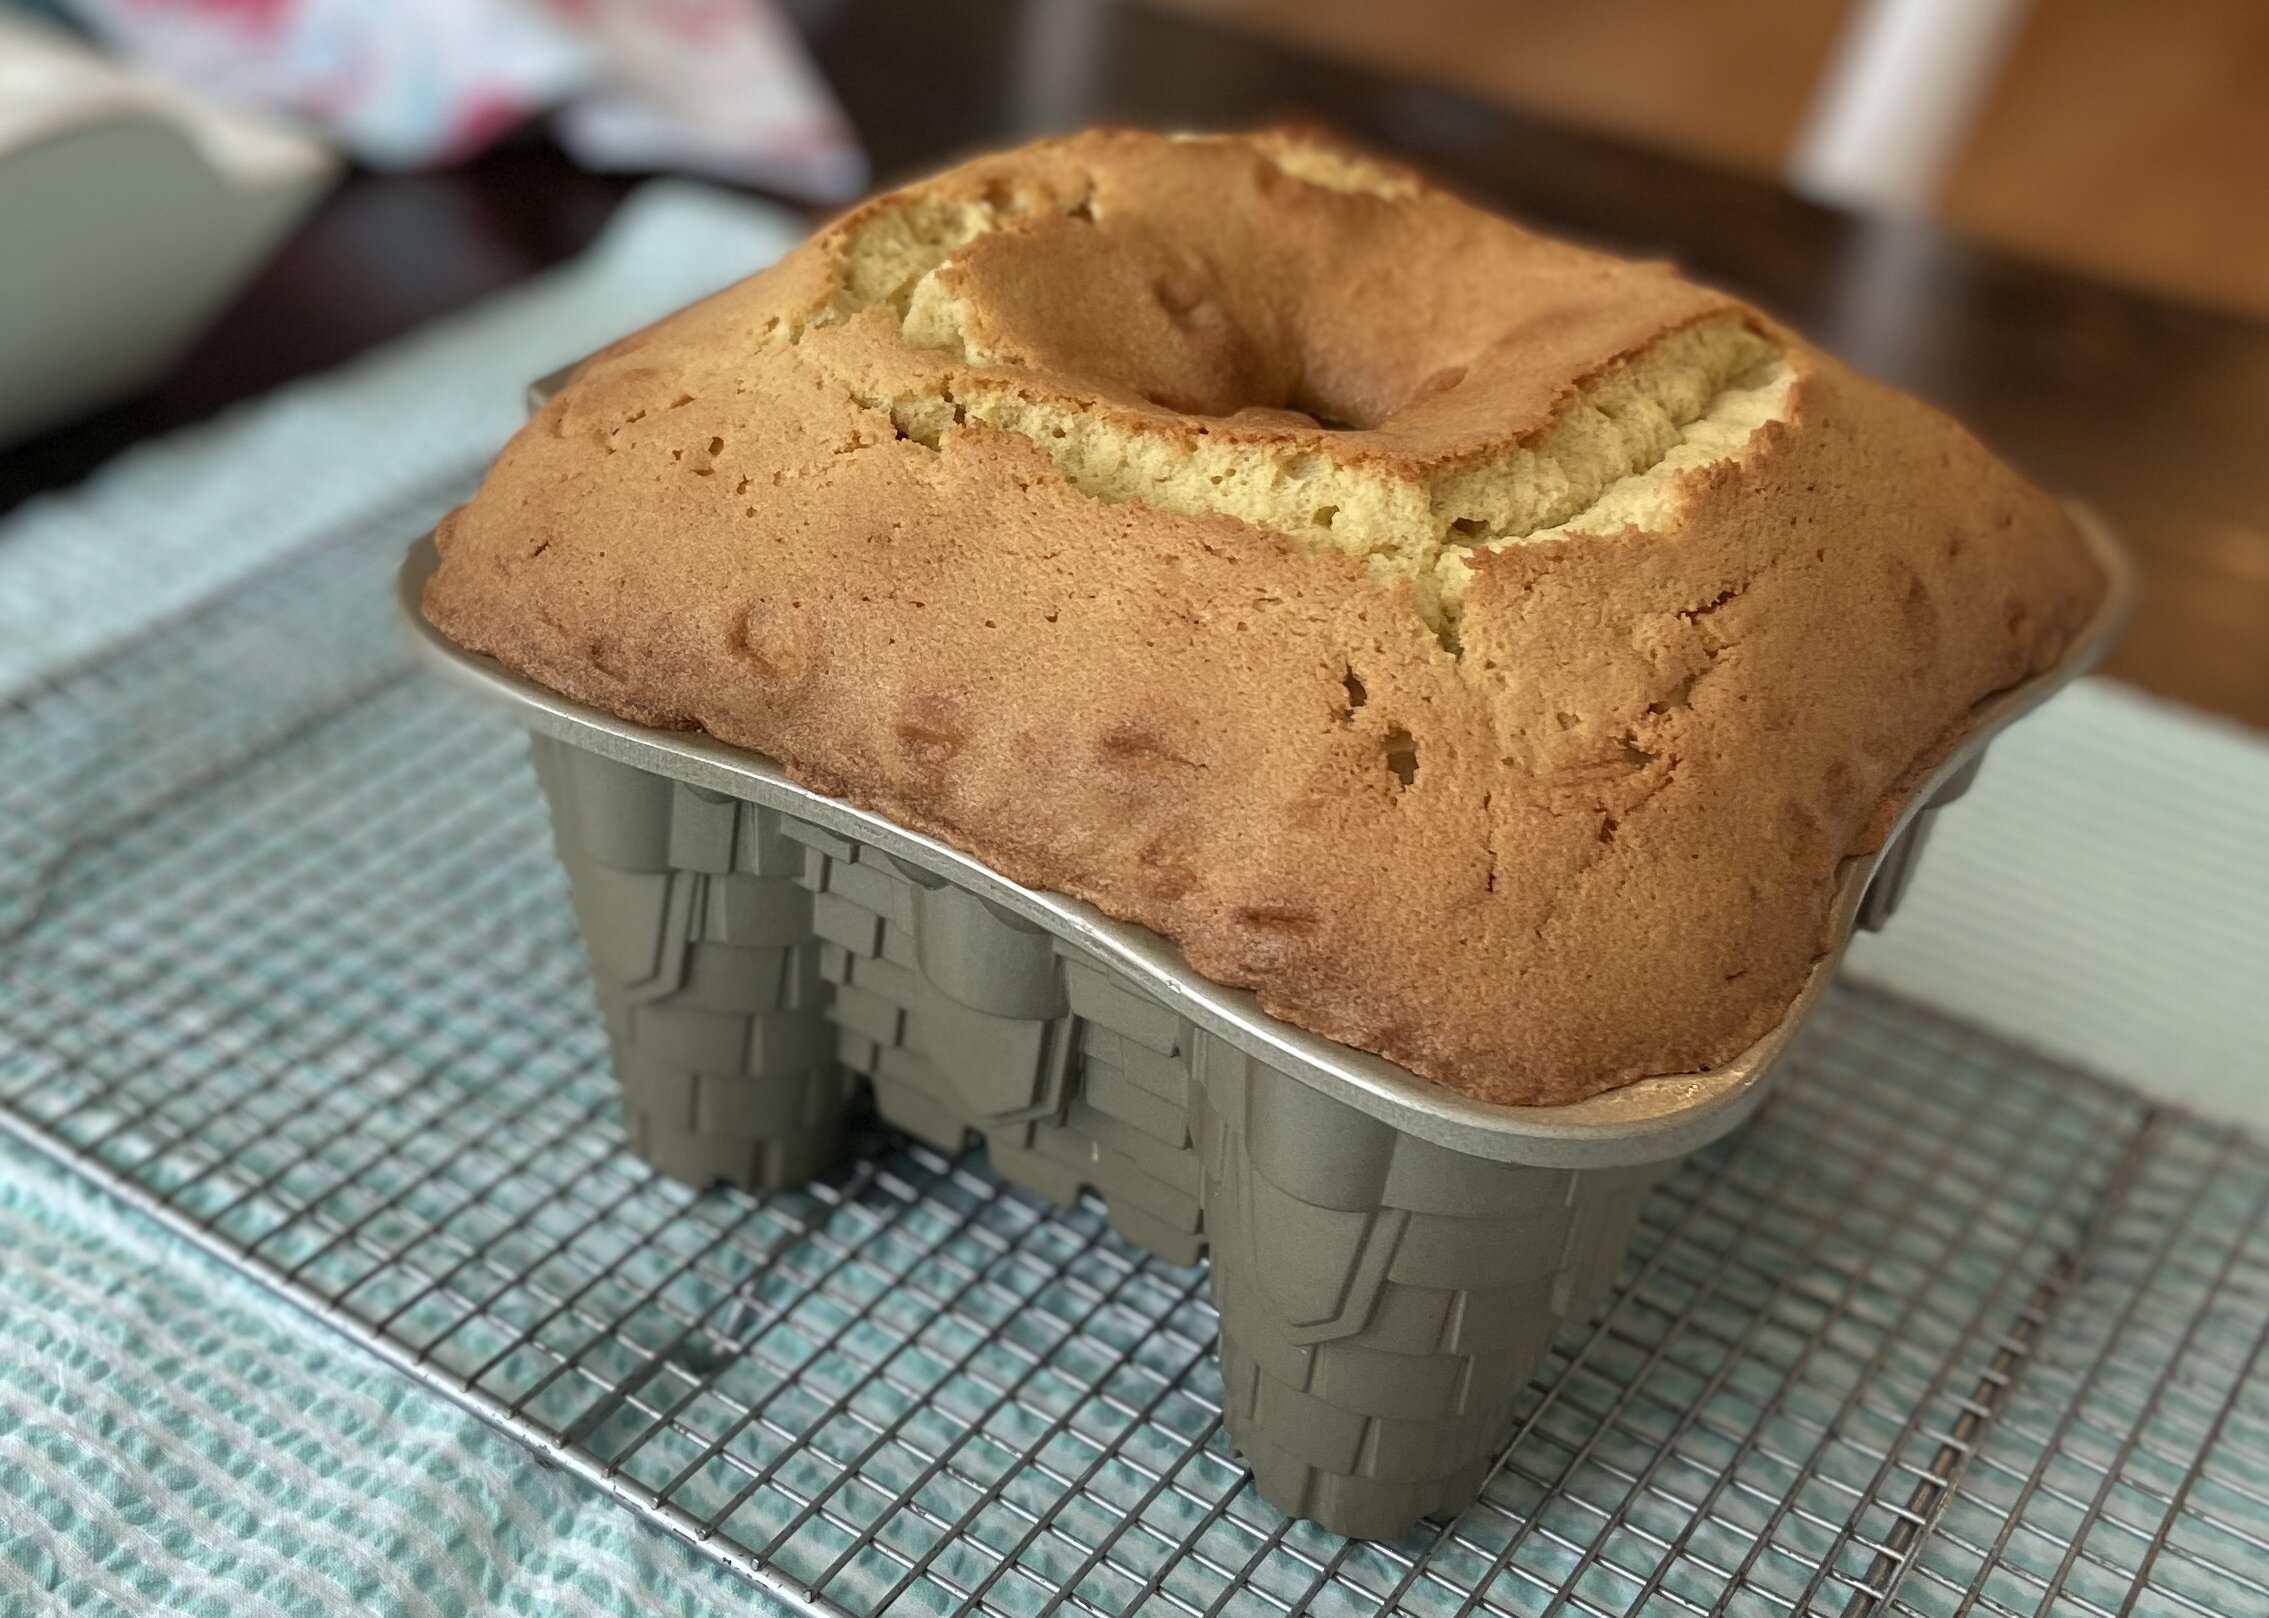
Place the cake pan on a baking sheet for baking. This is really for ease of lifting in and out of the oven. The sandcastle pan is a 10-cup pan. The recipe is for two large loaf pans or a large Bundt pan. It was pretty full when I put it in the oven. I wasn’t sure if I should have filled it that much, but the baking sheet gave me confidence it wouldn’t end up on the oven floor. It baked up nicely – exactly 1 hour and 10 minutes as directed. However, I did use a long-serrated knife and trimmed a good-sized slice off the top (all the better for sampling my dear) so the bottom was flat—before releasing from the pan.
For more tips on making the perfect Bundt cake, watch this video from Zoë François. There’s also a great section in her book called “cake academy” that includes tips and tricks for cake baking along with food science info that may help you figure out why your cake isn’t working.
Releasing the cake
For many people the most intimidating part about making an intricate Bundt cake is getting it out of the pan. (I have had my share of disasters.) The trick is in how you butter and flour the pan. Use soft butter – not melted butter. Use a small silicone pastry brush and get into all the nooks and crannies with very soft butter. Did I mention to use soft butter? In my opinion, the soft-bristle brushes are too hard to clean while the silicone ones can go in the dishwasher. Follow with a dusting of flour. Just sift it inside the pan, invert over the sink and give it a few bangs with the palm of your hand to shake out any excess flour. You could also use baking spray with flour, but I have never tried that. Besides, more butter is a good thing. Remember when it’s time to release the cake, let it sit for 10-15 minutes first. This will let it cool just enough to release easily. If you let it sit too long, it may stick. When it came time to release my cake, it slid right out. Just like butta.
In case you’re wondering, the most difficult thing about the cake turned out to be washing the pan afterwards. I advise filling it with hot soapy water, spray with your nozzle and dump out the water. Do this several times and then let it sit overnight in soapy water. Use a small soft brush or soft cloth to get into the crevices. Don’t use a sharp utensil and never put in the dishwasher.
Decorating the cake
First place the cake on your serving plate. I actually finished cooling mine on a rack so then I had to nudge and shimmy it onto my plate. Not ideal. Maybe next time, just put it directly on the plate! I have a square melamine white serving platter from Crate and Barrel that I literally purchased solely for this cake years ago. But I actually use this plate all the time as in multiple times a week.
Prepare a glaze or icing. I went with the syrupy glaze, using the Simple Syrup recipe on page 226 in Zoë Bakes Cakes. It’s simply 1 cup sugar dissolved in 1 cup water on your stovetop, with a tablespoon of corn syrup added. My corn syrup was dated 2017. Whoops! Go figure. Someone needs to clean out the pantry. So instead, I just added a tablespoon of golden syrup – a totally random ingredient I’ve used once, now twice. The purpose is so that the sugar doesn’t crystallize or become grainy after it sits. Then I covered the cake in demerara sugar to look like sand. Drizzle the cake liberally with the glaze, doing one side at a time and then tip your plate to sprinkle on the sugar, slightly pressing it in with the palm of your hand. Then I went back over the cake and surrounding sand with It’s a Party Glittery Sugar and Patriotic sprinkles (sold out but there are other close options) from Sprinkle Pop. This was my other motive for making the sandcastle cake: use my pretty new sprinkle products. My version of red, white and blue includes aqua. Of course. I added some flags and 4th of July decorations and lots of demerara sugar to mimic more sand. And yes, we did have a discussion on how to pronounce “demerara” (deh·mr·aa·ruh) sugar. What you do at the beach on a cloudy day.

Serving the cake
I like pound cake with lots of sweetened heavy whipping cream and berries. You could also fill it with ice cream, whipped mascarpone or pastry cream and berries. Yummy. We did determine that this version was denser than the Williams Sonoma recipe of earlier years. Not saying that’s a bad thing. Depends on what you want. A big dense slice for breakfast with a cup of coffee works well.
The other great thing about this dense of a cake (and pound cakes in general) is that they can be made a few days ahead. I made mine on Friday and wrapped it in plastic wrap and covered in foil right on my plate. Then I placed in all cozy-like in a cooler for its 4.5-hour ride to the beach. I decorated the cake on Sunday morning and we ate it later that day.
My husband saw me making the cake and remembering that I’ve had it for years, (almost 17 years I think) he asked if I have had to replace the pan over time. The answer is no. First, Nordic Ware pans come with a warranty and stand the test of time. Secret: look for them at Goodwill and other secondhand stores. People buy them for a special occasion and may never use them again. Hence, they end up at the Goodwill looking brand new. My sister coincidentally just picked up a Bundt pan for me! Now I’m looking for the Nordic Ware Mini Sandcastle pan … if anyone finds one, buy it and I’ll Venmo ya!
In the meantime, my sandcastle pan is staying with (my future) beach house for generations to come. Just don’t tell me if you intend to take it down to the beach to make actual sandcastles.