
Tom Douglas Peanut Butter Sandwich Cookies aka “the Nora Ephron”
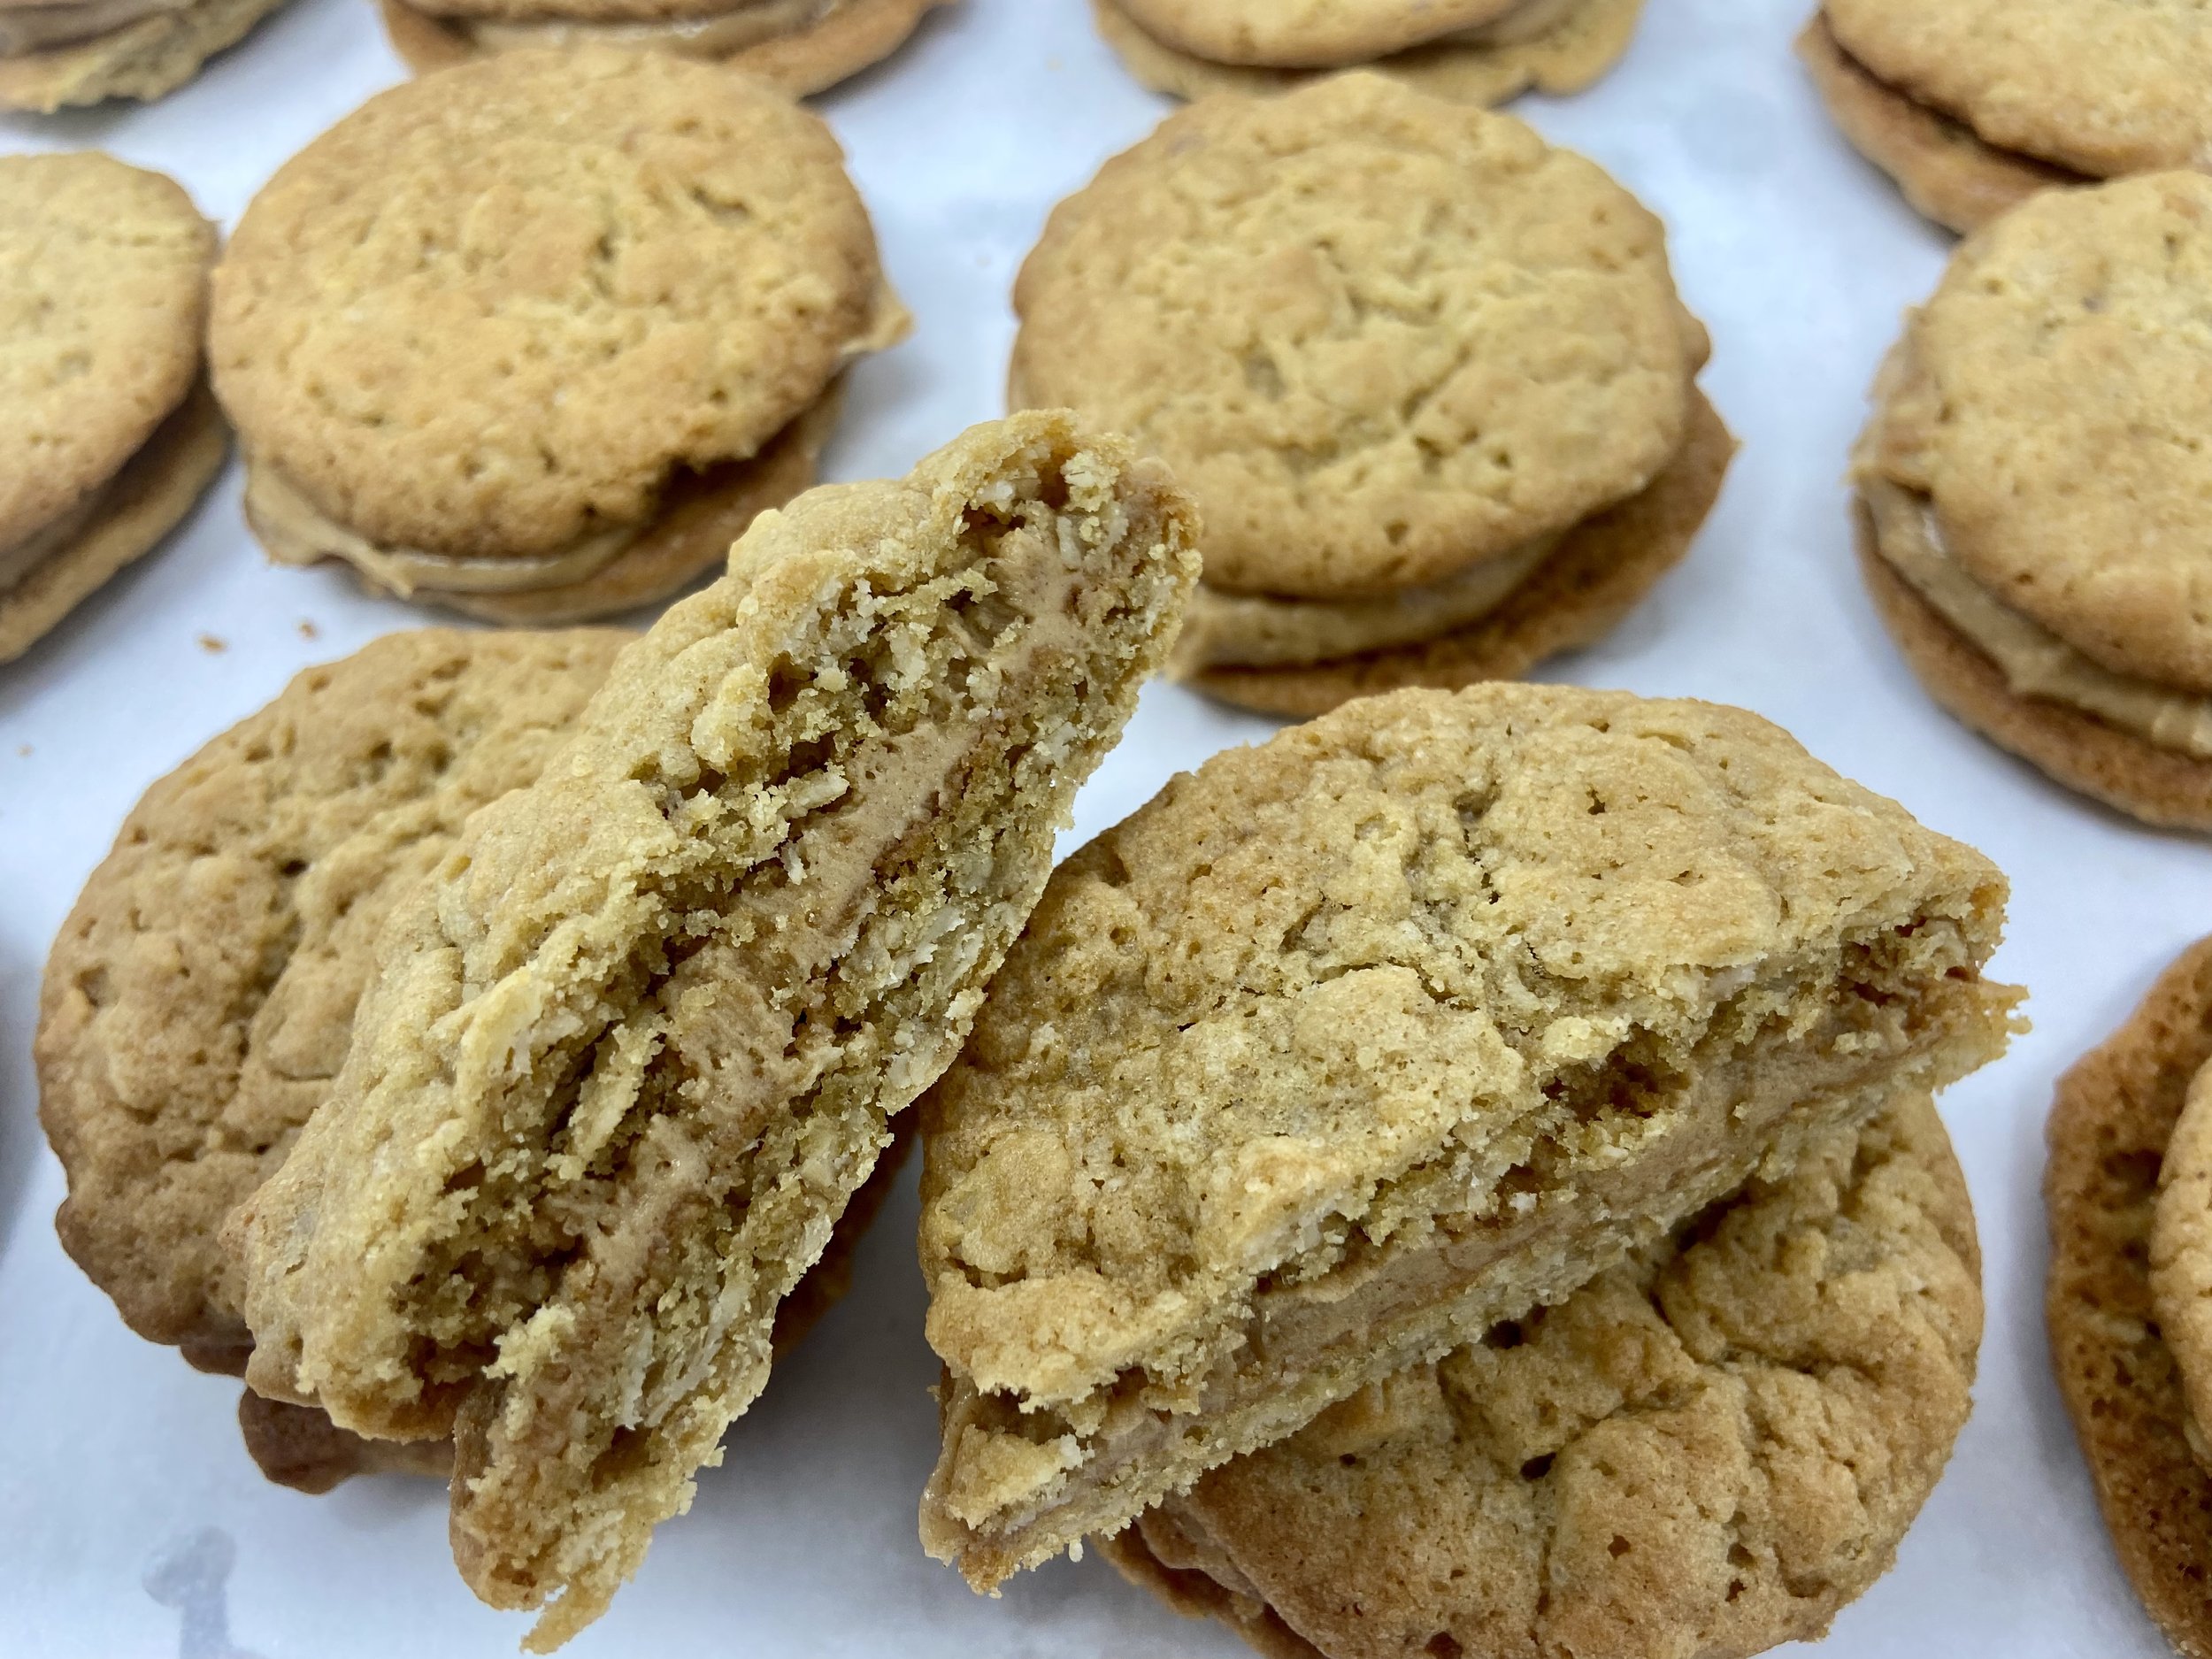
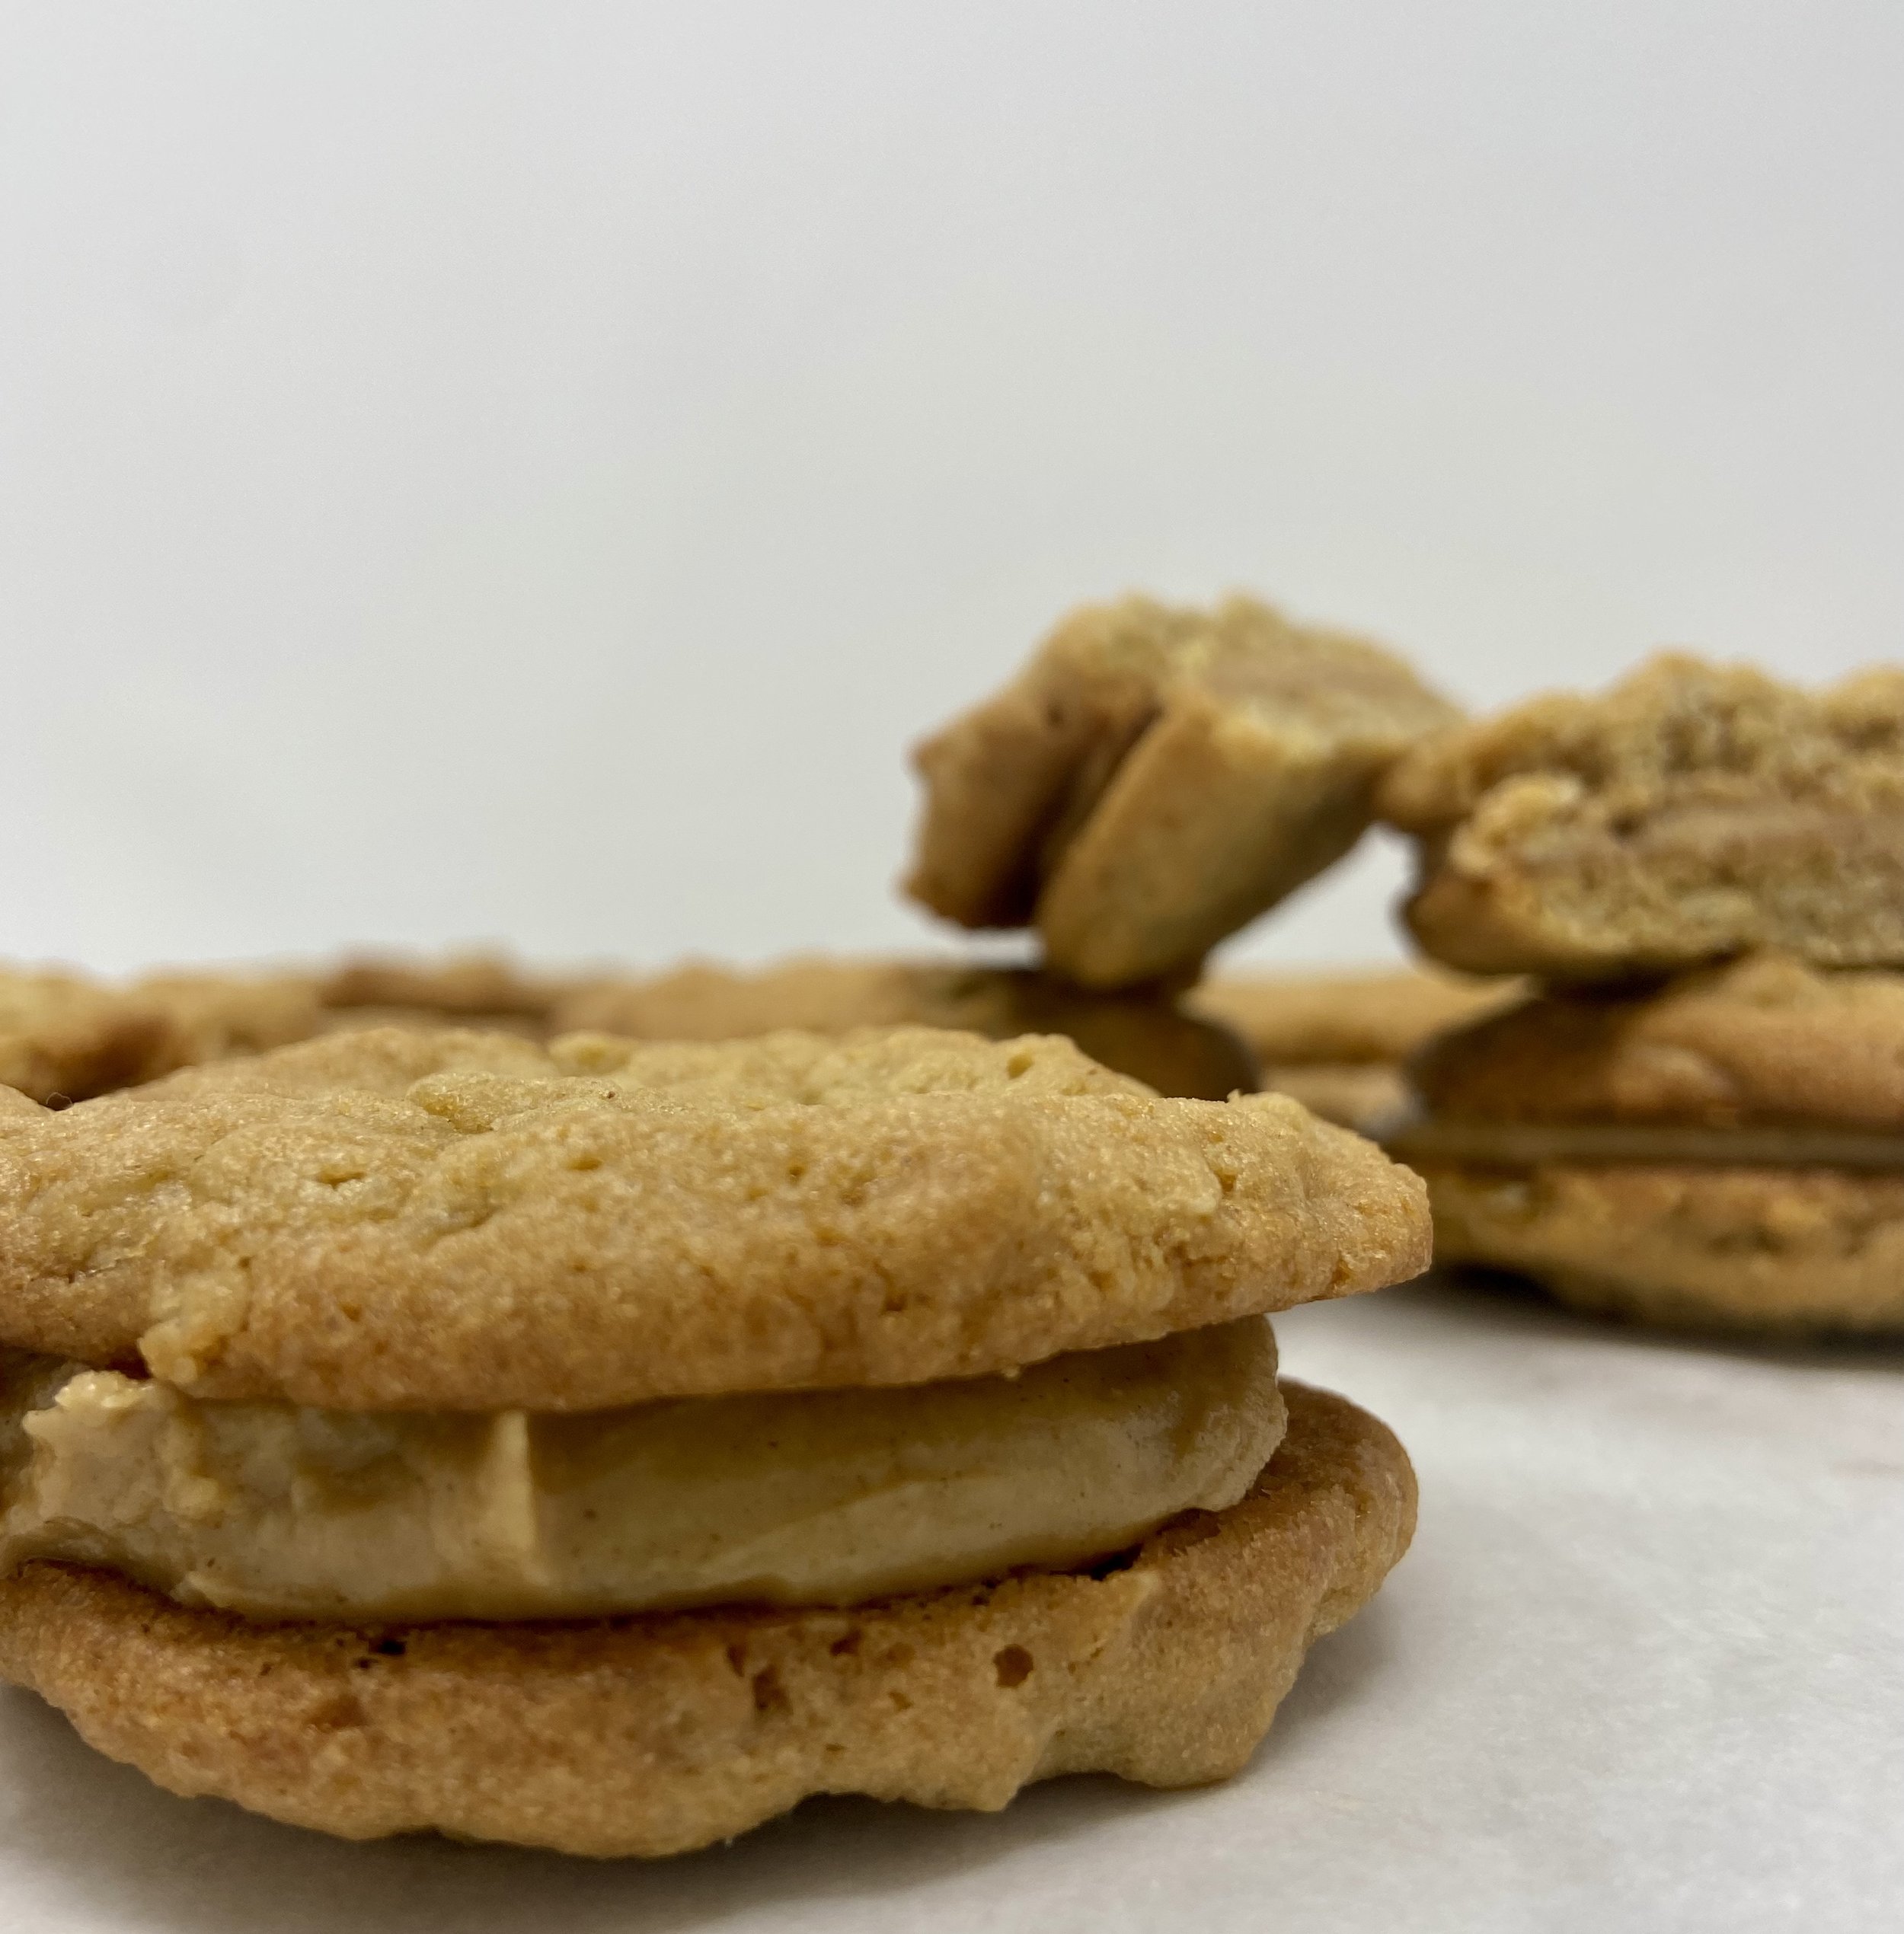
Anyone who is familiar with the food scene in Seattle probably knows of Tom Douglas and his first restaurant The Dahlia Lounge, which opened in 1989 and launched his culinary empire. In March of this year amid the pandemic, sadly, Douglas permanently closed The Dahlia Lounge. I had forgotten this until last month when we went downtown to satisfy my craving for the peanut butter sandwich cookies served at the adjacent Dahlia Bakery. My cookbook collection includes several Tom Douglas books including The Dahlia Bakery Cookbook where the recipe for these cookies resides. The story goes that Nora Ephron, director of Sleepless in Seattle, visited the bakery and bought the peanut butter sandwich cookies. She loved them so much that later she asked for the recipe and Douglas dubbed the cookie “the Nora Ephron.” Whatever you call them, they are a peanut-butter lover’s dream. It’s an oatmeal peanut butter cookie with a salty peanut butter and honey filling reminiscent of the Girl Scout Do-si-dos albeit super elevated. The 40-minute drive and $8.00 parking was totally worth my cookie. When I got home, I dug out my cookbook and made the cookies a few days later.

The recipe
Years ago I made these cookies without the best of luck, but this time they were perfection. These are more time consuming than your average cookie due to more steps and more attention to equipment. I recommend that you read through the steps several times before getting started and follow the recipe exactly (or as close as you can) and you’ll be rewarded with great results.
First, make the filling and put in the fridge.
Peanut Butter Filling ingredients
14 oz/400 grams creamy peanut butter (Douglas recommends Skippy; I used Adam’s NO STIR Creamy and they turned out swell)
6 Tbs unsalted butter, softened (I brought out the good stuff – Kerrygold Pure Irish Butter)
2 Tbs powdered sugar
2 Tbs honey
1 tsp kosher salt (Diamond Crystal is my preferred. If you use table salt, you’ll need to half the amount.)

Check your equipment and read recipe thoroughly.
The dough requires a 2-hour (or longer) chill. So you could make the filling and dough the night before you plan to bake and assemble the cookies.
Helpful (if not mandatory) equipment:
Stand mixer: Just makes life easier!
Baking sheets: You’ll need two of the same size good quality cookie sheets like these, so you can double pan the cookies for even baking.
Cookie scoop – 1 oz size
Kitchen scale – This is very helpful for peanut butter! No messy scooping and digging out of measuring cups.
Cookie dough ingredients
1 ½ cups all-purpose flour
1 tsp baking soda
½ tsp baking powder
1 2/3 cups rolled oats, like Quaker Old Fashioned
½ tsp kosher salt
1 cup plus 2 Tbs unsalted (2 sticks plus 2 Tbs) butter
1/3 cup crunchy natural peanut butter such as Adams, well mixed (I used the NO STIR variety)
3/4 cup sugar
2/3 cup brown sugar packed
2 large eggs, room temperature
1 tsp vanilla extract
Tips
The complete recipe can be found here. Again, make sure you read it thoroughly before getting started.
Set your butter out a few hours in advance to soften.
Bring eggs to room temperature. Put warm water in a bowl and submerge eggs for 3 minutes.
Make sure you use kosher salt (NOT table salt) for the right level of saltiness.
Peanut Butter – Creamy for the filling and chunky for the cookie dough.
Do sift the flour, baking soda and baking powder (I use a stainless steel colander over a mixing bowl).
Do beat the butter, peanut butter and sugar for a full 3 minutes until pale and fluffy.
Use good honey. You deserve it.
Use a cookie scoop or ice cream scoop to portion cookies into 1-ounce balls. I weighed the first few on my scale to get a visual.
Line baking sheets with parchment. Scoop all the dough and put on baking sheet. Use a sheet that will fit in your fridge!) They can be close together for this step.
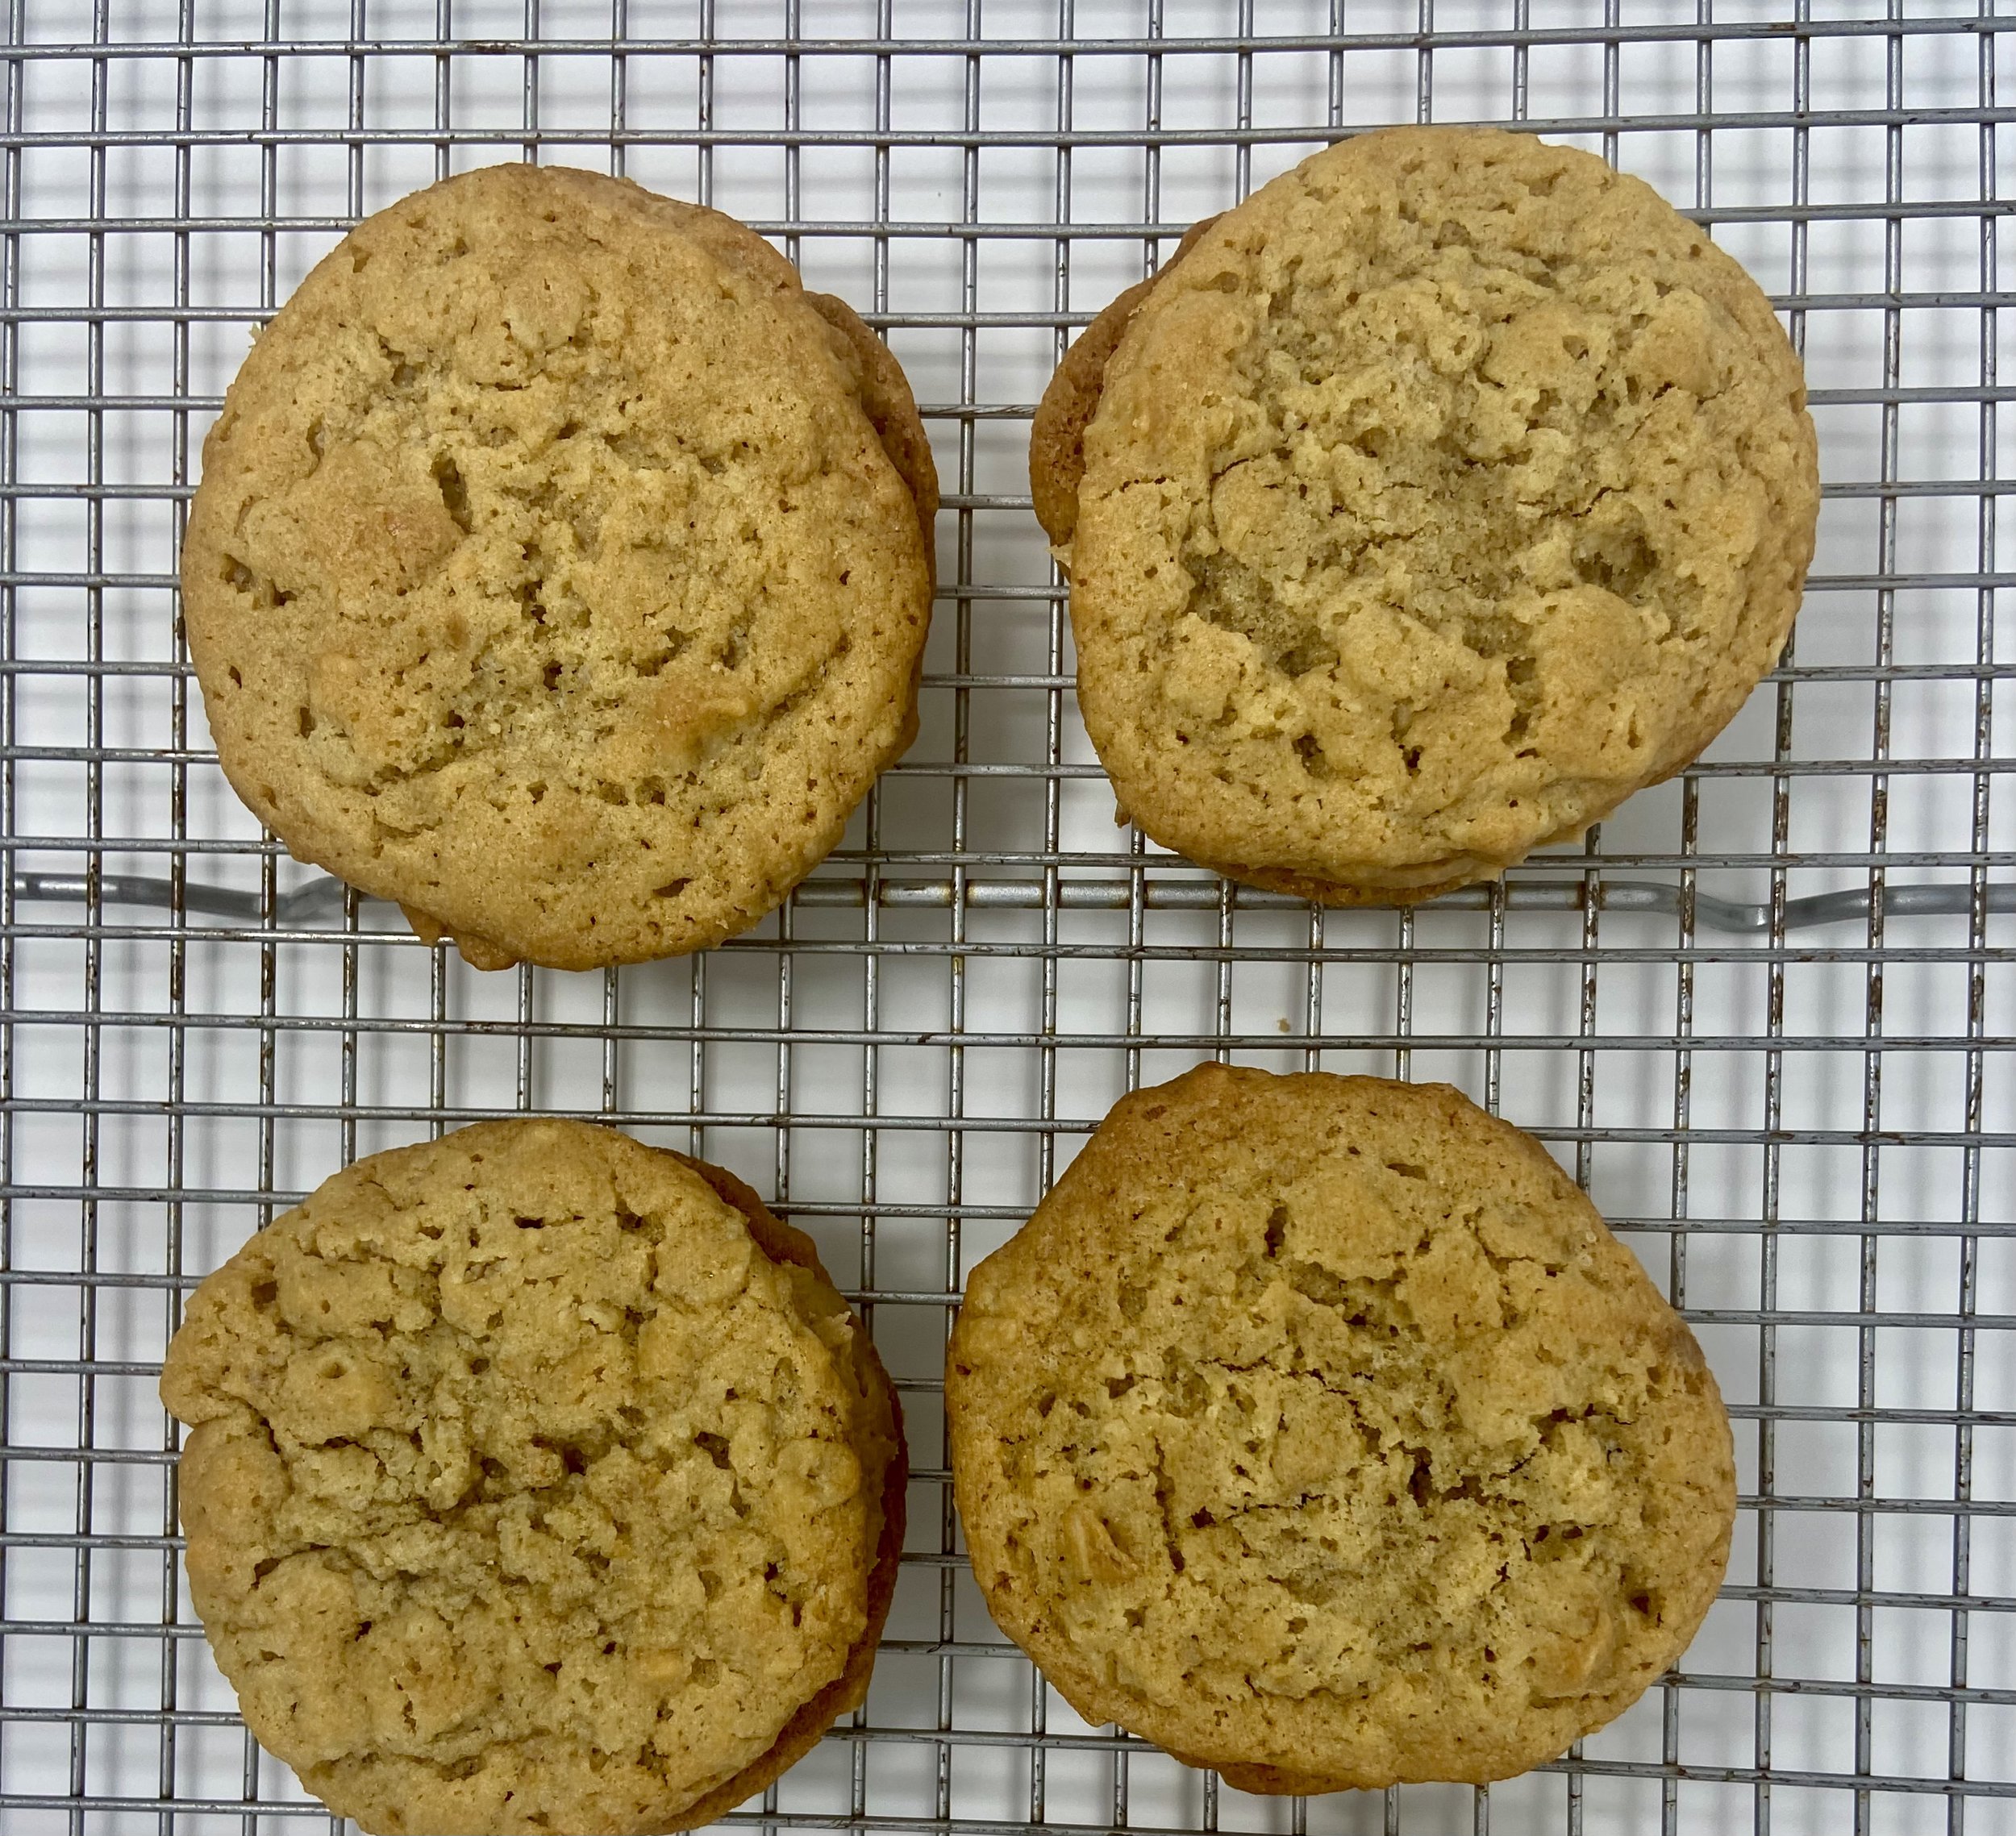
When baking, don’t be tempted to crowd more onto the pan. Only put 8 to a pan and stagger them so they have room to spread. Do not flatten them. Rotate halfway through baking time. Bake at 375 degrees for 12 minutes. Watch subsequent batches as your oven may get hotter over time (like mine). My first pan took 12 minutes, but after that I checked them at about 10 minutes.
Don’t put the next batch of cookies on a hot pan. I only had two pans of the same size, so I had to wait for the pan to cool in between. Read a book. Watch an episode of Ted Lasso.
Allow all the cookies to cool before filling. Okay, so I may have made an odd number and was forced to eat the extra one right away. Not a bad idea.
Turn one cookie flat side up, spread with a 1-oz scoop of filling. Place another cookie on top pressing down gently to flatten and get the filling to spread to edges.
Makes about 24 sandwich cookies (3.5 inches in diameter).
P.S. They also freeze well.
Let me know if you make these! I hope all these steps don’t scare you off. They are so worth it. Or if you find yourself sleepless in Seattle, visit the bakery and try a peanut butter sandwich cookie! But if you do,, be forewarned that you may be tempted to also pick up a chocolate truffle cookie … and definitely a couple of the mini coconut pie bites. After all, you’ll need to justify the cost of parking.