Obsessively Good Coconut Brown Butter Cookies
Coconut-lovers rejoice! I just discovered the cookie of all coconut cookies. I am obsessed. It’s also a cookie for butter lovers. And for those who love flaky salt. Sign me up. If you’re a lover of all three, you will be obsessed. These Coconut Brown Butter Cookies that Deb Perlman aka Smitten Kitchen reverse engineered from the once upon a time City Bakery in New York City, are more than the sum of their ingredients. Close your eyes and imagine the toasty goodness of lick-your-lips brown butter combined with the crunch from salt flakes and lots of chewy coconut. Heavy on the butter. Heavy on the coconut. Not shy on salt. Obsessively good.
These cookies beckoned me Monday when I came across them on Deb’s newsletter, the smitten kitchen digest, and I knew I had to taste them. She first wrote about these unassuming coconut cookies back in 2014 after her own long obsession with the City Bakery cookies. I had never heard of the City Bakery, which sadly closed in 2019 after 30 years in business. Upon reading their background, I needed these cookies even more.
But first, I needed to buy coconut. It seemed like a herculean effort to go out into the rain and windstorm and before I managed to do so, our power went out. I guess I was destined to go to bed early and only dream of brown butter and coconut flakes. So when the power returned Tuesday afternoon, what was the first thing I did? Bought the coconut. Of course. Came home, browned two sticks of butter, and prepared to make the coconut brown butter cookies.
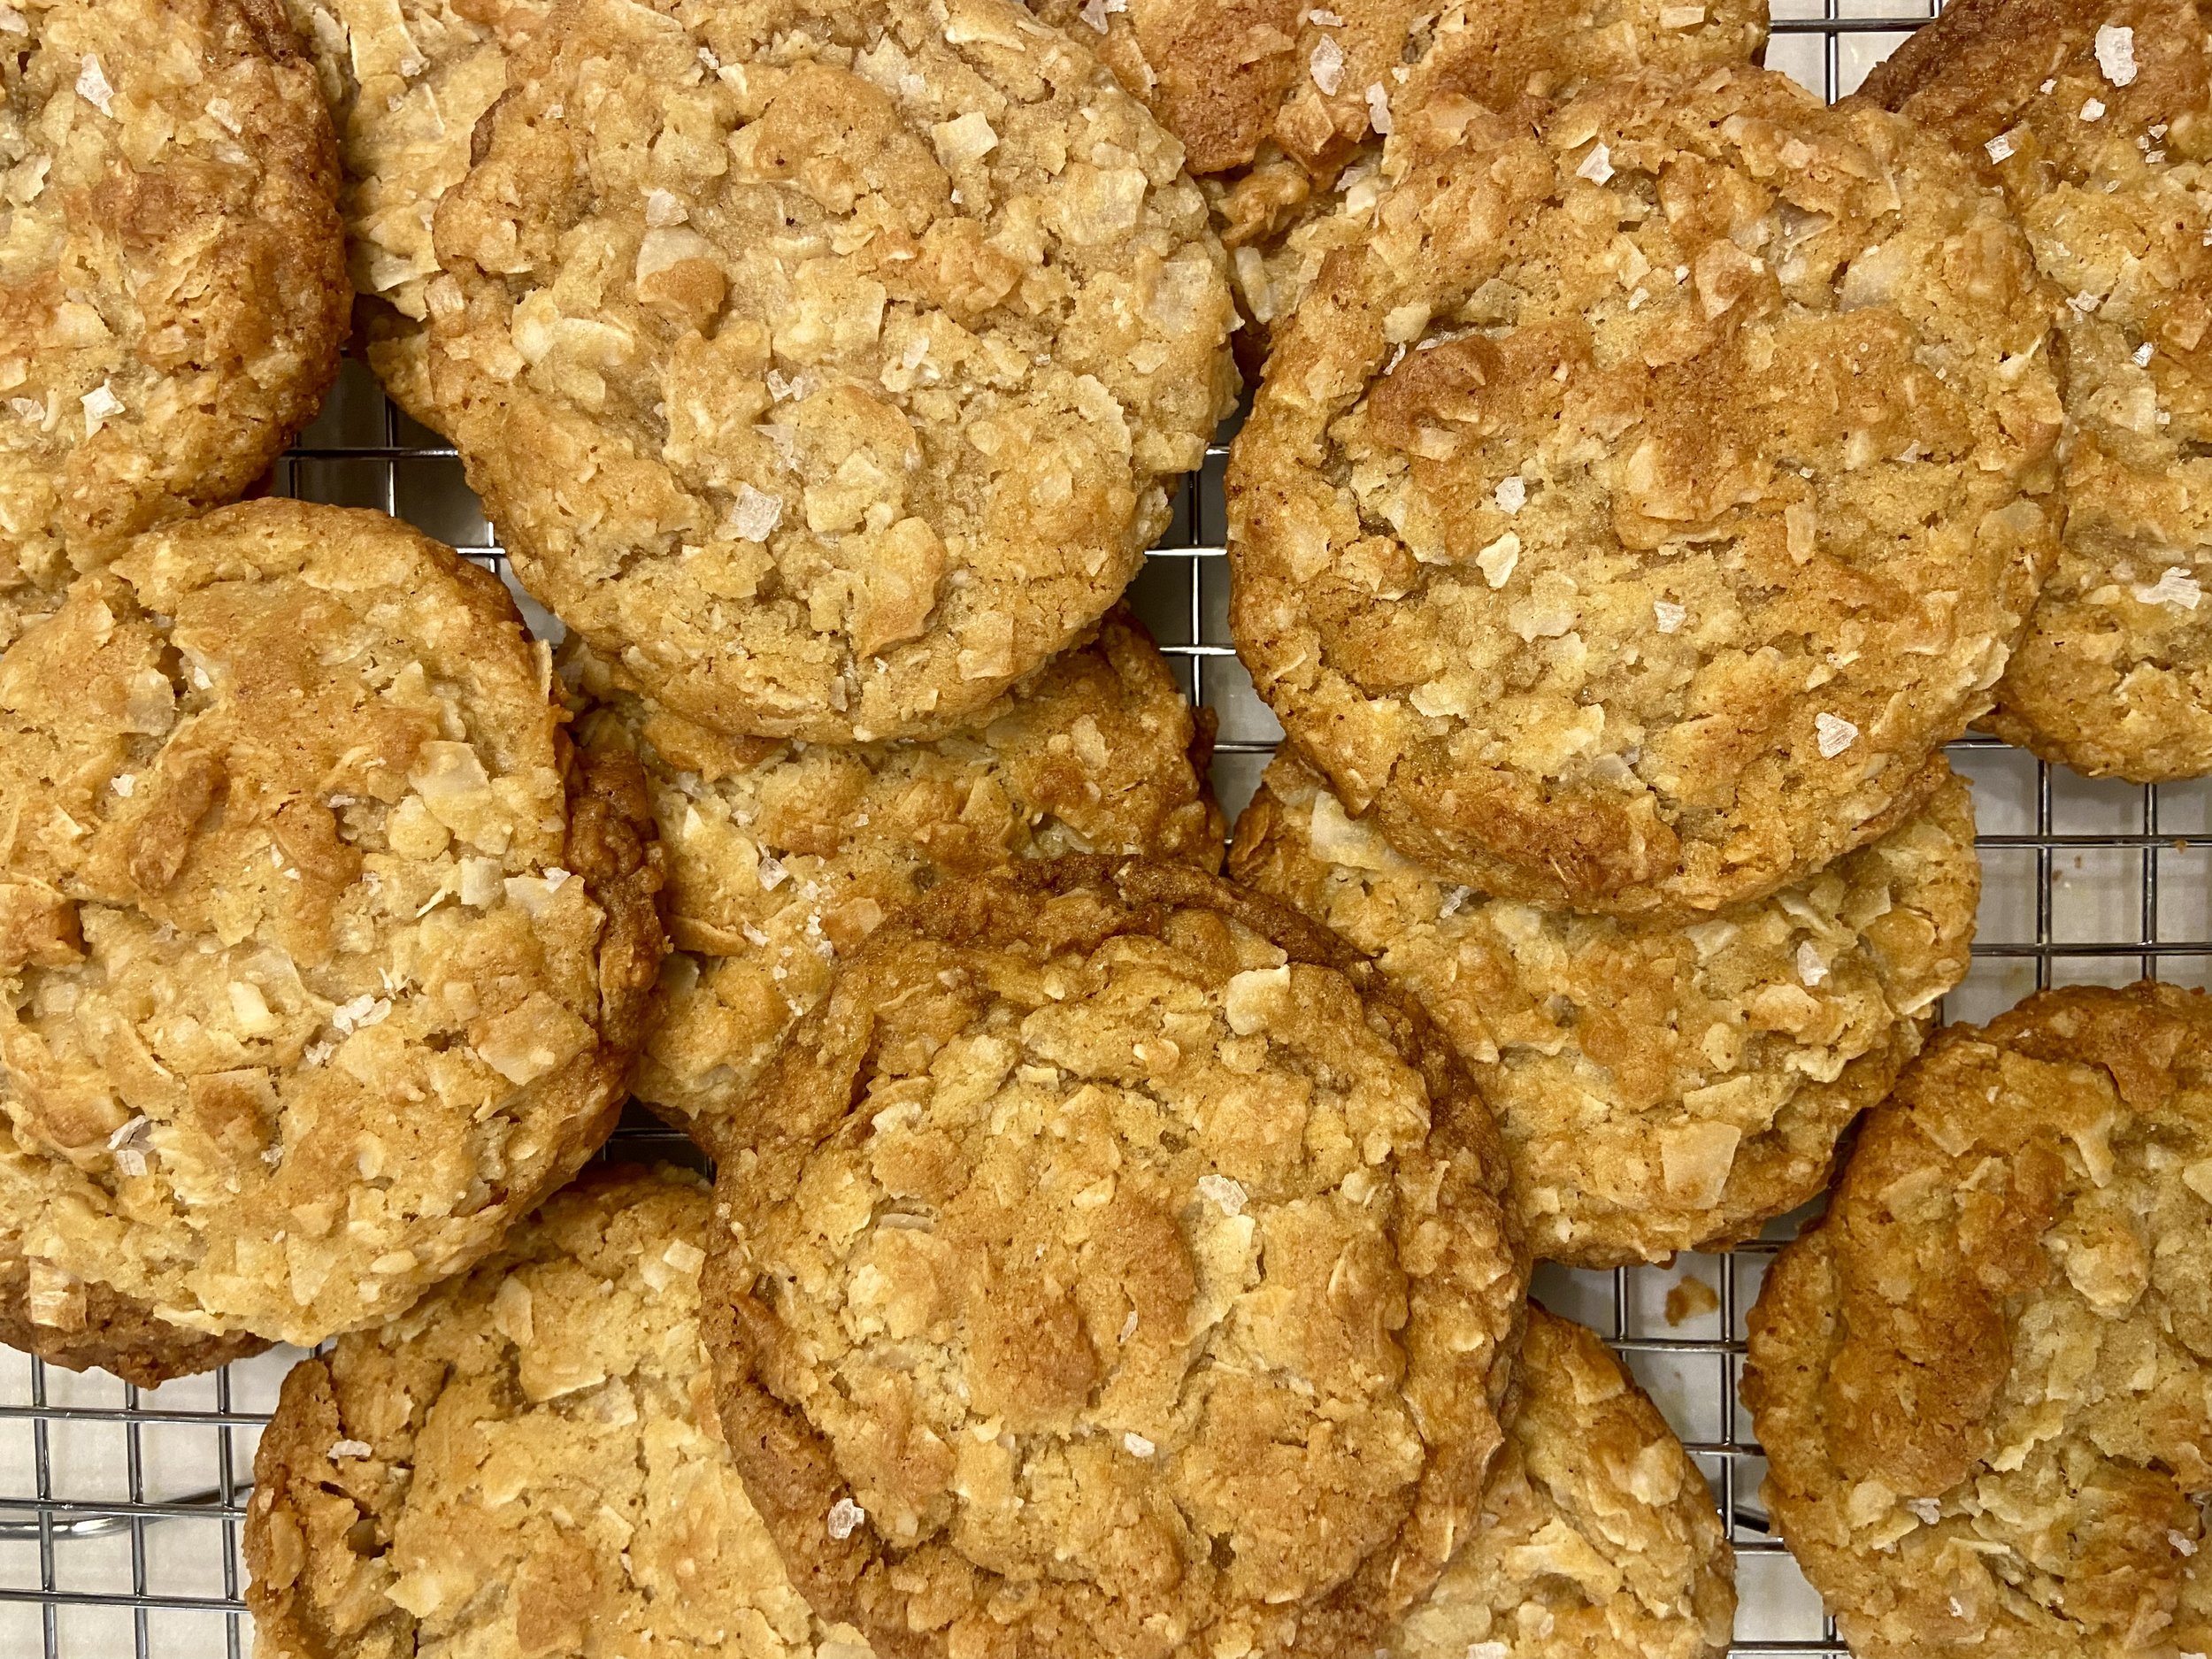
Crispy edges with chewy coconut centers combine with the taste of brown butter and salt to create a memory that will linger way beyond your last bite.
Heavy on the butter. Heavy on the coconut.
These cookies have possibly more chewiness than a macaroon but with delightfully crunchy edges and so much butter. Brown butter. Somehow you taste the butter, the salt, and the coconut each on their own, yet all at once. Proportionately, the recipe is heavy on butter, heavy on coconut, while light on flour and only calls for one egg. What takes these cookies over the edge into incredible territory is the fact that Deb browned the butter, increased the salt, and added vanilla.
Visit the Smitten Kitchen site for the full recipe. The ingredient list follows below but allow me to comment on the star ingredients.
** Also, it’s important to know that you’ll need to brown the butter in advance and let it chill in the fridge for 1-2 hours. Please plan accordingly, coconut lovers.
Ingredients
1 cup (2 sticks or 225 grams) unsalted butter
2 tablespoons water
1/2 cup plus 2 tablespoons granulated sugar
3/4 cup packed light brown sugar
1 large egg
1/2 teaspoon pure vanilla extract
1 1/4 cup plus 3 tablespoons (175 grams) all-purpose flour
1 teaspoon baking soda
Slightly heaped 1/2 teaspoon flaky sea salt
4 cups (240 grams) dried, unsweetened coconut chips

Butter, coconut flakes and flaky sea salt are the star ingredients in these cookies.
Not all coconut is created equal
Coconut is available in flakes, chips or shredded. Sweetened and unsweetened. This recipe calls for a whopping four cups of coconut, so choose wisely. I used Bob’s Red Mill Unsweetened Coconut Flakes, which is typically my go-to brand and what my store carries (and also the one Deb used). Good thing I didn’t have to make the big decision between flakes and chips!
The flakes turned out perfect, but if you want to really see the coconut pieces and opt for an even bigger crunch, you could use coconut chips. I usually have the Trader Joe's Organic Unsweetened Coconut Chips in my pantry but had recently used them for a batch of granola. I’m thinking if I had both, I would have used the four cups of flakes in the cookies and pressed a few of the bigger chips into the tops of the cookies for visual impact. And while you could use shredded coconut, you won’t get as big of a crunch and the cookies will be denser.
Just make sure you buy unsweetened. There’s a time and place for the Baker’s sweetened coconut. (I’m looking at you, coconut pecan frosting on top of German chocolate cake.)
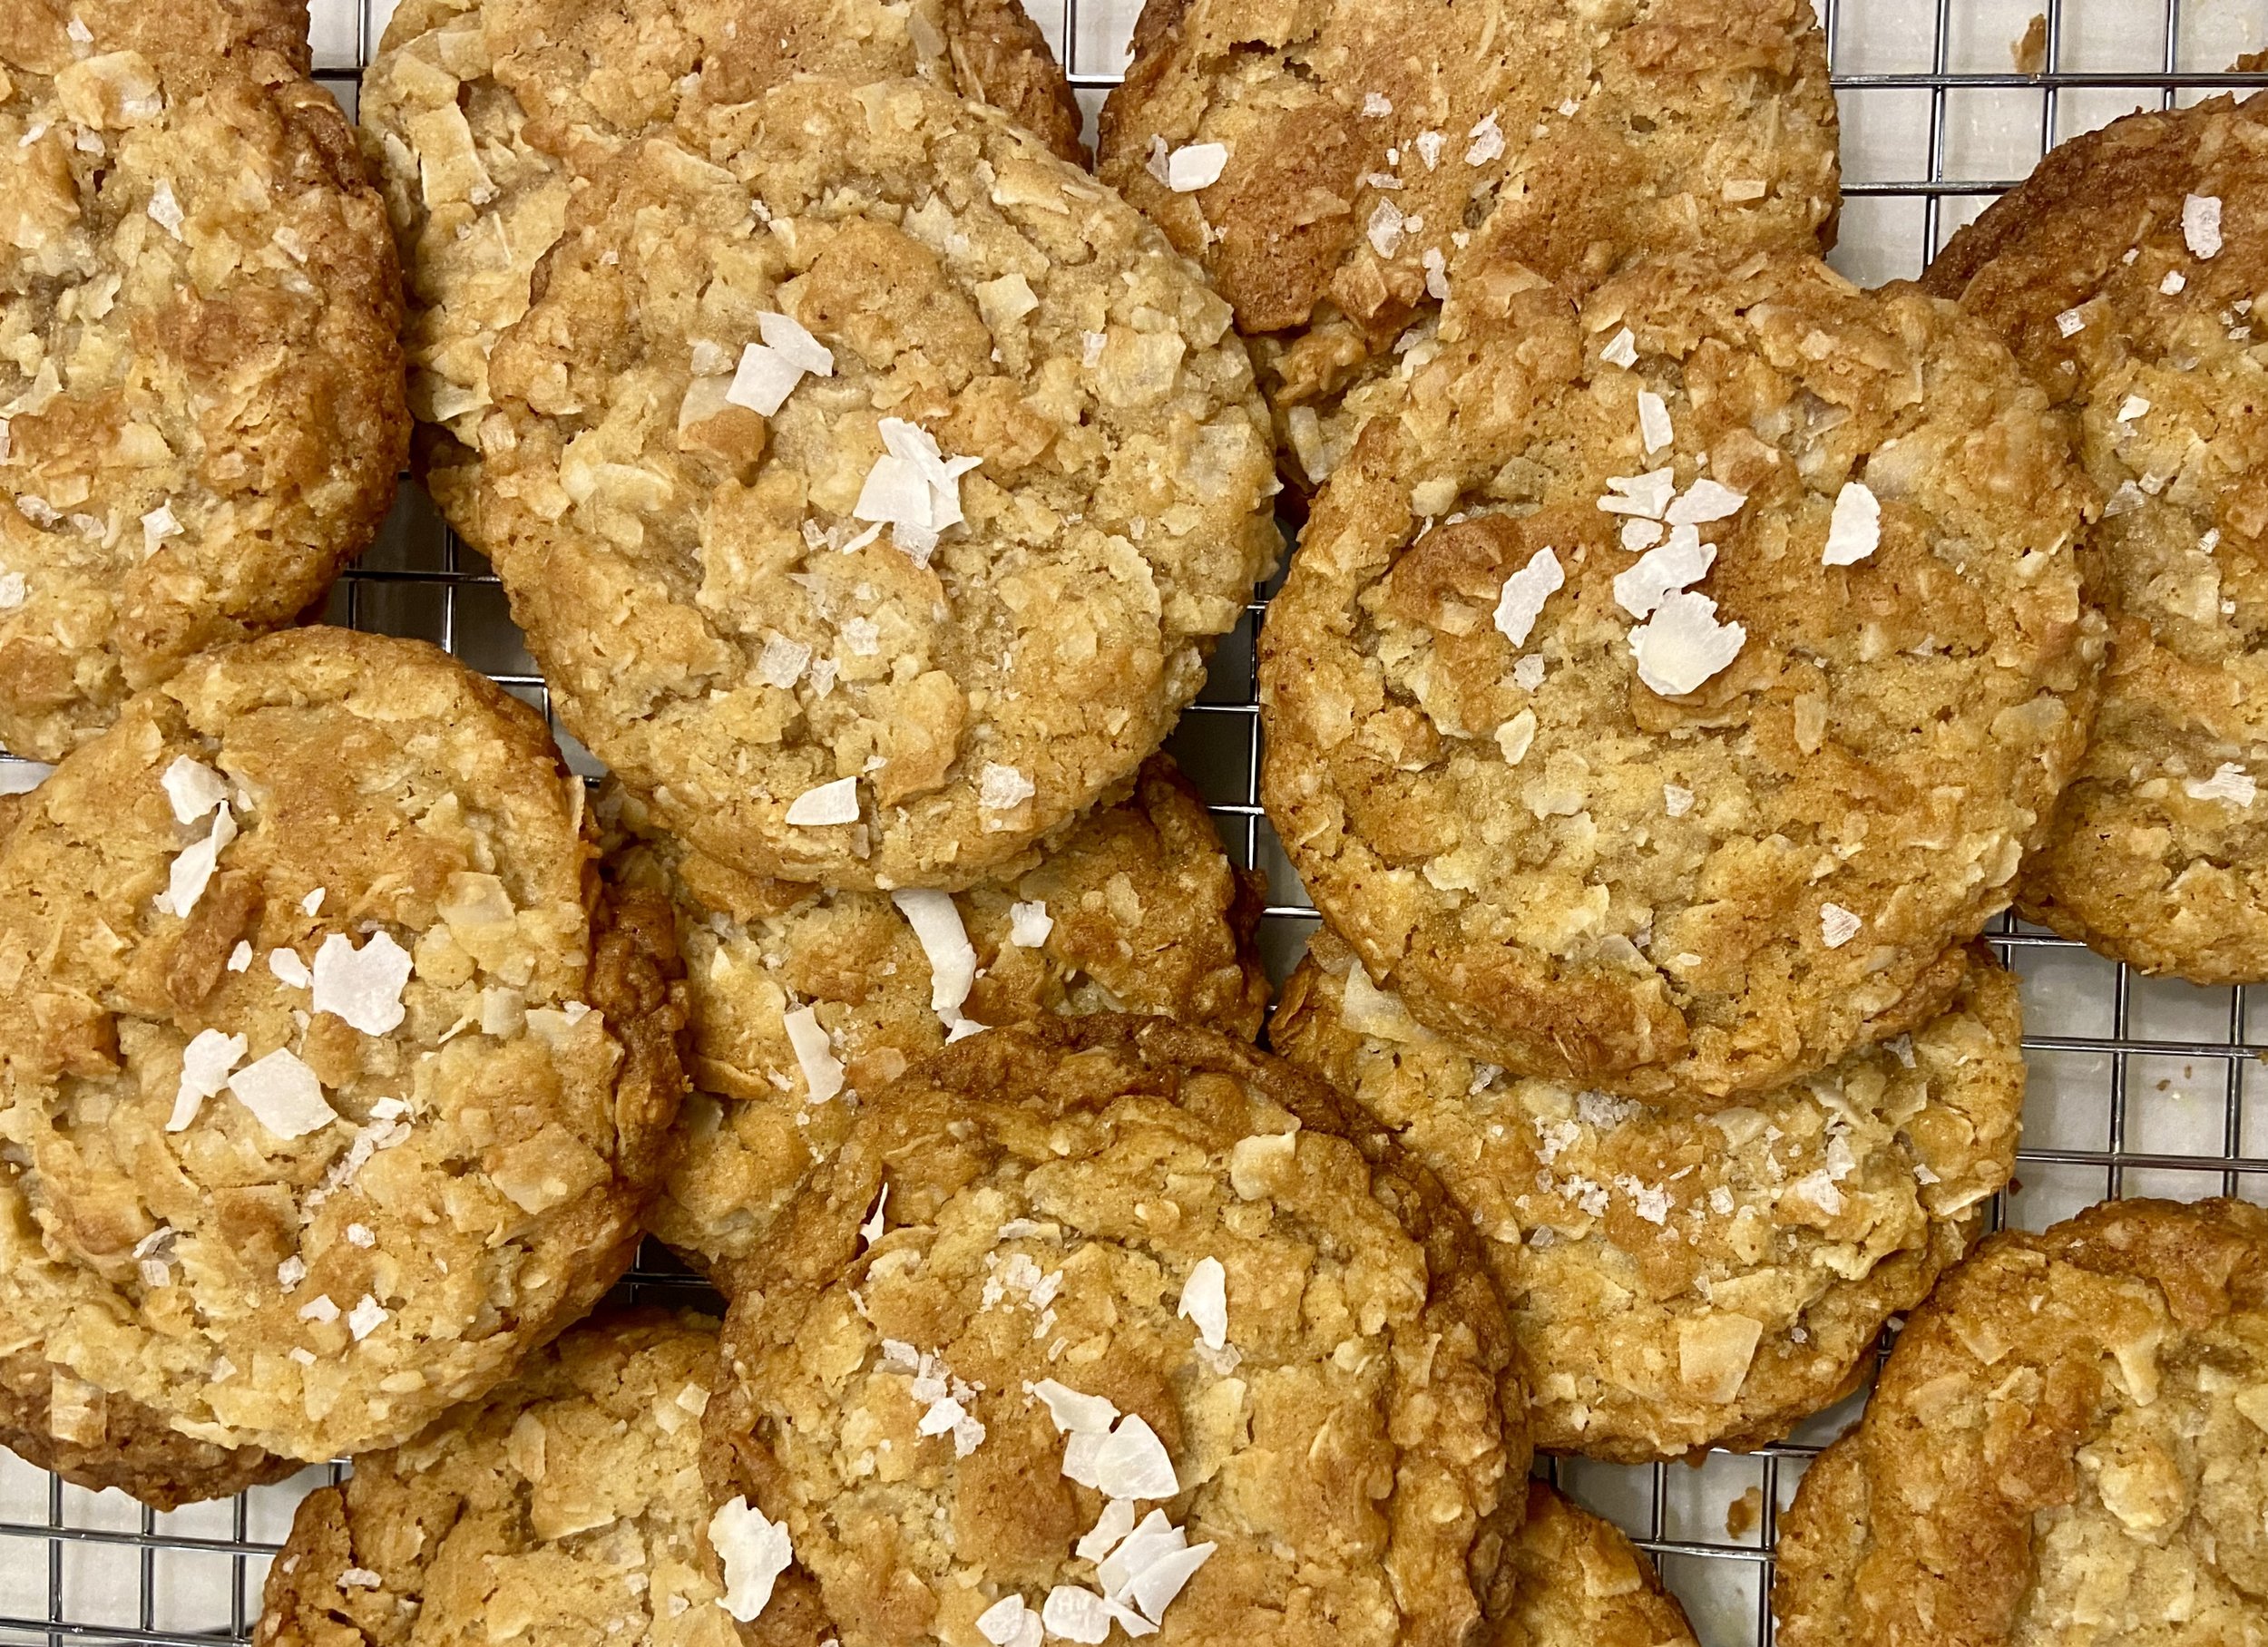
Shining the spotlight on the coconut.
About the Salt
The original recipe called for a mere pinch of salt. But I’m with Deb. A pinch of salt would never be enough. Instead, she calls for a slightly heaped 1/2 teaspoon of flaky sea salt. I debated whether that meant I should use Diamond Crystal Kosher Salt Flakes (my standard for baking) or my fancy Jacobsen Pure Flake Sea Salt. I think she may have meant regular kosher sea salt, but with reckless abandon, I threw in a heaping 1/2 teaspoon of Jacobsen sea salt and even sprinkled more of these delicate flakes on top after they were baked. The salt was perfect in my opinion. The salt dissolves on your tongue and contributes to the reason your taste buds vacillate between the butter and the salt on your palate. This is all while you’re savoring the crunchy edges, chewy coconut and that bit of crunch from the salt.
Browning the Butter
This is the hardest part about baking these cookies, and it’s not that hard. A few hours before you plan to bake the cookies, melt two sticks of butter (1 cup) in a saucepan over medium heat. Yes, another decision to be made. Which butter to use.
I had three options in my fridge (all unsalted). Kerrygold butter which is a European butter (82-83% fat content), Tillamook Extra Creamy butter (81% butterfat), and Kirkland butter – a typical American butter with 80% butterfat. I’m here to tell you that I used the Kirkland butter (equivalent to most store brands) and that my cookies were delicious. I even have testimony from valued neighbors (a physician and an engineer with highly discerning palates and credible opinions).
Here’s the deal. A debate exists online over whether you can taste the difference after browning the butter. I think it’s probably negligible. The difference is really in how much water is in the butter and therefore, how much water you’ll need to replace after browning the butter. See the recipe for an explanation on adding water to the browned butter to bring it up to one cup. I found that using American butter, I added the 2 Tbs water as recommended and it was just right. Of course, if you want to read all about browned butter, please do so.
In short, the butter will melt, then foam up. It will turn clear and then start turning brown and you’ll be able to smell the nuttiness/toastiness of the warm butter. A gas stovetop will go quicker than an electric stovetop. And a European butter will go faster than an American butter that has more water. Stir it frequently and don’t walk away. It will take between 5 and 10 minutes. You’ll know when it’s ready when it’s very fragrant and you see it turn dark quickly and brown flecks start to appear on the bottom. Remove from the heat and pour butter and all browned bits into a glass measuring cup. This is when you carefully add about two tablespoon of water to bring it up to the one-cup mark.
Chill your browned butter in the fridge until it solidifies, one to two hours. You’ll be whipping this beautiful butter with the sugars in the first step of your recipe. This is the point where my hubby asked for a bite.
Making the cookies
When you’re ready to bake, preheat oven to 350 degrees. This cookie dough comes together very quickly. After mixing the chilled butter and sugars, you add the egg and vanilla followed by dry ingredients, and finally coconut.
Then comes one more decision. Do you want small, medium or large cookies? Depending on how big you scoop them, they could bake between 12 and 16 minutes. I used an ice cream scoop that was 2-inches across and holds 3 tablespoons. I baked them at 350 degrees for 14 minutes. I rotated the pan halfway through as the edges on my back cookies got crispier. This method yielded 20 cookies. Or maybe there were 21 and I ate one, can’t remember. Check the recipe for info on the spread of the cookies. Basically, she suggests starting with just a few to see how they spread. If they don’t spread enough, she says to add a little water. Mine were fine, although I did do a scoot when they emerged from the oven and patted the top down on a few of them. Let them cool a couple minutes on pan before placing onto a cooling rack.
The recipe says these cookies keep for up to one week at room temperature. I wouldn’t know. But if you must, extra dough can be stored in the fridge for several days or in the freezer for longer. Let me know if you try them!
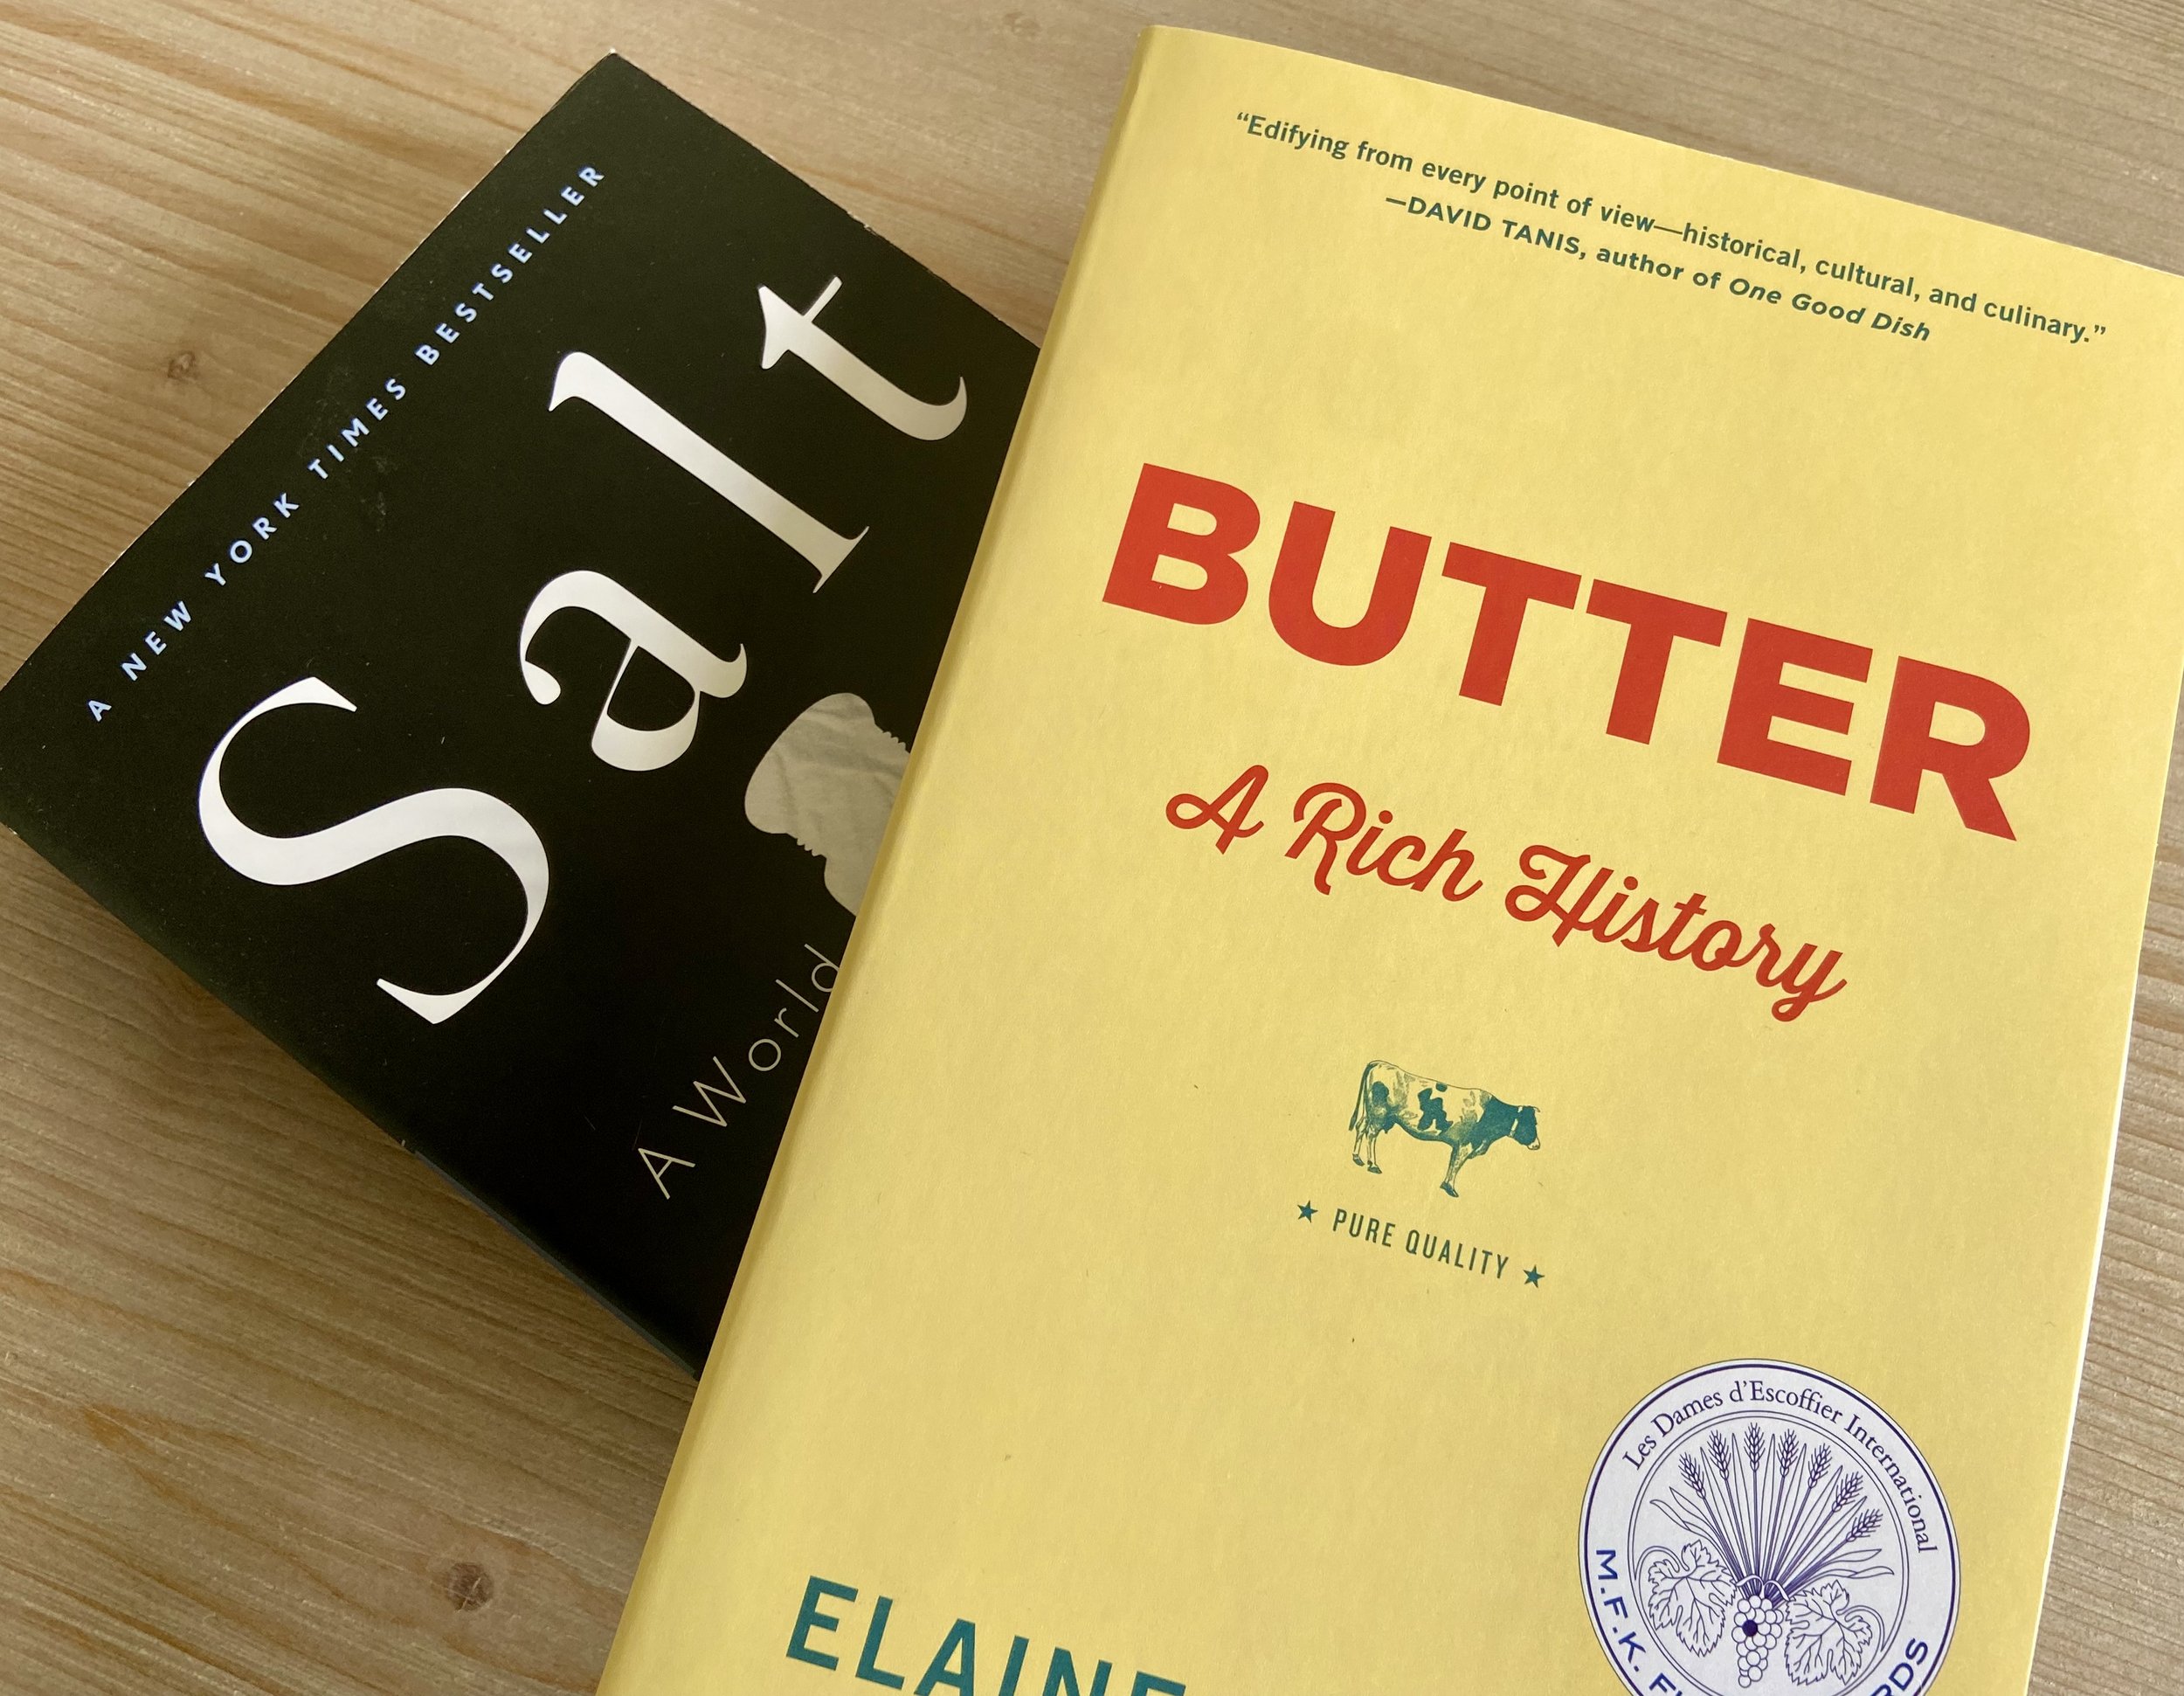
You may be surprised to know that I own a book titled simply Butter and another titled Salt. Time to buy a book on coconut?