Peppermint Chocolate Chunk Ice Cream
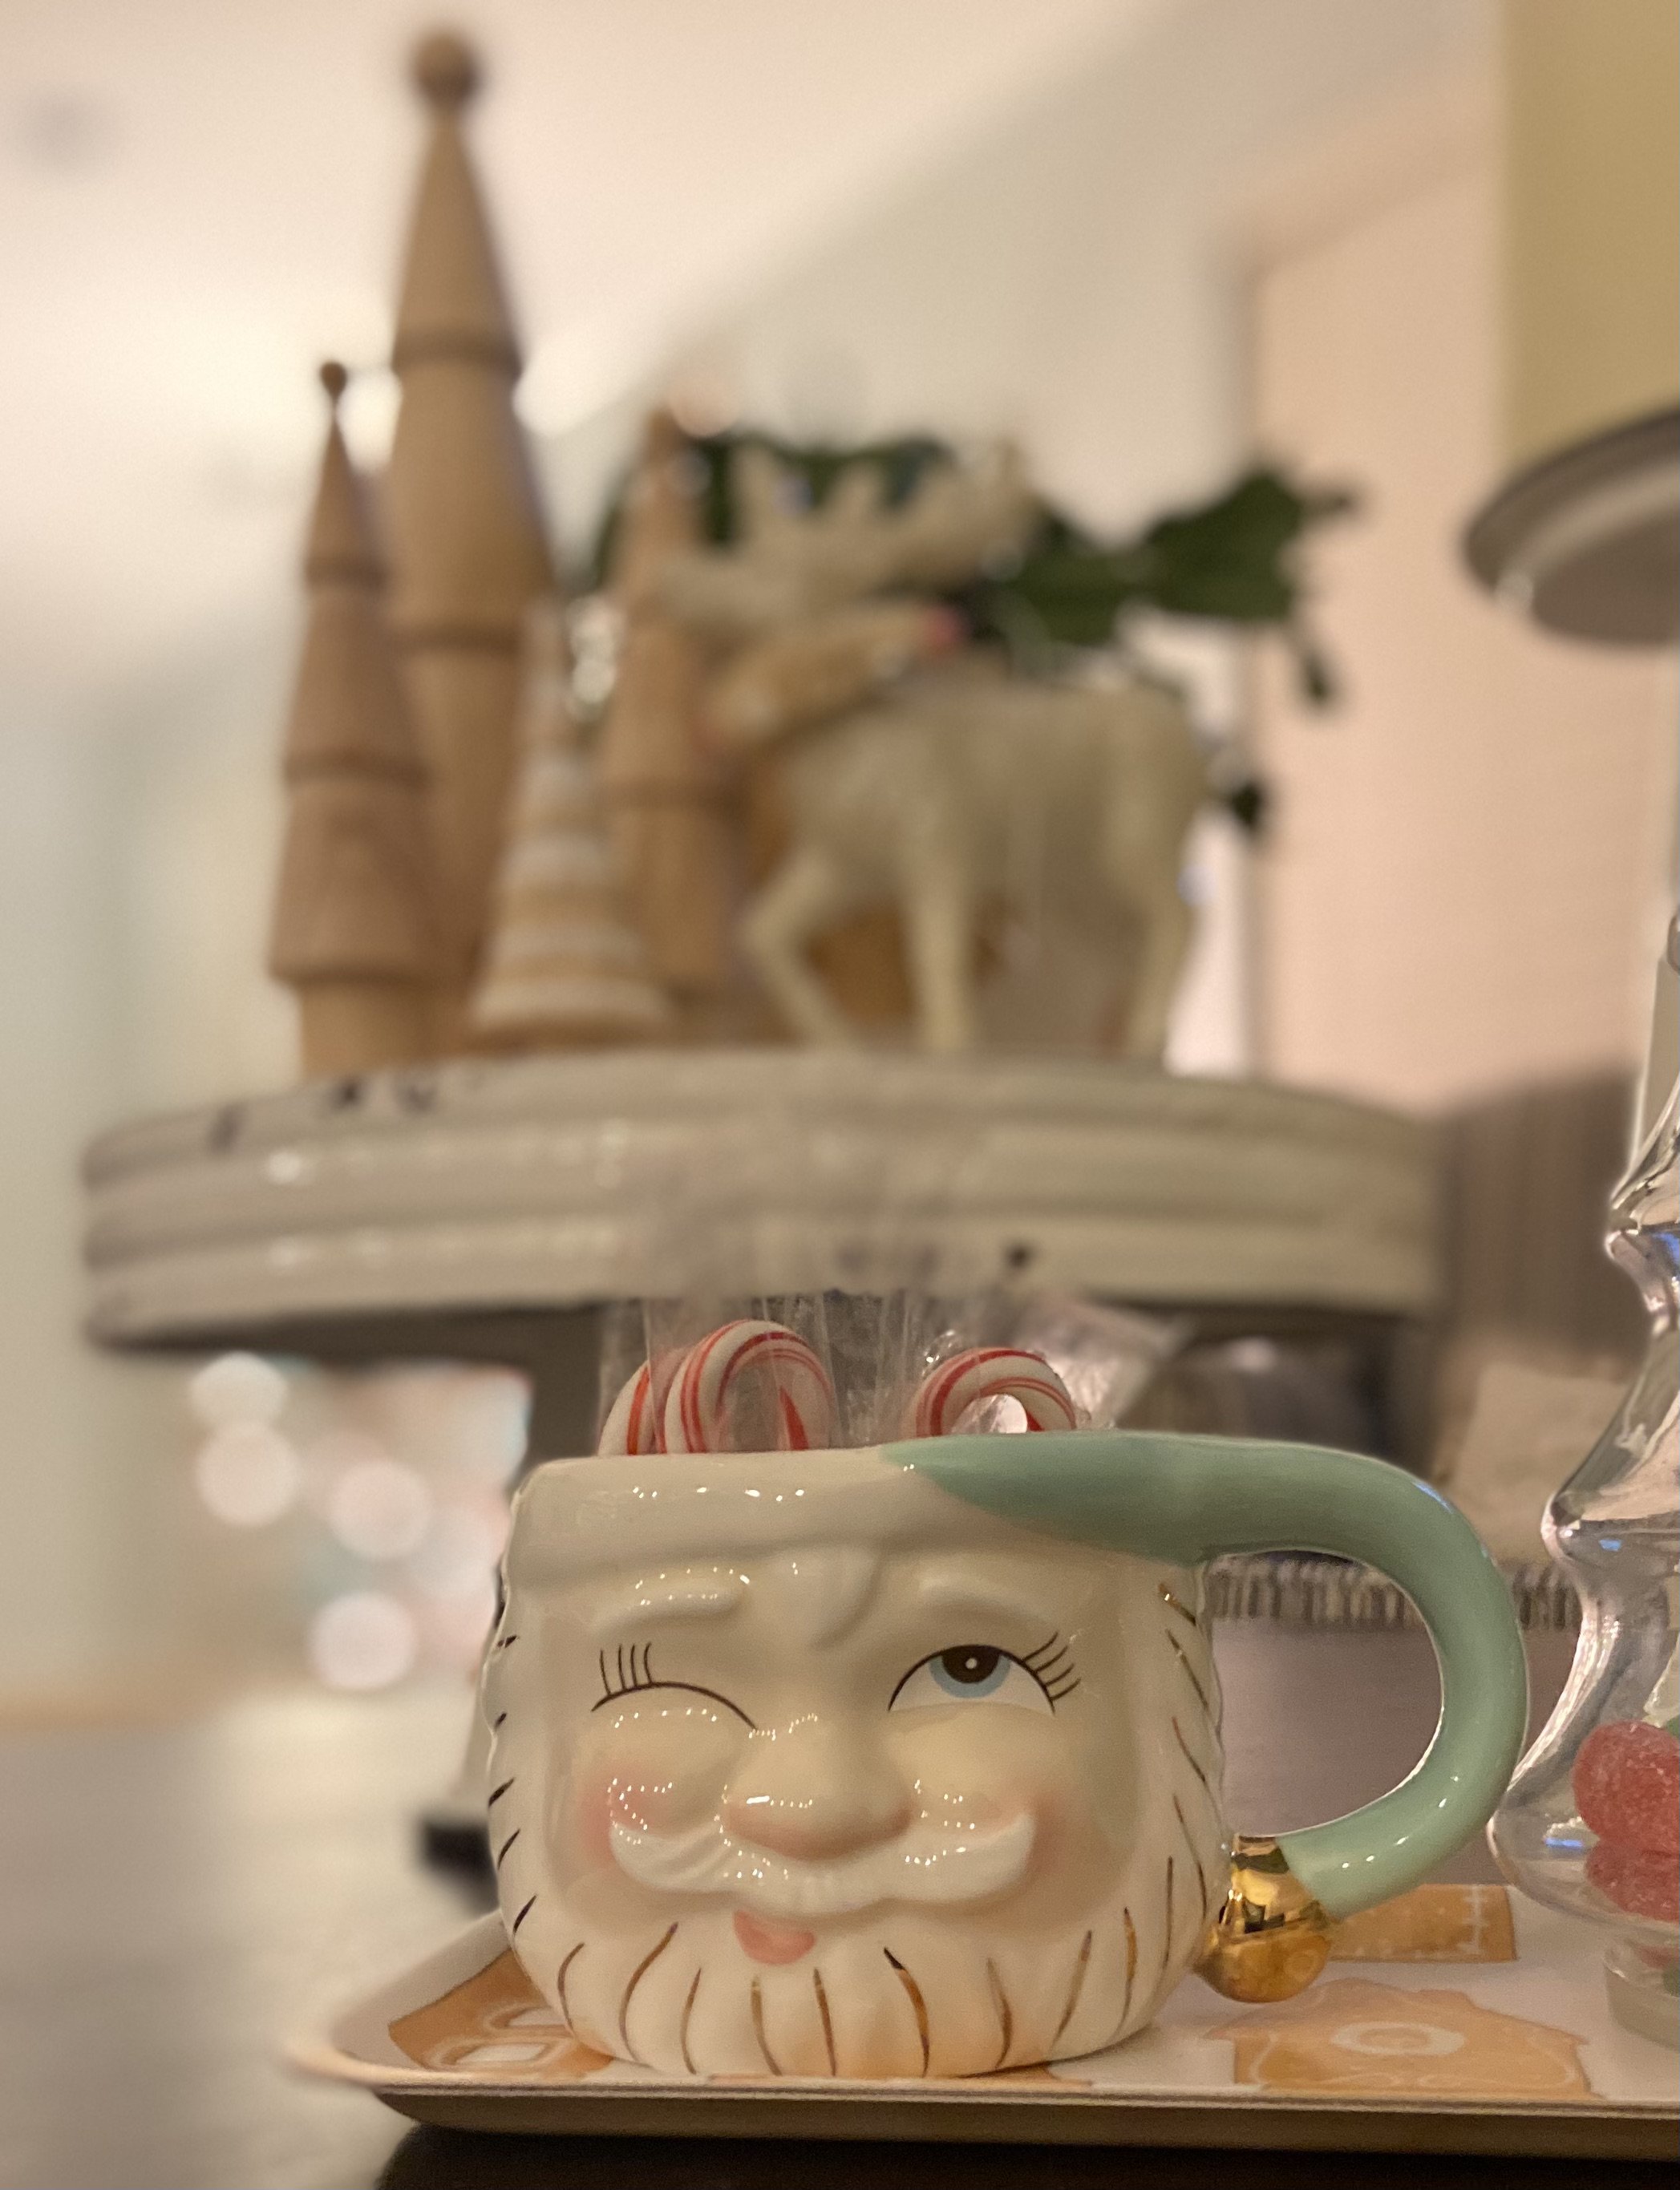
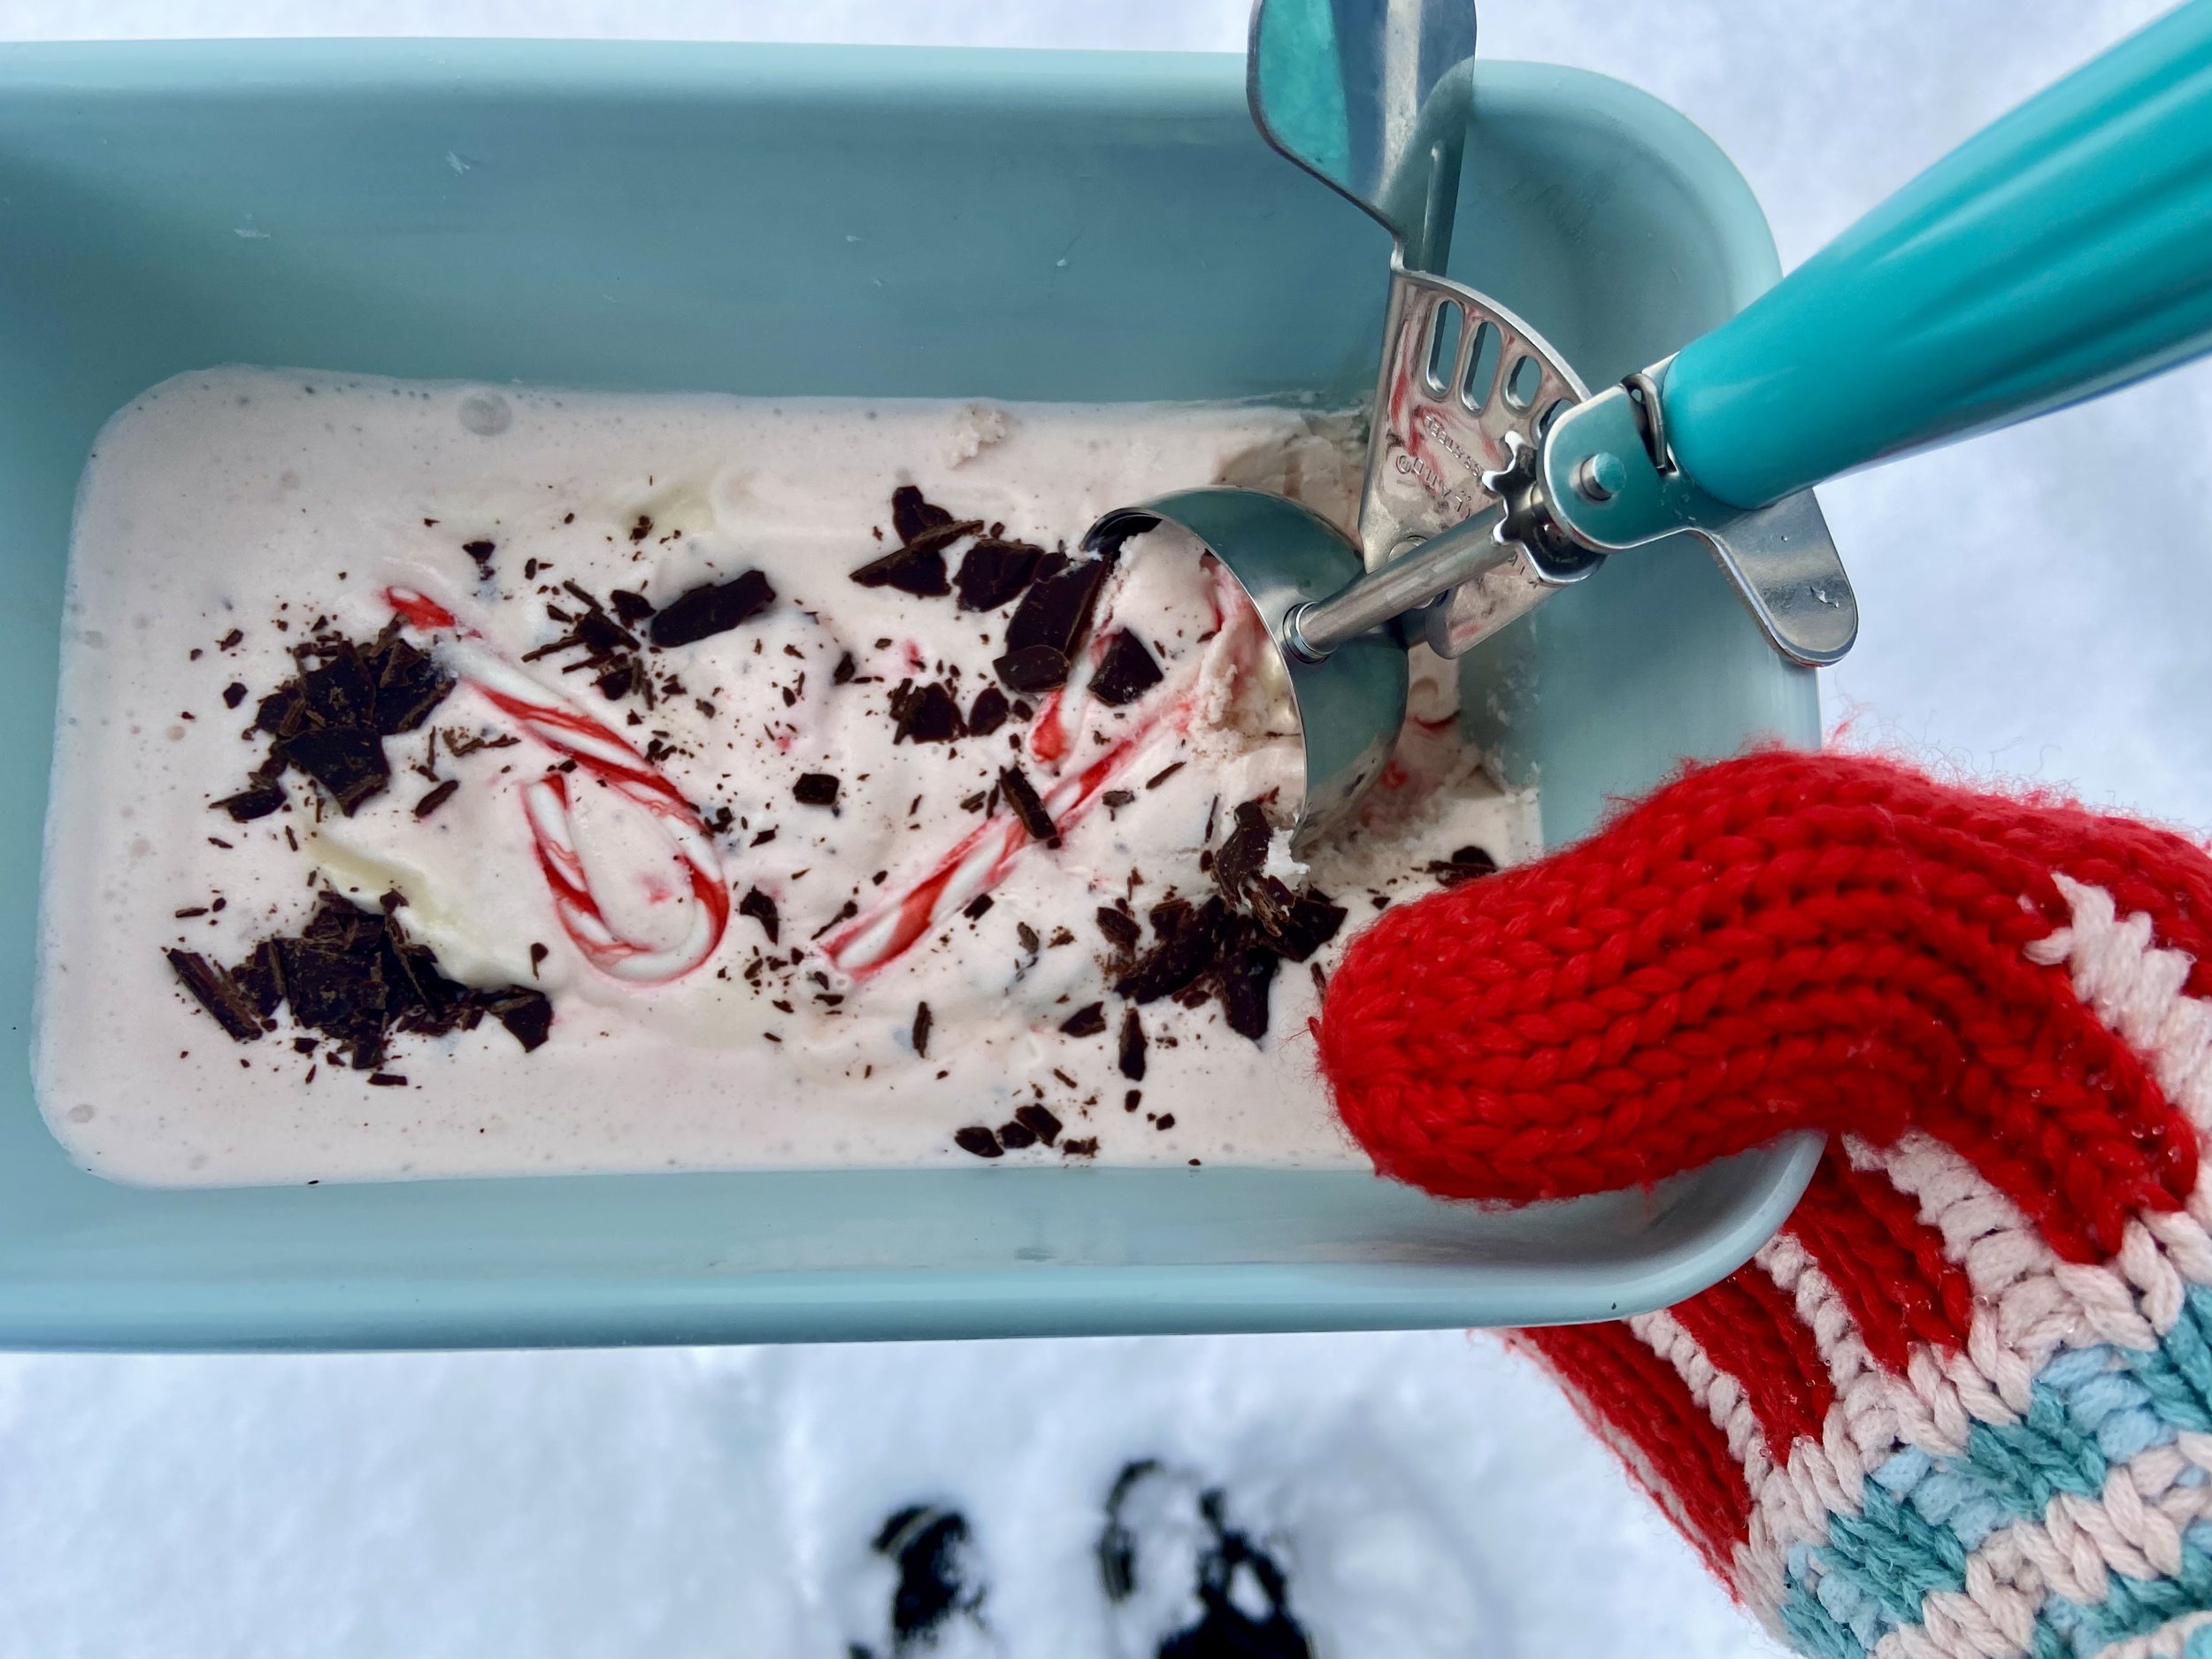
I’ve never been a big fan of eating candy canes. And those Starlight mints that you spot in a basket for the taking at the door of family restaurants always disappoint. To me, candy canes fill the role of a Christmas decoration. However, the peppermint stripes themselves bring me a wave of nostalgia. When my kids were very young, I decorated our tree with a Candyland theme. I still remember how cute it was that my left-handed daughter hung the candy canes “backwards” (according to my perspective). Today my signature decorating color is aqua. The color red is only welcome once a year — at Christmas — in my home. I love mixing red and white stripes or red and white polka dots with aqua for that vintage feel. This year I searched out red and white candy-cane striped wrapping paper from the Sugar Paper collection at Target to go under my white tree adorned with mostly aqua ornaments. Just a few days before Christmas I asked my kids to pick up a package of those small individually wrapped candy canes with the main intent of them gracing my Papa Noel aqua and white mug on the coffee table. Those candy canes prompted my daughter to keep asking when we were making peppermint ice cream. It started snowing on Christmas Day and the temperature was in the teens. Seemed like a good time to use up the candy canes and make a frosty dessert.
Peppermint Chocolate Chunk Ice Cream
This is a simple ice cream to make but it does require an ice cream maker. I have the KitchenAid attachment/set-up, but if you have a different one, just follow the manufacturer’s instructions. Ice cream is a year-round dessert at our house, so I store my KitchenAid ice cream bowl in the freezer. That way it’s always ready when we get the urge to make ice cream.
Makes about 2 quarts.
Ingredients:
2 cups heavy whipping cream
2 cups half & half
1 cup granulated sugar
1 tablespoon vanilla extract
1 teaspoon peppermint extract
¼ tsp fine sea salt
Crushed peppermint candy canes* (about 15-20 three-inch candy cane)
Chopped chocolate*, semisweet, dark or milk (I used the Trader Joe’s Pound-Plus Dark Chocolate bar. It’s marked 54% cocoa solids, so just below the 55% technical definition of “dark” chocolate)
*You can just eyeball the amount of peppermint candy and chocolate you want to mix in. I confess that I didn’t measure the amount I used!
Directions:
In a large bowl, stir together the whipping cream and half & half. Add the sugar and salt and stir until dissolved. Add the vanilla and peppermint extracts. Stir again to mix in. Cover and place in the fridge for a couple hours so your ice cream base is nice and chilly
If you’re using a KitchenAid mixer, place the bowl and ice cream attachment onto your mixer. Turn onto the Stir (lowest) setting. While on, slowly pour the dairy mixture into the bowl being careful not to splatter. Let it run for 20-25 minutes until it reaches the desired consistency. Mine was done and doubled in size reaching the top of the bowl shortly after 20 minutes.
In the meantime while your mixer is running, unwrap the candy canes and place in a large plastic zip- top bag. Crush the candy with a mallet leaving some bigger chunks. Chop the chocolate into chunks reserving all the shards.
At 20 or so minutes (see above), in the last couple minutes of mixing, dump all the candy and chocolate including the shards into the ice cream a little at a time while the mixer is still running. Let it mix in a little. Then stop the mixer and with a spatula, manually stir to make sure the candy is mixed in. Pour into a freezeable container. I used a 1.5 Tovolo container and had some left. I poured the rest into one of my aqua tin loaf pans – because yes, the aqua and peppermint look so pretty together. Freeze for at least four hours. It needs to freeze overnight to be really frozen. Otherwise it’s more like soft serve.
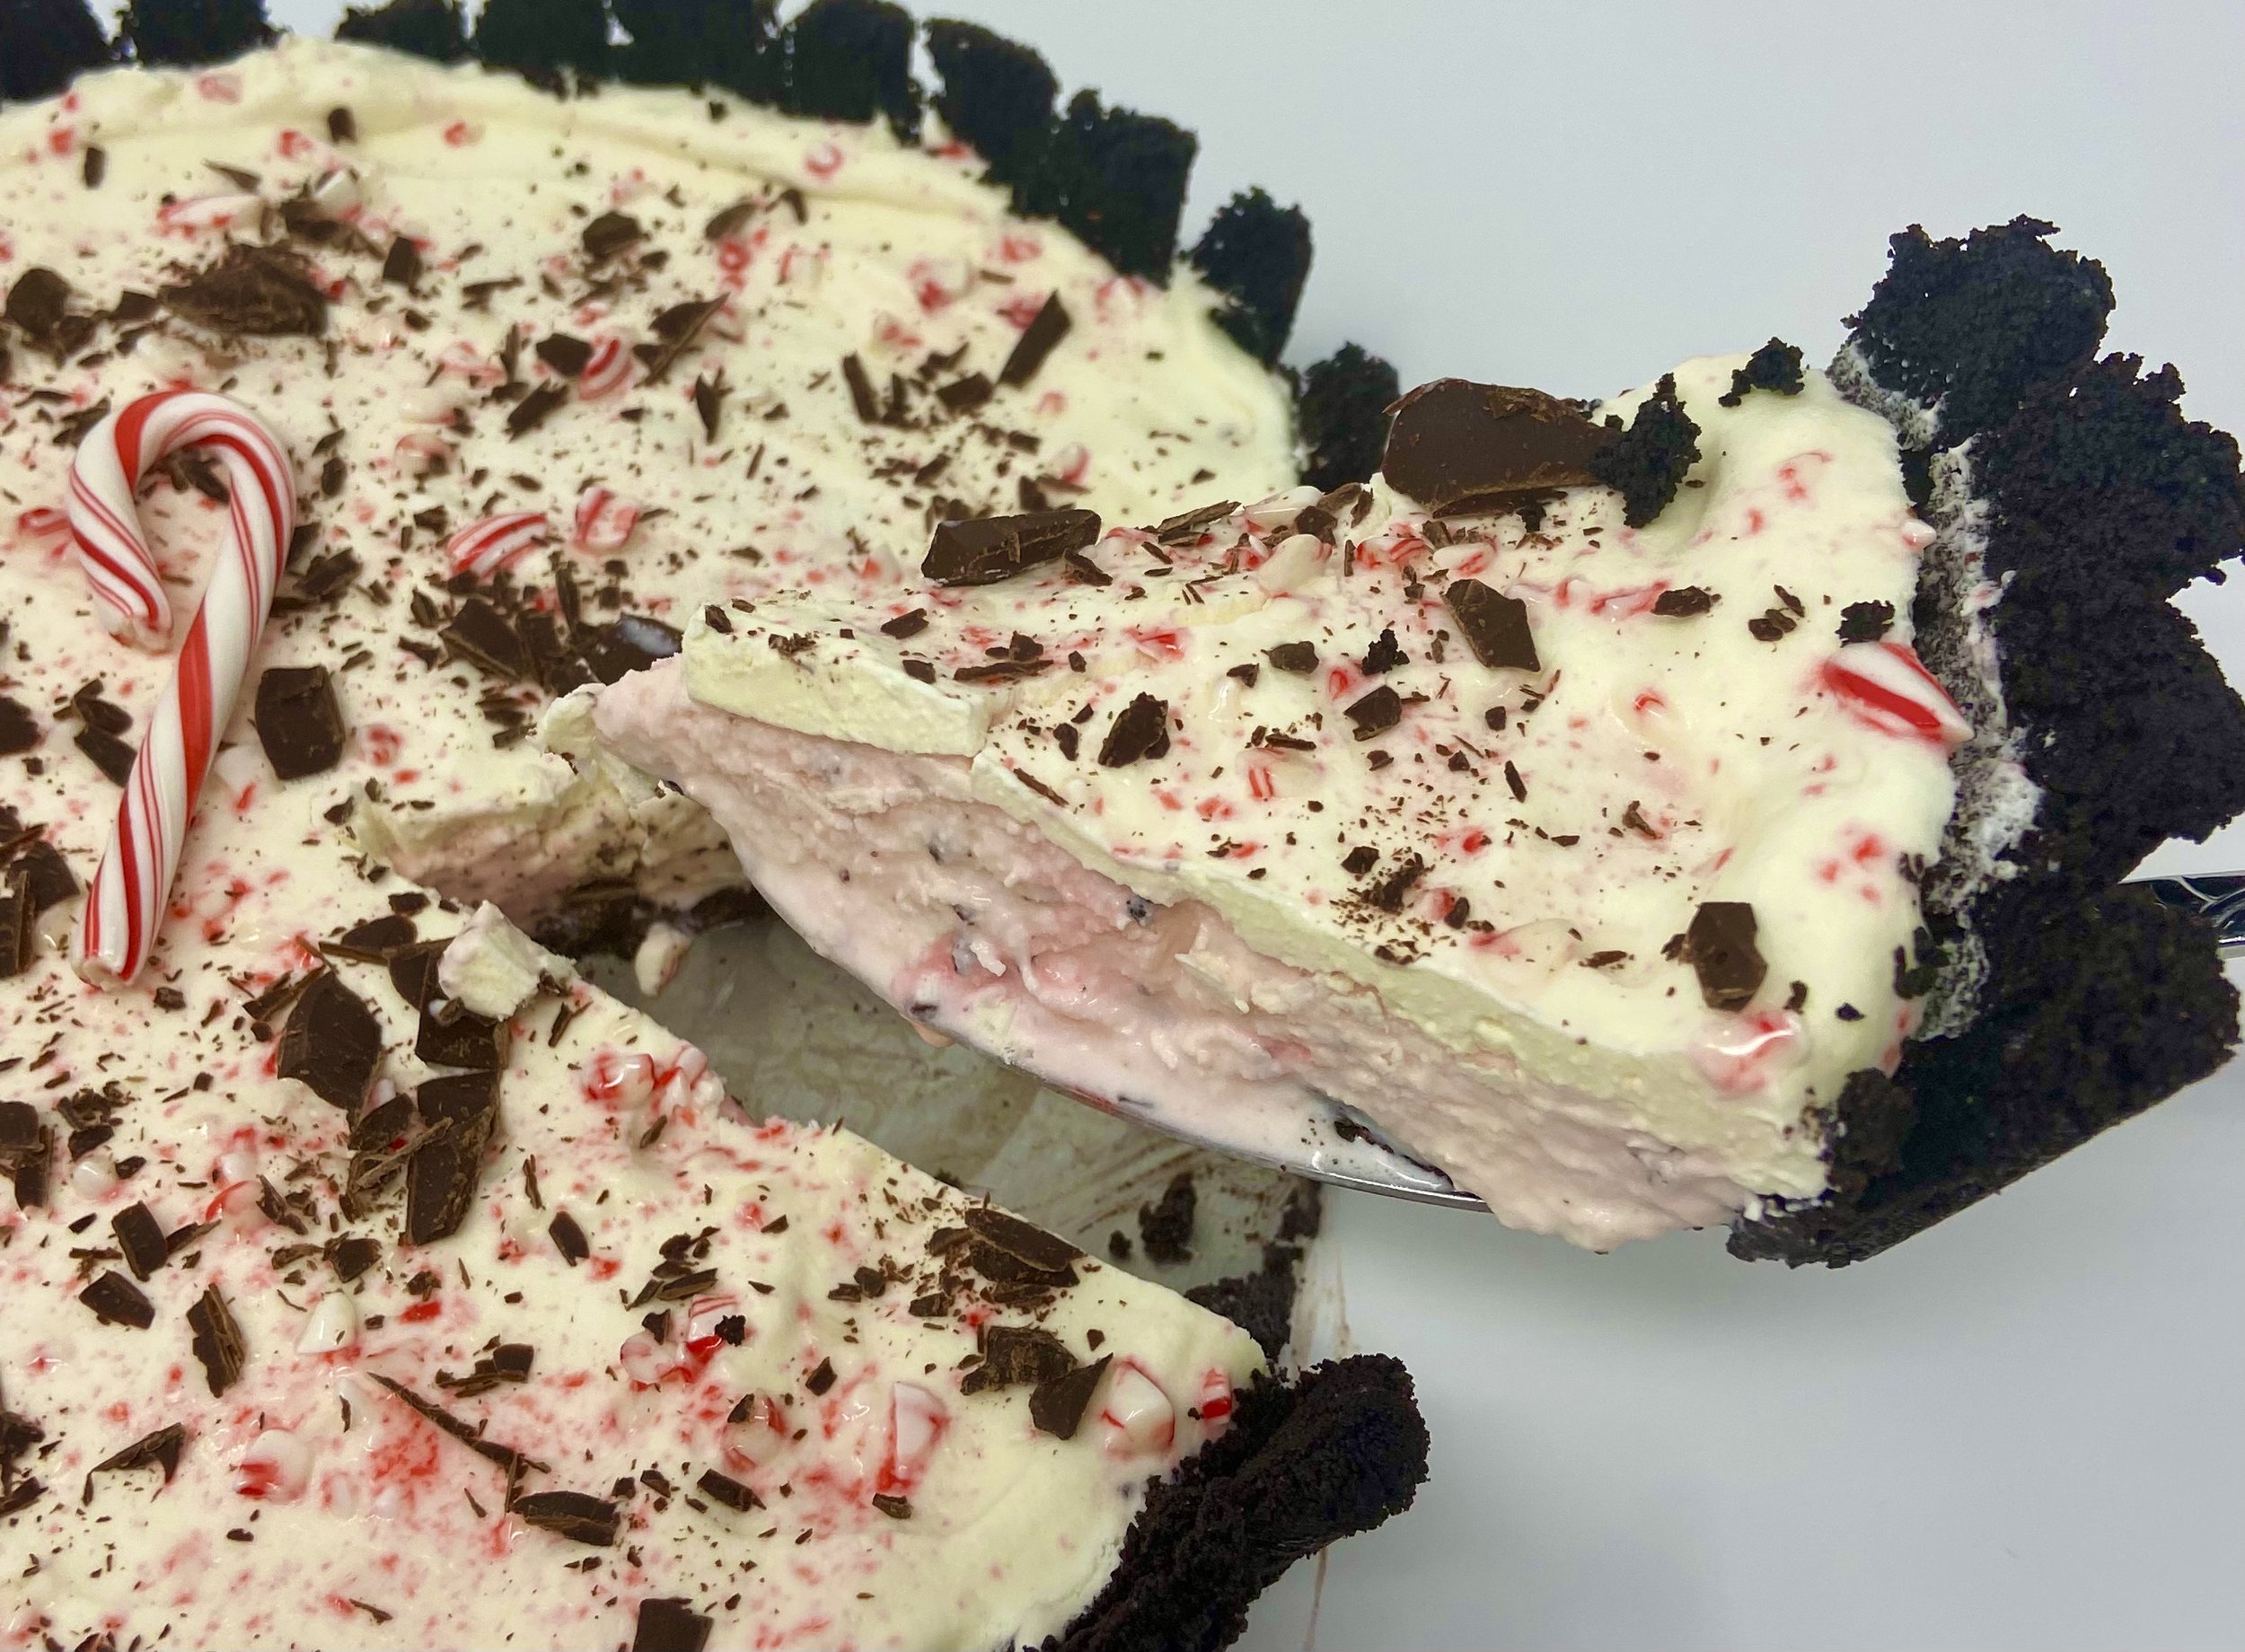
Peppermint Chocolate Chunk Ice Cream Pie

That night, after about four hours, I decided we needed our peppermint ice cream to be a pie set out to make a chocolate cookie crust. These chocolate wafers have been waiting patiently in the pantry for a number of months. My husband finally stopped asking what I was saving them for. This was actually the first time I’d ever bought these. They taste like Oreos but without the hydrogenated filling.

Chocolate Cookie Crust recipe
1 box (9 ounces) Nabisco chocolate wafer cookies
6 Tablespoons salted butter, melted and slightly cooled
Dump the cookies into a food processor and pulse until completely crushed into crumbs. Pour the cooled butter into the food processor. Pulse until mixed well and the cookie crumbs stick together like wet sand when pinched. Press into a tart pan with a removable bottom, covering the bottom and up the sides. You can also use a pie plate. Place in freezer for 30 minutes. In the meantime, take the peppermint ice cream out of the freezer and set in on the counter to soften. When soft enough, spoon the ice cream into the chocolate shell. Note that I used the 1.5 quarts from my Tovolo container, but depending on the size of your tart or pie pan, you can probably use all two quarts. I had some sweetened whipped cream left in the fridge so I topped my pie with the whip cream and sprinkled candy canes and chocolate on top. Put back in freezer to get very solid, overnight if possible.
This is a great way to use up your candy canes! We woke up this morning to 5-6 more inches of the white stuff and I conveniently have a few lonely candy canes left … dreaming of making a Peppermint White Russian complete with a crushed peppermint rim. Tonight’s the night.
Happy New Year from the snowy Pacific Northwest!