
Salted Maple Pie for Pi Day
National Pi Day is the perfect holiday for mathematicians and pie bakers alike. Irrational as it may sound, I ended up a journalism major in college after excelling in math in high school. In fact, when I needed another elective block to fill my Bachelor of Arts degree requirements, I took math. Who does that? When I reflect on my senior year in high school, I was one of only three girls in Mr. Hall’s calculus class. I don’t remember receiving any encouragement to do math or to major in a math or science related field. I chose journalism because I liked writing. Fast forward to today and it all worked out. At this point in my life, I would much rather be baking pie than solving for pi.
Which brings me to part 2 of the pie class I took in Portland about 10 days ago. You may remember that I brought a second round of dough home and It’s been in my freezer. Yesterday I thawed it out, rolled it best I could remember according to Chef Luca, then popped the formed shell back in freezer for couple hours.

I’m still working on getting my crimping even! I also decided I liked using a French rolling pin the best as I think it does help you feel the evenness of the dough.
Baking instructions
Following instructions from the class, blind bake the frozen crust for 20 minutes at 375 degrees. Remove from the oven, dock it a few times and brush the bottom of the shell with egg wash. Then bake for 10 more minutes. In the meantime, yes, I made the filling for the Salty Maple Pie I’d been lusting after since the class. (See Salted Maple Pie Filling below)
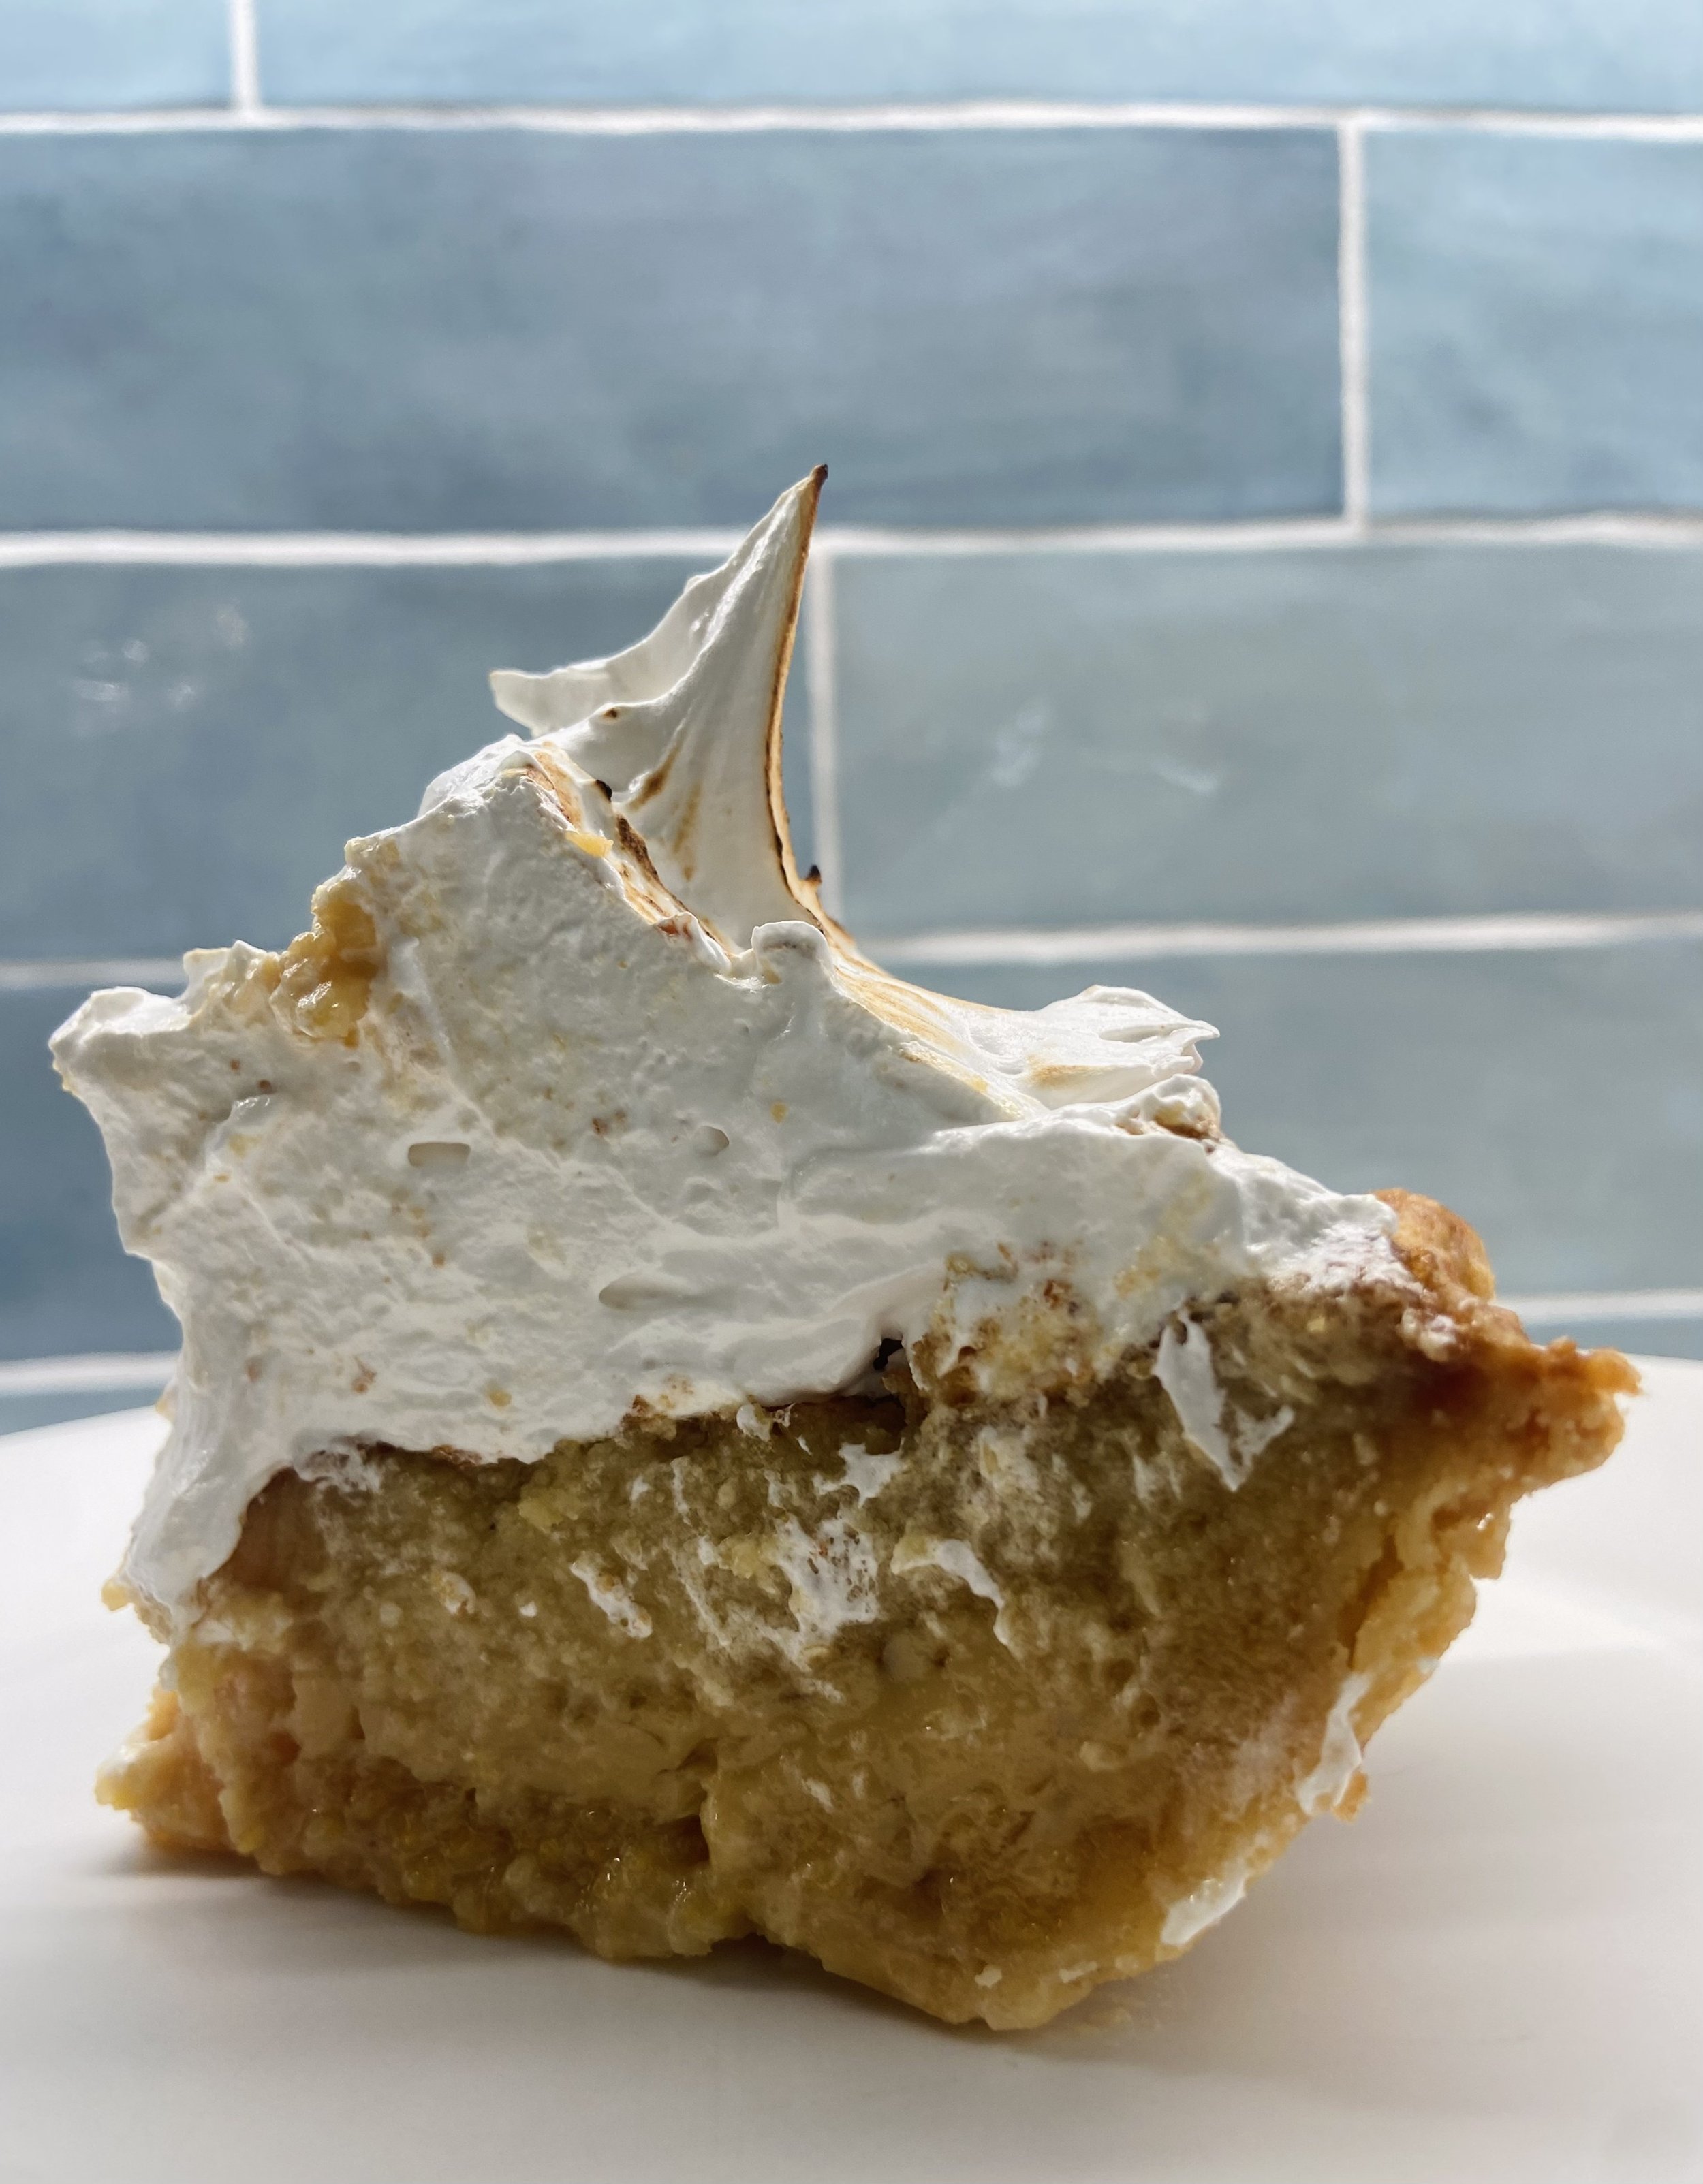
A slice of heaven: Salted Maple Pie with Swiss meringue.
Fill the blind baked crust with the maple cream mixture, brush crimped edges with left over egg wash and place on baking sheet. Bake for 45-60 minutes. I baked mine for the full one hour. It should be puffed up around the edges and only a little jiggly in the middle. It will continue to set as it cools, ideally for 4-6 hours. So plan ahead!
This pie can be wrapped in plastic wrap and kept at room temperature for up to 3 days.
Salted Maple Pie filling
As a lover of all things maple, I was very intrigued by this pie. It’s the perfect fall pie really, but I wasn’t going to wait that long to make it! This sort-of-custard-but-more-sugar pie filling is similar to the Salted Maple Pie from Sister Pie cookbook. The book ingredients are listed below and the full recipe is here.

A corner shot of her in all her glory.
From Sister Pie:
1/2 cup plus 2 tablespoons (1 1⁄4 sticks) unsalted butter, melted and cooled
1 cup maple syrup
3/4 cup packed light brown sugar
1/4 cup fine yellow cornmeal
1/4 teaspoon kosher salt
3 large eggs, at room temperature
1 large egg yolk, at room temperature
3/4 cup heavy cream, at room temperature
1 1/4 teaspoons pure vanilla extract
Flaky sea salt, for sprinkling on top of the pie
From Chef Luca:
I found it easiest to use grams per Luca’s instructions. I didn’t check to see if his grams are equal or about the same as the above measurements. You can do the math!
150 g European butter
340 g maple syrup
128 g brown sugar
40 g corn meal
¼ tsp salt
3 whole eggs + 1 egg yolk
255 g heavy cream
1 ½ tsp vanilla
A pinch (or two) of flaky sea salt, for sprinkling on top of the pie.
Swiss Meringue
Chef Luca’s addition of Swiss meringue (or Merengue as we joked) on top of the pie made this pie even more sinful. Now whenever I watch glossy white peaks form, I will hear Merengue (the national dance of Dominican Republic) music in my head.

Swiss meringue ingredients:
5 egg whites
1 cup sugar
2 tsp vanilla extract
¼ tsp salt
¼ tsp cream of tartar (optional to hold shape)
Combine ingredients in bowl over double boiler. I just used the stainless steel mixing bowl from my kitchen aid to avoid dirtying two bowls. Cook mixture, stirring constantly, until it reaches 175 degrees on a candy thermometer. (I got impatient and only went to a little over 160 degrees and it turned out fine!) Remove from heat, wipe condensation from bottom and transfer to stand mixer. Use whisk attachment and whip on high until meringue turns glossy and cools. You’ll be able to tell that it has cooled by touching the outside of the bowl. Takes 3-5 minutes depending on how stiff you want your meringue.
In class we transferred the meringue to a pastry bag, piped it as desired onto our individual pieces, and passed the blow torch. It may not come as a surprise that I had to get special permission and a lesson from my engineer husband to ensure that I was safely qualified to use the full-sized blow torch vs. my small kitchen torch.
Happy Pi Day! Happy Meringue-Merengue!
Now for the back story …
In full disclosure, on my first attempt I totally spaced putting the pie weights in when I went to blind bake the crust. And this happened …

A sad day indeed. Don’t forget your pie weights people!! You can also use dried beans or even sugar for weight.
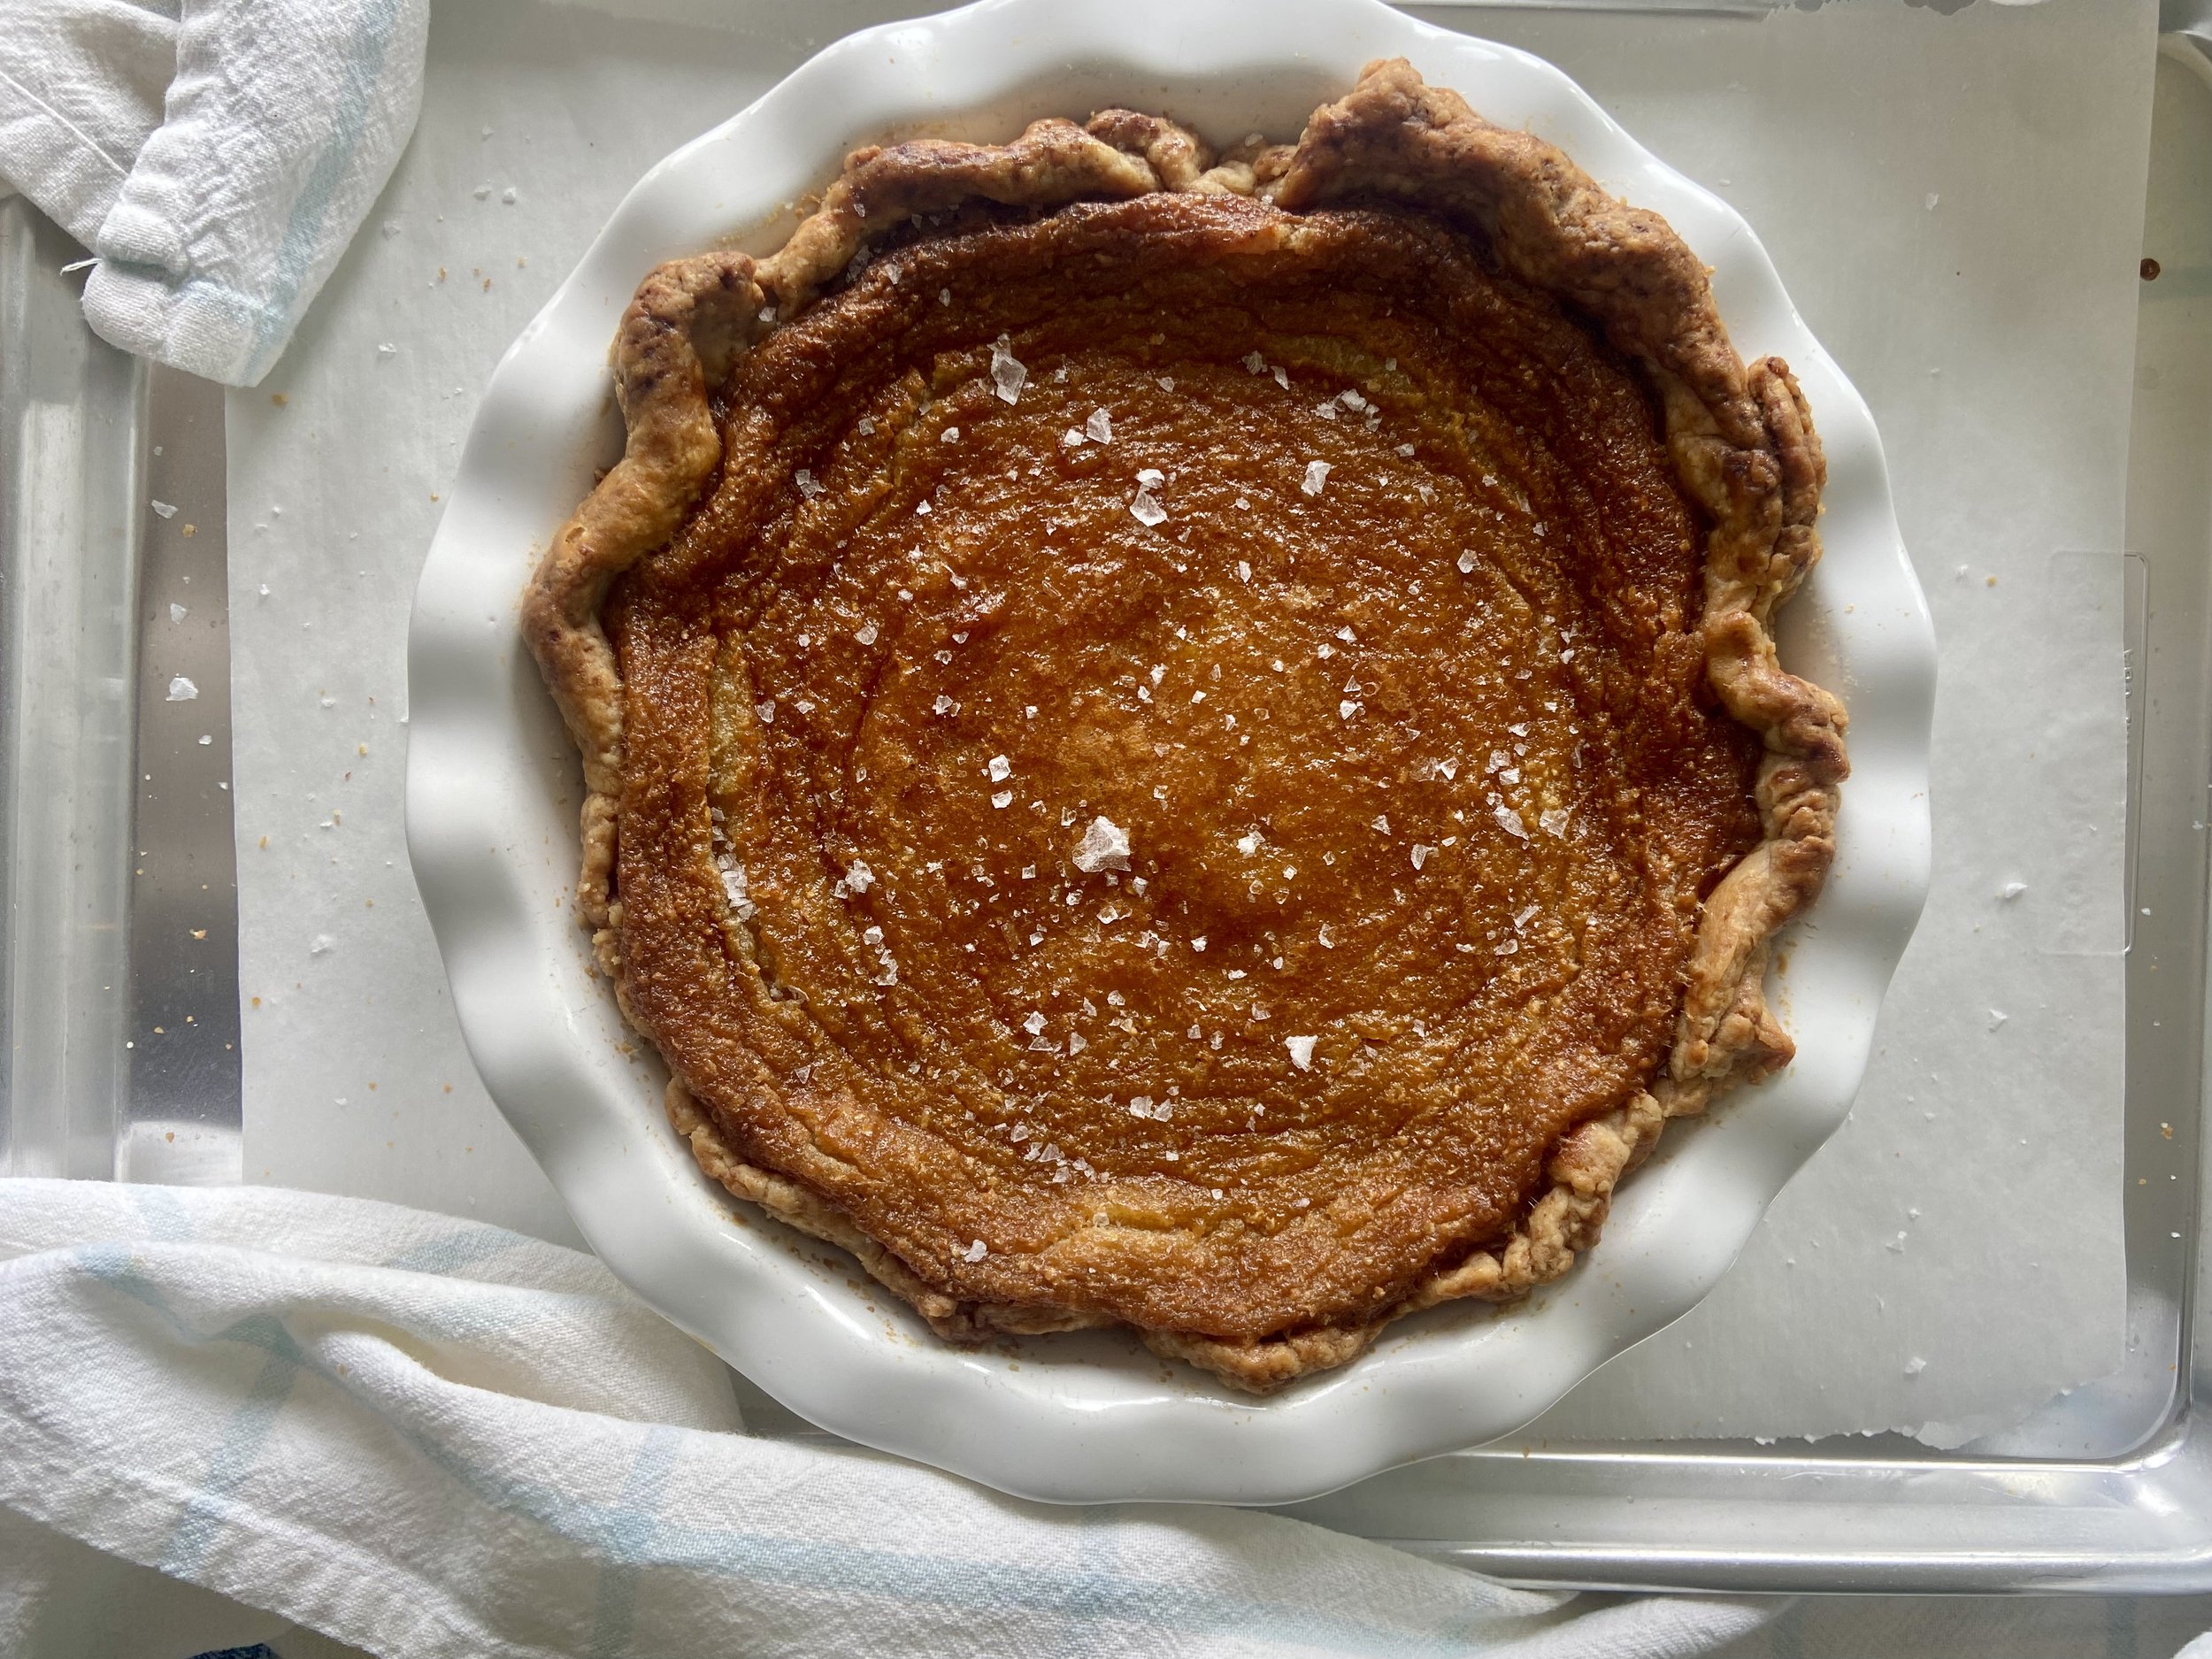
Her in all her imperfection! I’m not sure if it was due to my dough handling or partly the pie plate itself that resulted in the uneven edges and apparent shrinkage 😩 (a later bake from same dough but in a Pyrex glass plate yielded much better results!)
At this point I was about to go back to math!